Steps
STEP 1
Rip 3/4” plywood into strips 24” wide by 8 feet long using either a table saw or circular saw.
Tools
Materials
STEP 2
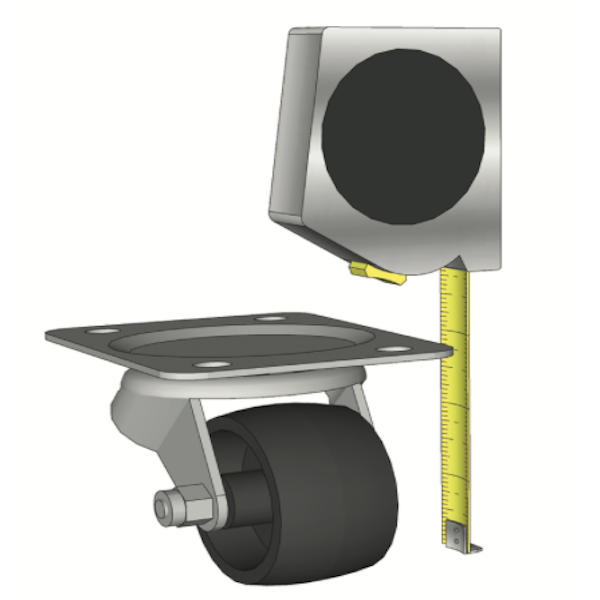
Measure height of caster wheels and height of table saw deck. Subtract these measurements from 34-1/2”. From the 24” wide strips, cut three pieces to this length.
Tools
Materials
STEP 3
Cut remaining pieces according to cut list found in project plan PDF.
Tools
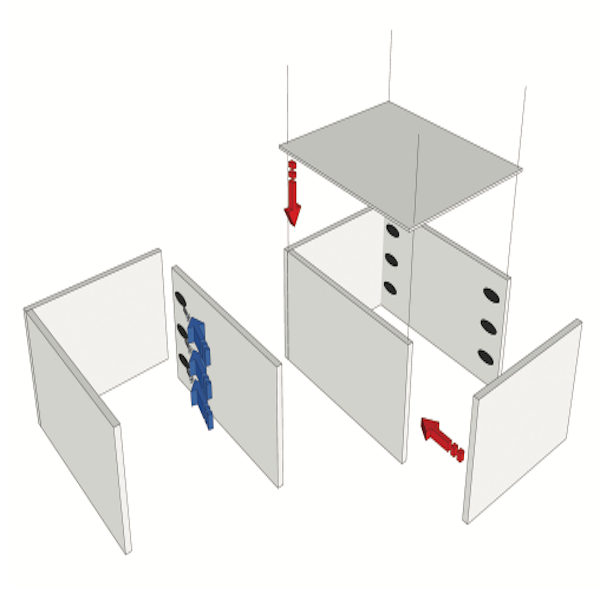
STEP 4
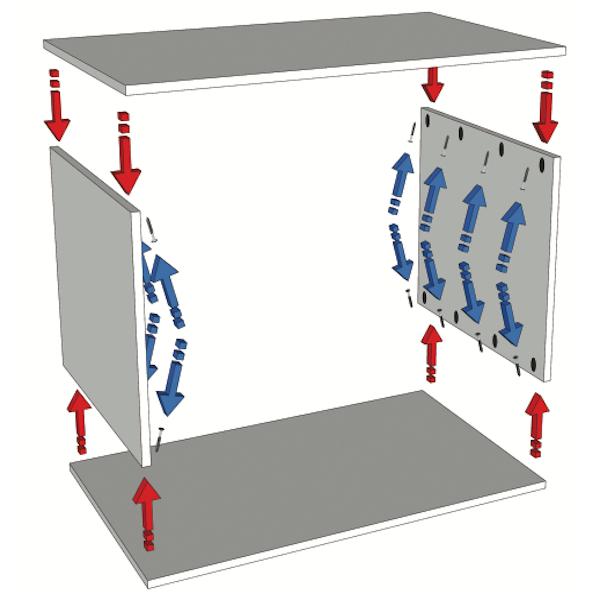
Drill four 3/4” pocket holes on 5 each end (measuring 24” long) of the side/divider pieces. Attach sides to top and bottom with 1-1/4” pocket hole screws.
Tools
Materials
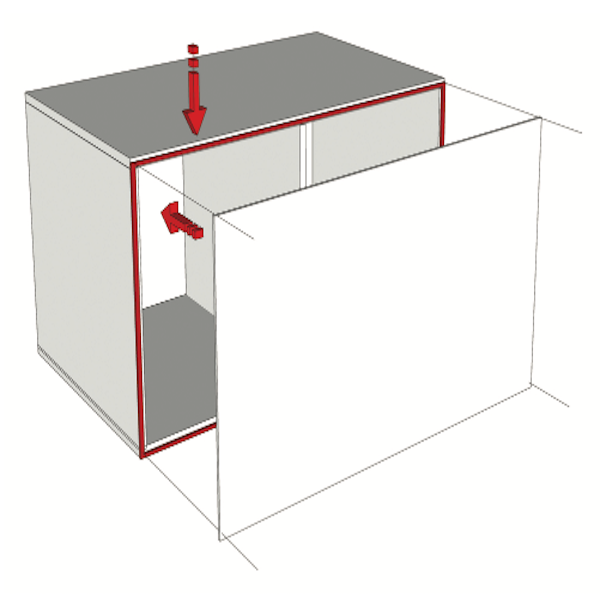
STEP 5
Mark center of top/bottom. Attach divider to top and bottom with 1-1/4” pocket hole screws.
Tools
Materials
STEP 6
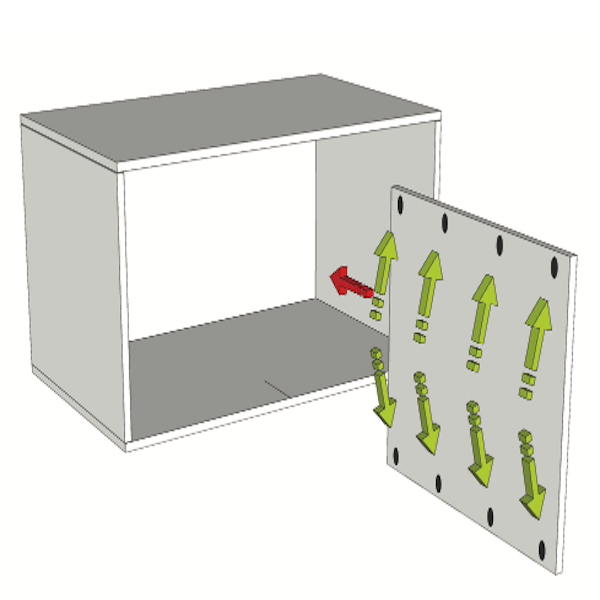
Apply glue to back edges of the cart. Attach back with 3/4” brad nails.
Tools
Materials
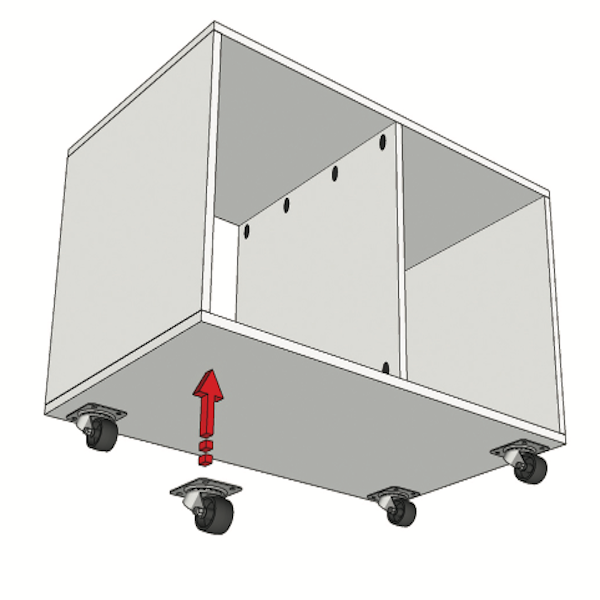
STEP 7
Install caster wheels at base of cart. Be sure you have locking caster wheels.
Tools
Materials
STEP 8
Optional Drawers: Measure distance between side and divider and subtract 1”. Per drawer, cut two – 1x12 to this length (front and back of drawer). Cut two 1x12 to 20-1/2” long per drawer (drawer sides).
Tools

STEP 9
Drill three 3/4” pocket holes on each end of drawer sides. Attach drawer sides to drawer front/backs with 1-1/4” pocket hole screws. Measure bottom of drawer and cut 1/4” plywood to fit. Use 3/4” brad nails and glue to attach.
Tools
Materials
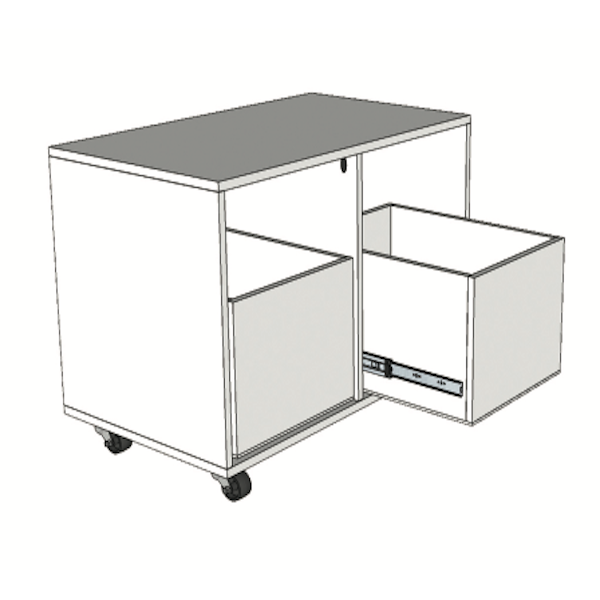
STEP 10
Install drawers with 22” drawer slides according to manufacturer’s instructions.
Tools
Materials