Steps
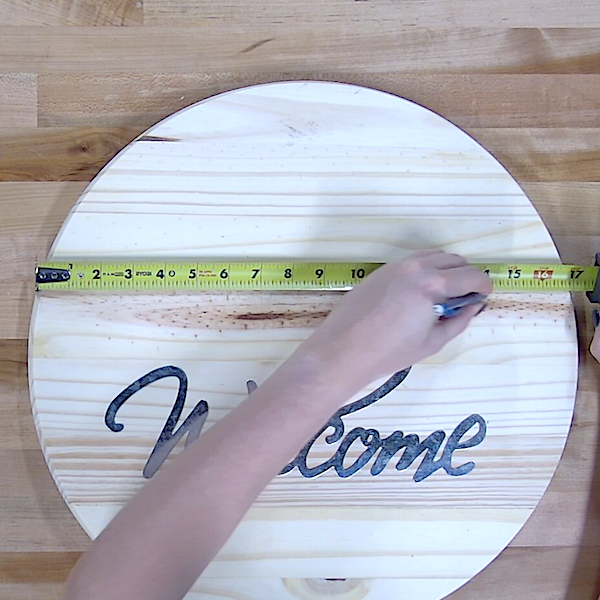
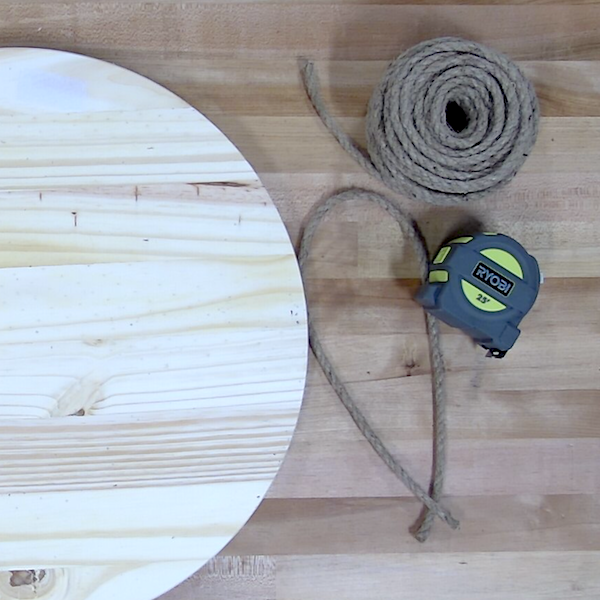
Step 1
Draw two horizontal lines on the top and bottom of the wooden board to create an outline of the area that will be painted. Place tape along these lines to achieve straight lines when painting.
Materials
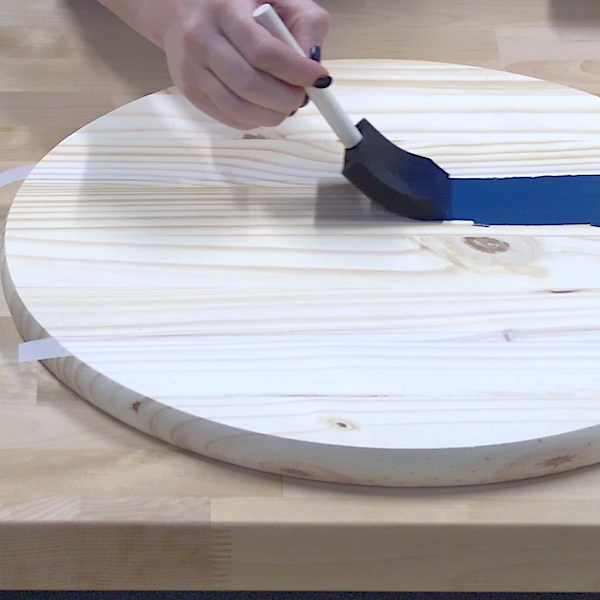
Step 2
Use the paint sponge to paint inside the tape lines from the previous step. Coat with paint until opaque and set aside to dry.
Materials
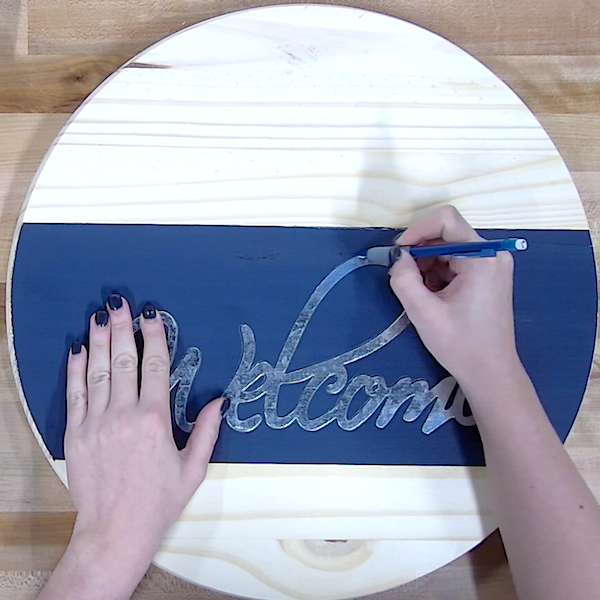
Step 3
Once the paint is dry, place "Welcome" piece onto the wood and trace with a marker or pencil.
Materials
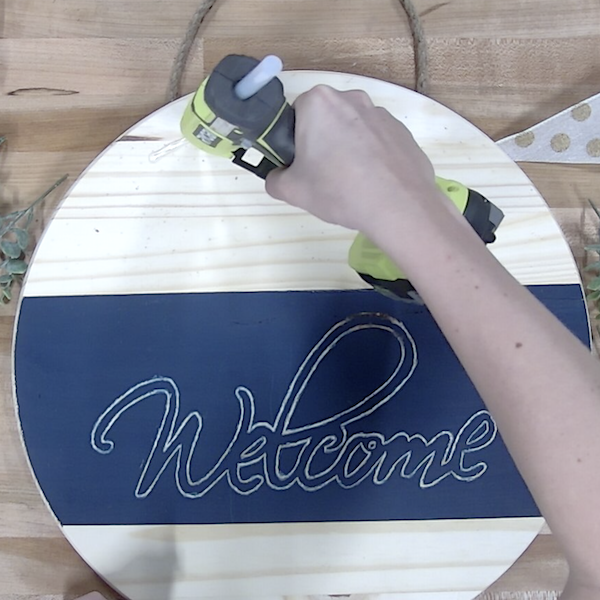
Step 4
Insert Ball Engraving Burr into the 18V ONE+ Rotary Tool Station. Engrave all of the letters.
Tools
Materials

Step 5
Switch on the 18V ONE+ Dual Temperature Glue Gun, waiting till the light turns green to use it. Cut the rope to 24 inches.
Tools
Materials
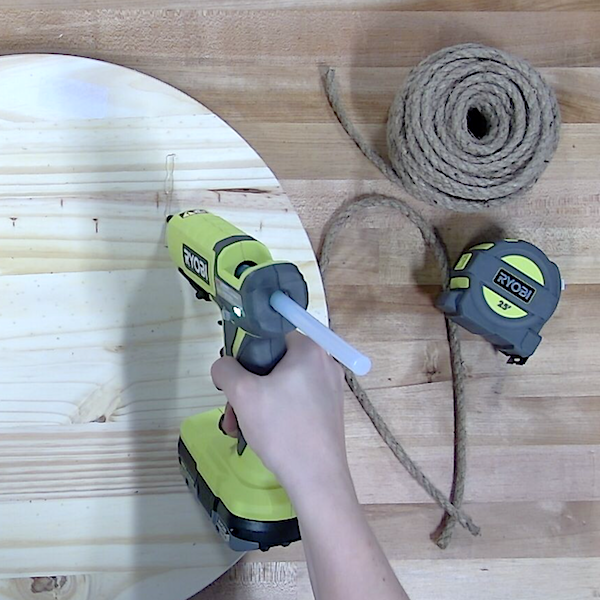
Step 6
Turn over the board and mark even spots where the rope will be placed. Apply a line of glue and press rope into the glue to hold in place. Repeat with the other side.
Tools
Materials
Step 7
Turn board back over to painted side. Apply dots of glue to wood and place decorative pieces on the glue on each side.
Tools
Materials
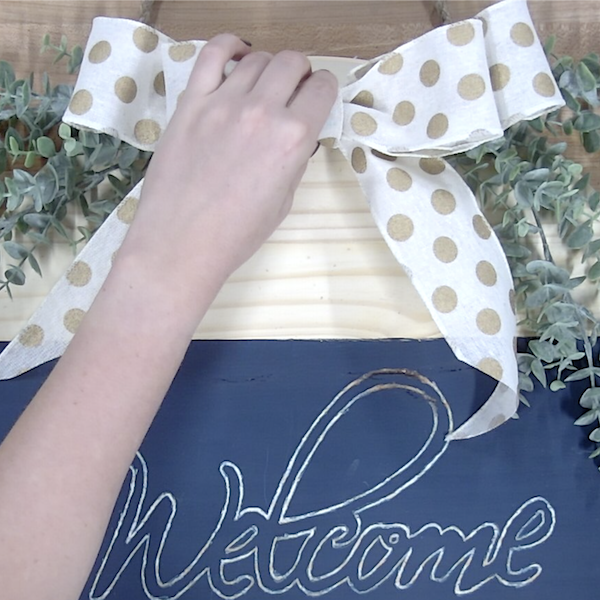
Step 8
Apply glue onto the back of the bow and press firmly onto the middle of the board at the top.
Tools
Materials