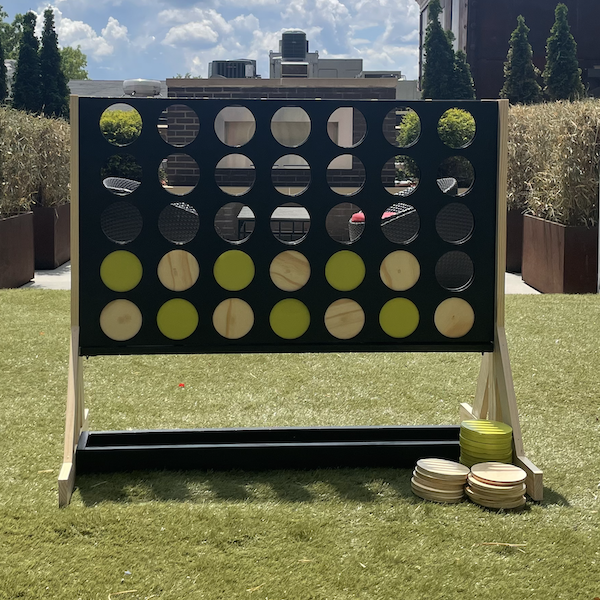
Steps
STEP 1
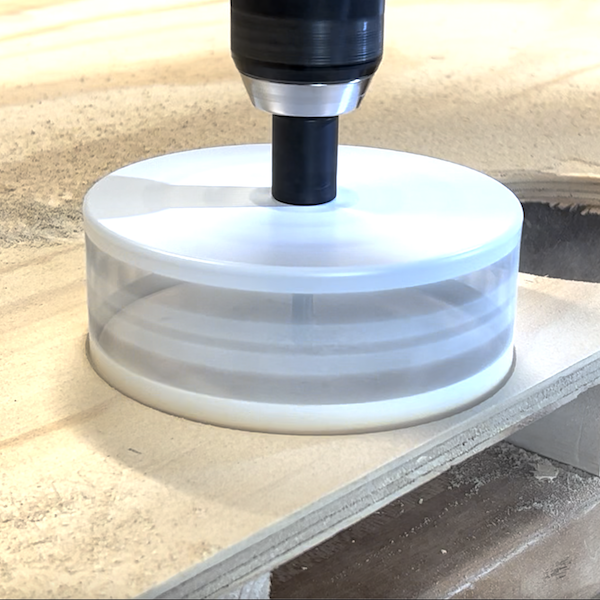
Cut out 35 circles from the 1/2" plywood using the 5" Hole Saw.
Tools
Materials
STEP 2
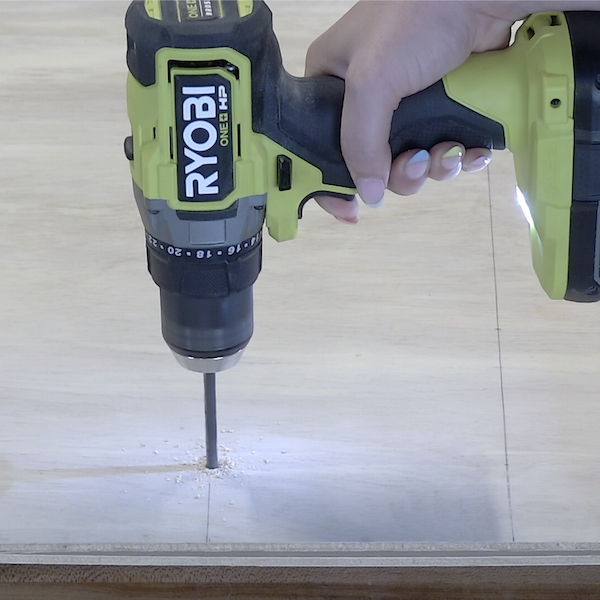
Mark seven marks 2-5/8" down and 5-1/2" apart on the 1/4" plywood. Mark the second row of cutouts 4-3/4" down from the first row. Measure four more rows of marks following the same measurements. Drill pilot holes on each of these marks.
Tools
Materials
STEP 3
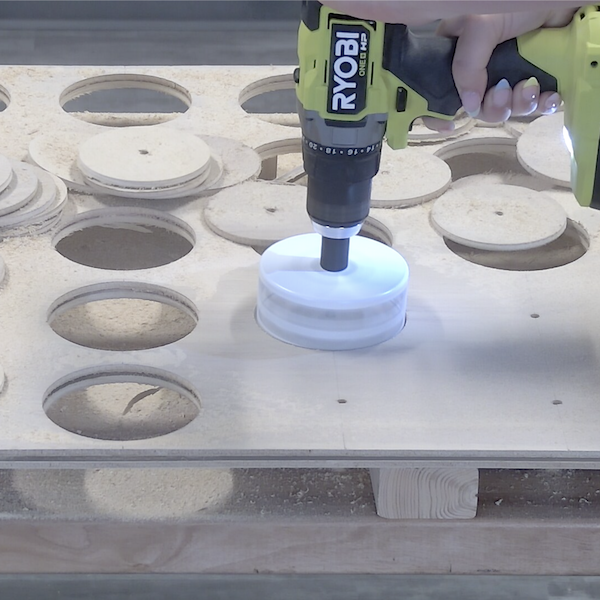
Cut out each of the circles, lining up the drill bit in the middle of the hole saw with the pilot holes made in the previous step
Tools
Materials
STEP 4
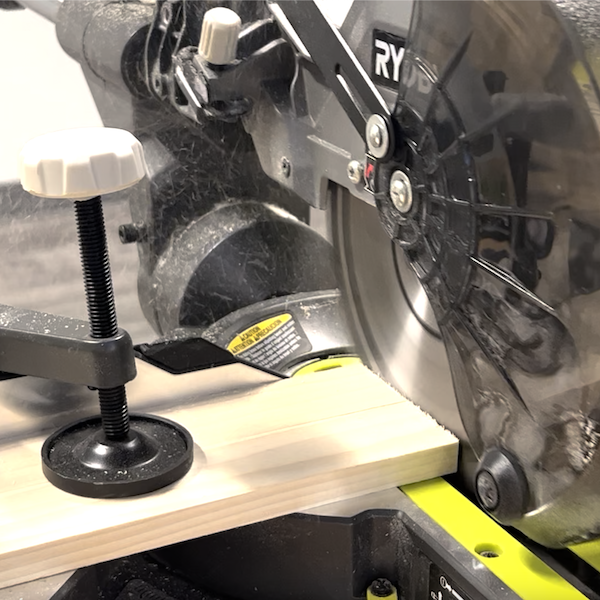
Cut (4) 1"x3"x39-1/2" pieces and (2) 1"x3"x6-1/2" pieces to use for the catch tray. For the legs, cut (2) 36" pieces and (4) 11" pieces. For the closure piece, cut the the 1"x2"x4" to an inch smaller than the width of the 1/4" plywood. Cut dowels to 24."
Tools
STEP 5
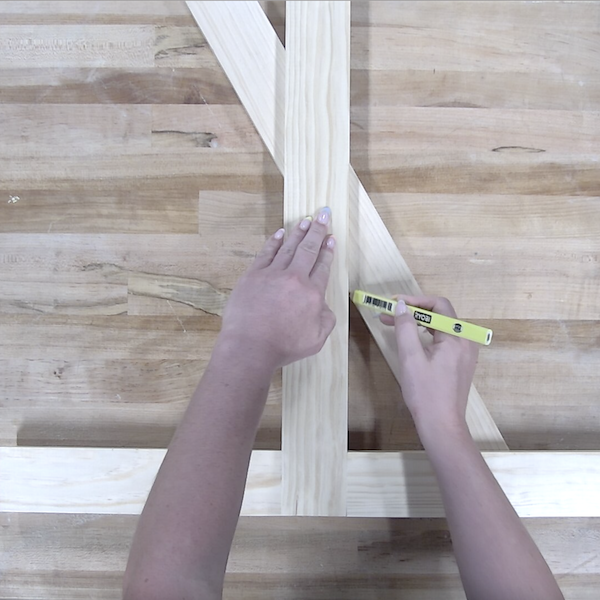
Create the base for each leg by attaching an 11" piece to each side of the end of (1) 36" piece. For the support beams that go on the legs, cut a 30°angle on one side, then line up the beam to the base piece to determine the opposite side angle.
Materials
STEP 6
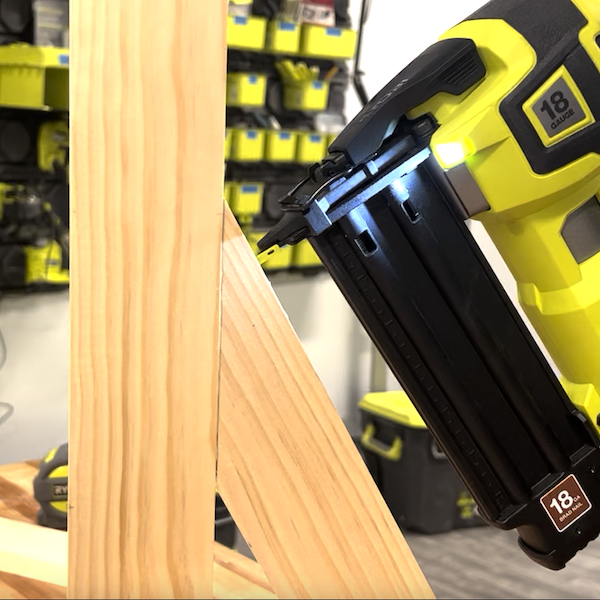
Attach the support beams to each leg.
Tools
STEP 7
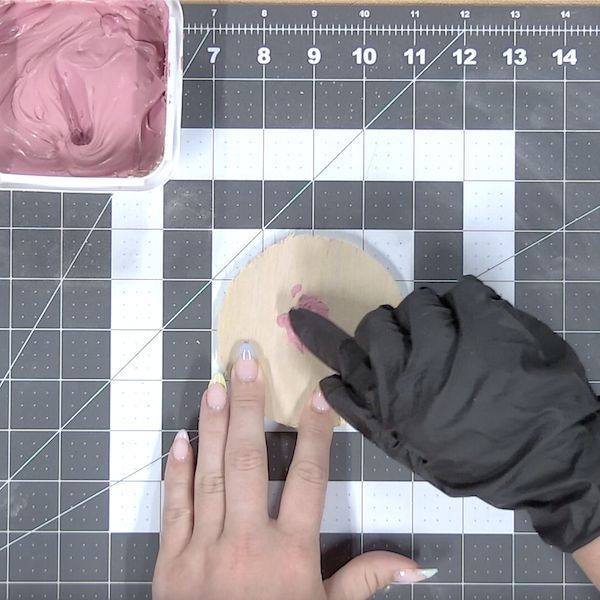
Fill all of the holes in the 5" wooden pucks with wood putty. Allow time for the wood putty to dry down.
Materials
STEP 8
Sand all of the wood pieces, including the game pieces, leg pieces, tray pieces, and plywood with all of the cutouts to prevent splinters and to prepare for painting.
Tools
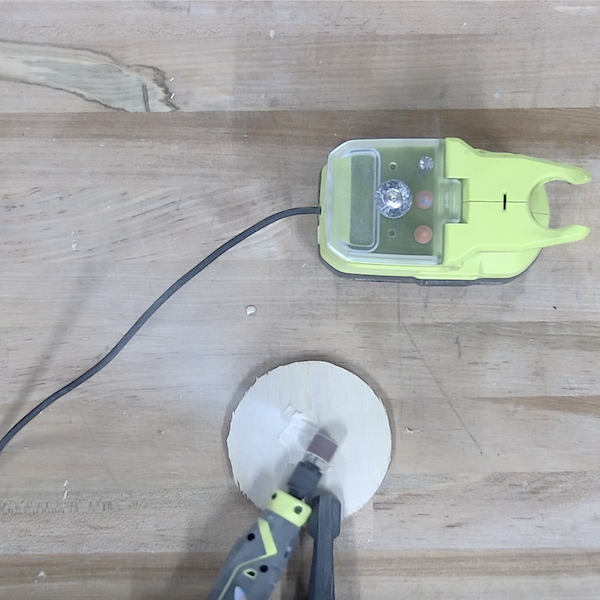
STEP 9
Apply paint as desired to the wood pieces. Split the wood pucks into two groups and paint two different colors. After the paint dries, apply a polyurethane coat to seal the pieces, including the unpainted leg pieces. Allow time for the paint to dry.
Materials
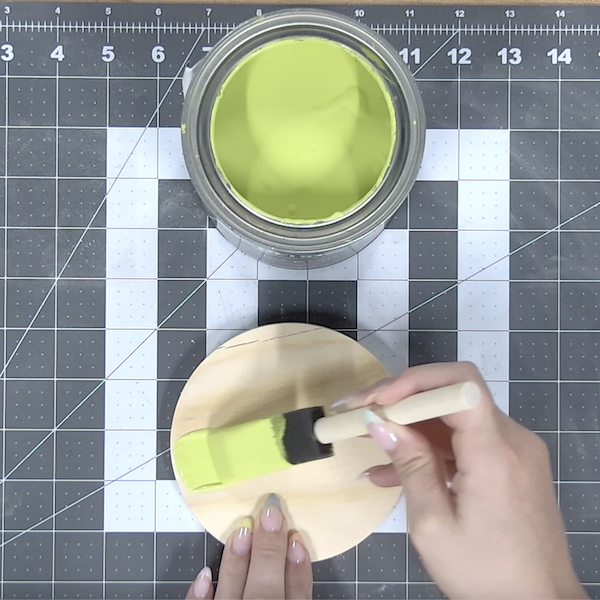
STEP 10
Place the dowels in the middle of each of the vertical rows of cutouts on one of the plywood game boards. Line up the other game board on top of the dowels and nail into place.
Tools
Materials
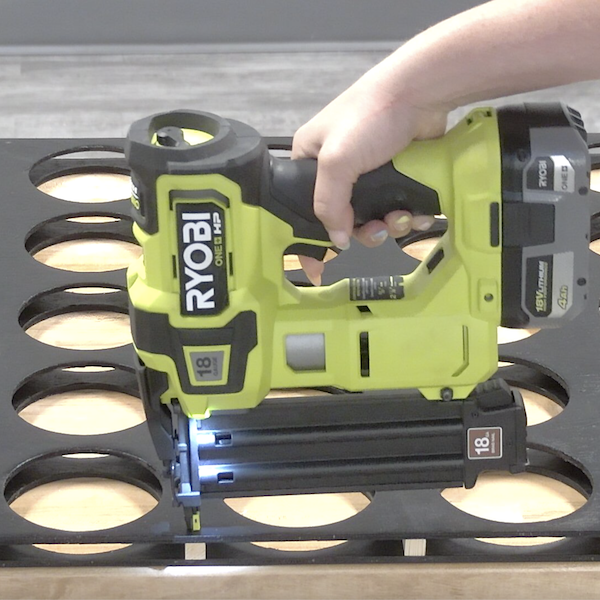
STEP 11
Drill (2) 3/4" pocket holes in the middle of (1) of the 39-1/2" tray pieces. Attach two pieces together using these pocket holes.
Tools
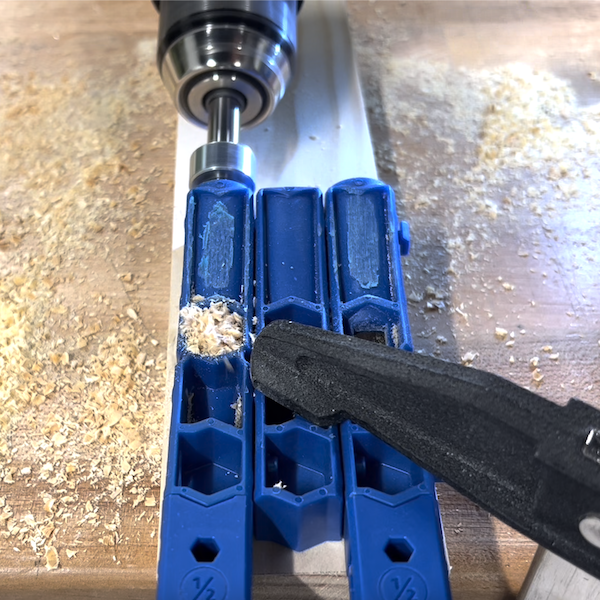
STEP 12
Assemble the tray by lining up the (2) 6-1/2" pieces on each horizontal side of the piece made in the previous step, along with lining up the other (2) 39-1/2" pieces on the top and bottom. Nail all of these pieces together to secure into place.
Tools
STEP 13
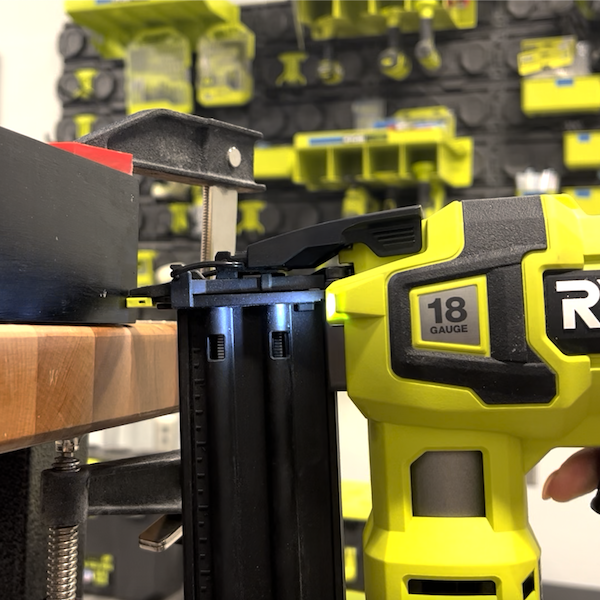
Attach the game board to the legs by lining up the top of the board to the top of the leg and placing the board in the middle of the leg. Secure into place with multiple brad nails. Repeat with the second leg.
Tools
STEP 14
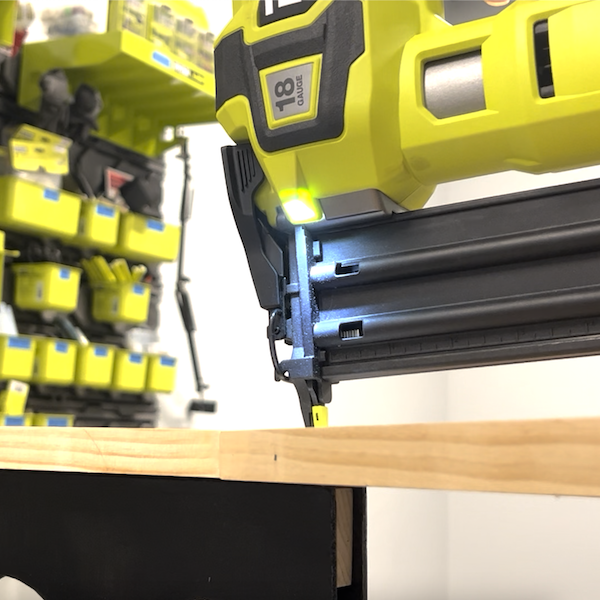
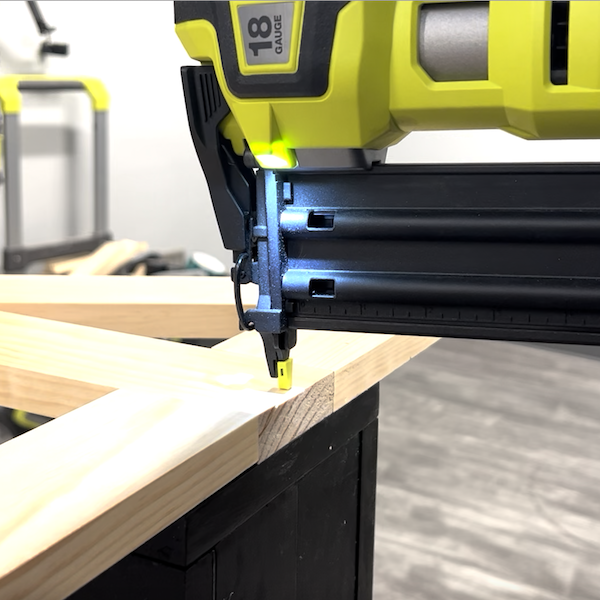
Attach the tray to the board. Slide the tray in between the legs of the game board, placing it so the game board is over the middle of the tray. Nail into place with brad nails
Tools
STEP 15
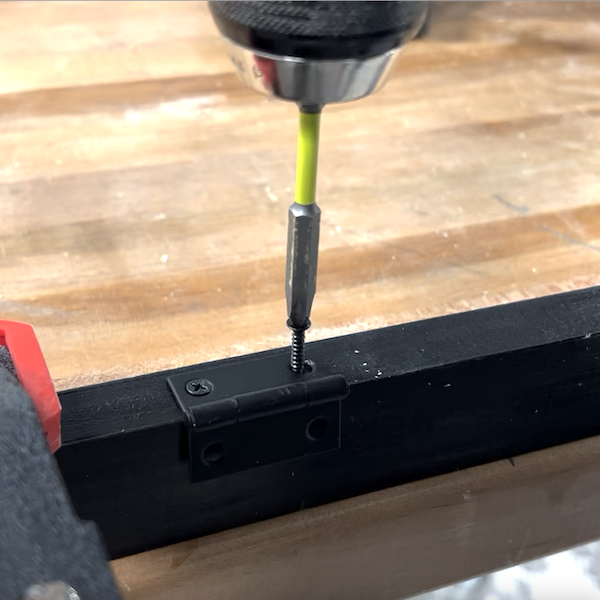
Attach a hinge to each side of the closure piece for the game board. Line up to the bottom of the board and mark where the barrel bolt will slide into place. Screw a barrel bolt to the bottom of the closure piece on each side.
Tools
STEP 16
Drill a hole on the inside of each leg where marked from the previous step. Screw in the other half of the hinge to attach the closure piece into place and slide each barrel bolt into the drilled holes to keep the game pieces inside the board.
