Steps
STEP 1
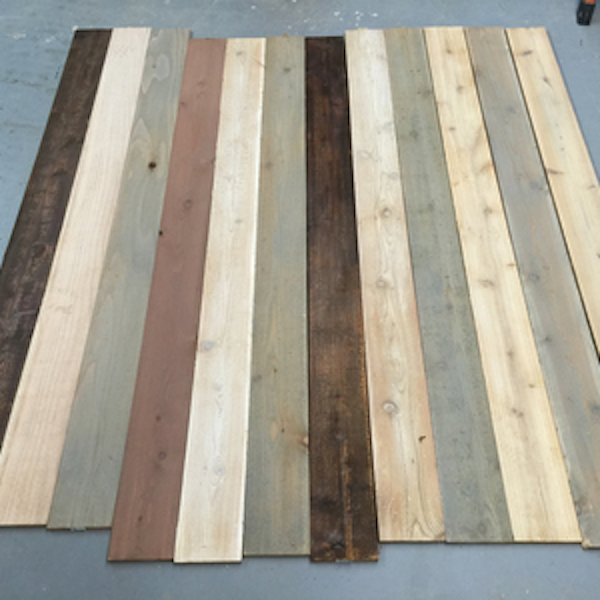
Stain twelve of the cedar fence pickets on one side. Stain remaining fence pickets on all four sides – these will be used for shelving – and set aside.
STEP 2
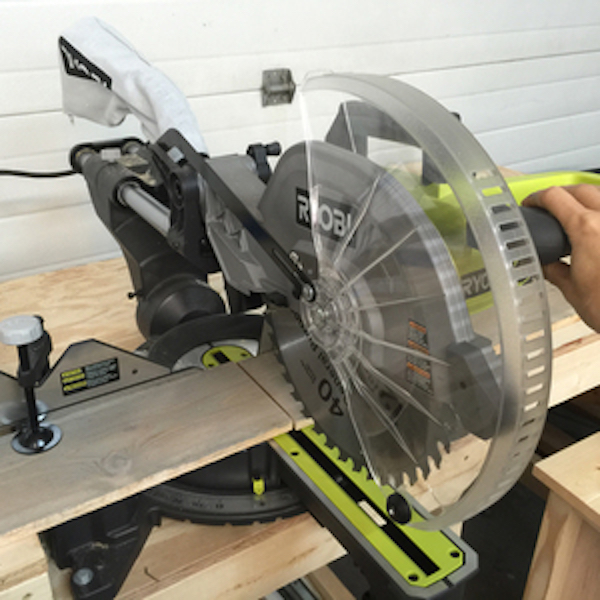
Cut all of the 1x3 boards to 93-1/2” long. Then cut one of the cedar fence picket boards stained on one side 48” long.
Tools
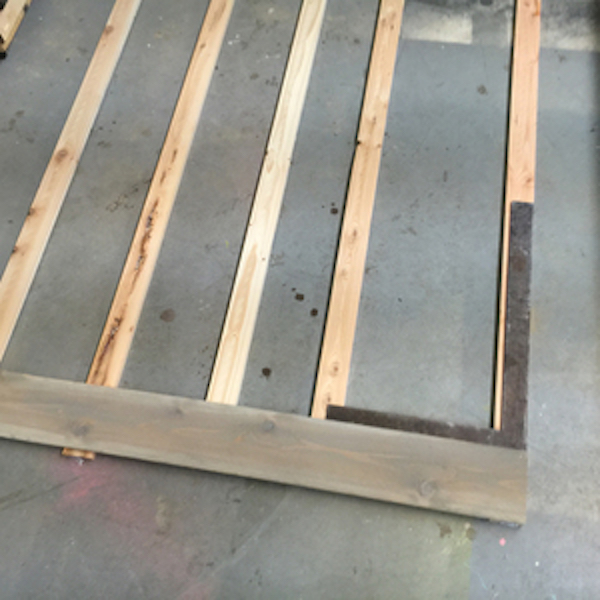
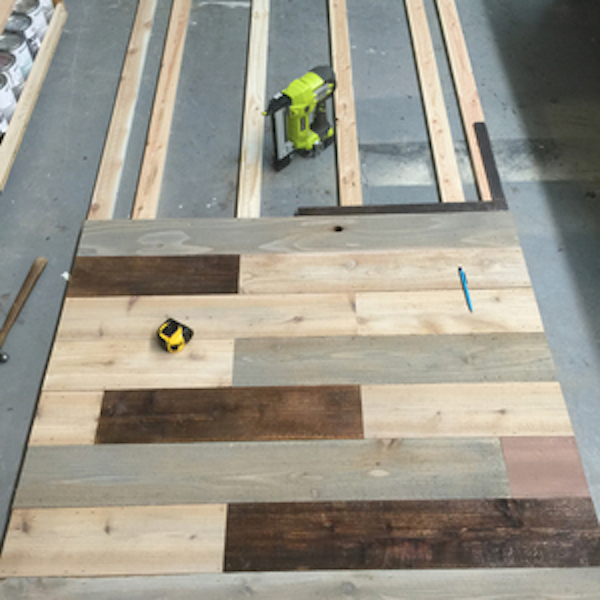
STEP 3
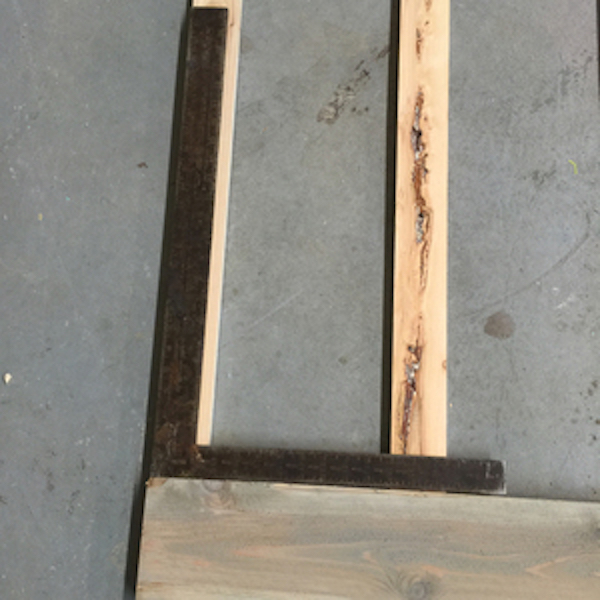
Lay the 1x3 boards on a flat level surface. Position 48” long cedar fence picket at base. Use a square to line up one end 1x3 with the cedar fence picket. It is very important to start square.
STEP 4
Square up opposite end of project, by adjusting 1x3 to the cedar fence picket with a large square. Staple cedar fence picket to the 1x3 with four staples, avoiding center.
Tools
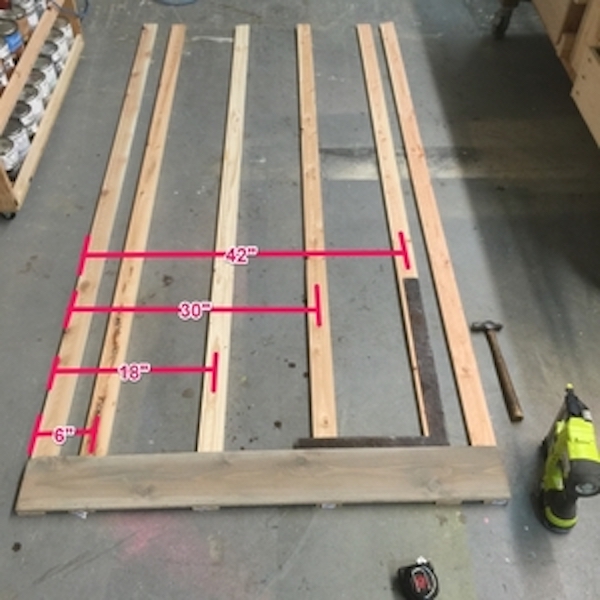
STEP 5
Repeat these steps with middle 1x3 boards, but this time, position 1x3s so center of 1x3 is 6”, 18” 30” and 42” from starting edge of project. Staple to 1x3s, avoiding center where dowel holes may be drilled in later steps.
Tools
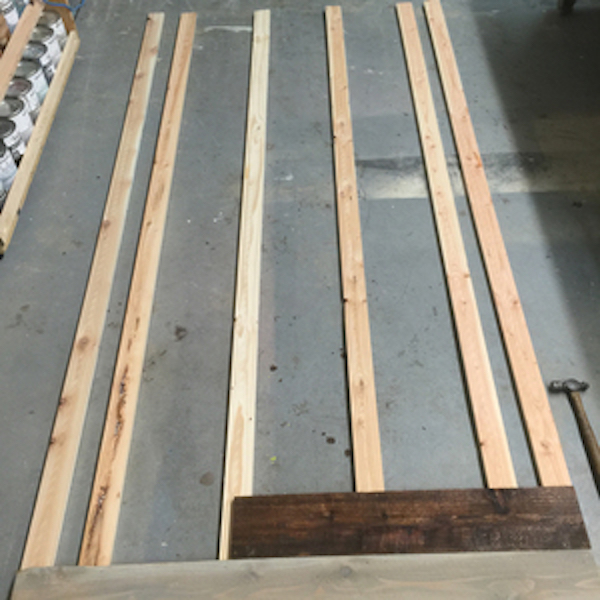
STEP 6
Cut cedar fence pickets so the length ends at the middle of a 1x3 board. Staple to all 1x3 boards with four staples per intersection, avoiding center where dowel holes may be drilled. Use just two staples on cut ends.
Tools
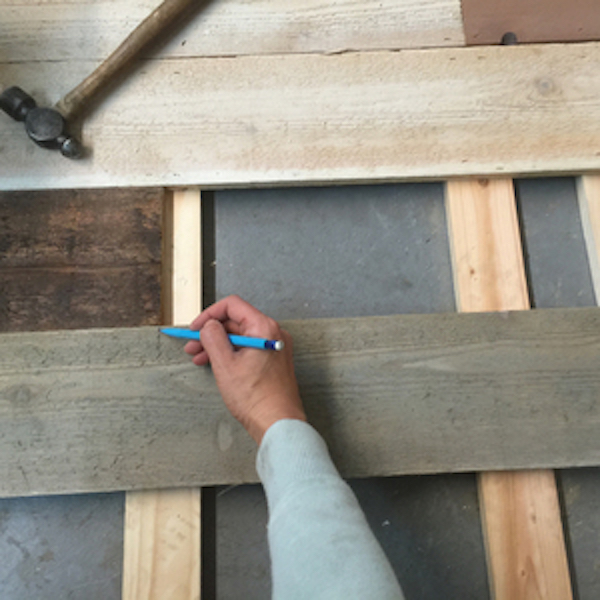
STEP 7
You can save time by scribing board cuts in place, instead of measuring. Just place board to be cut on project, with outside ends flush, mark, and cut.
Tools
STEP 8
Alternate colors and utilize scrap wood whenever possible. Check for square angles after every couple of rows to ensure you are staying on track.
Tools
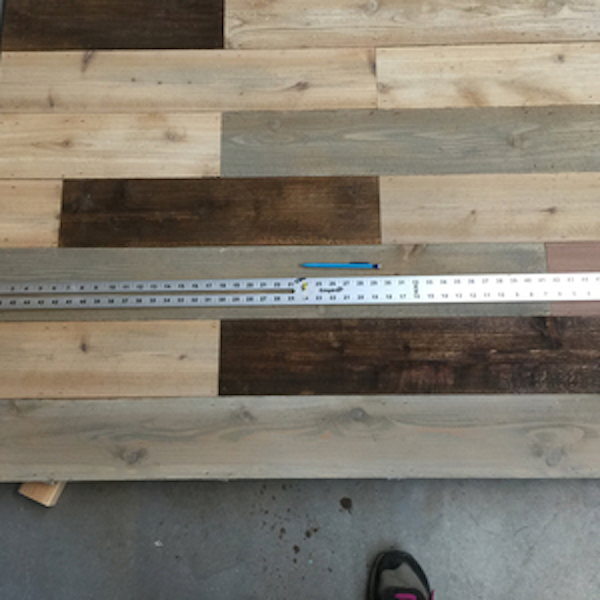
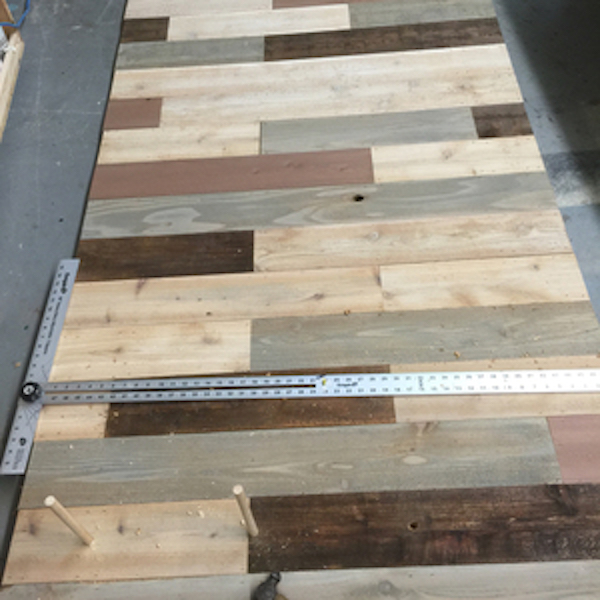
STEP 9
Use a large square or measuring tape to mark out location of peg holes. The peg holes must be located over a 1x3 to fully support the pegs. Alternate planks, starting up one row, and marking every other row of plans in the center of the plank.
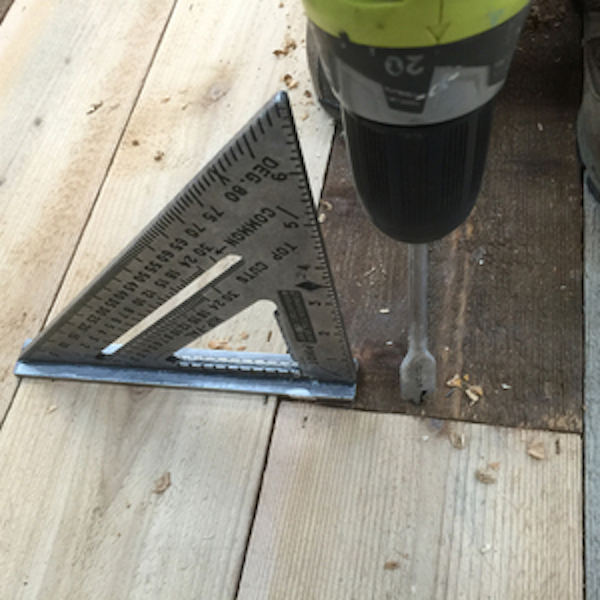
STEP 10
Use a 5/8” spade bit to drill holes for the pegs. A small speed square can help you drill holes plumb to the project. If the holes are drilled at an angle, the pegs will be angled, causing your shelving to not rest square.
Tools
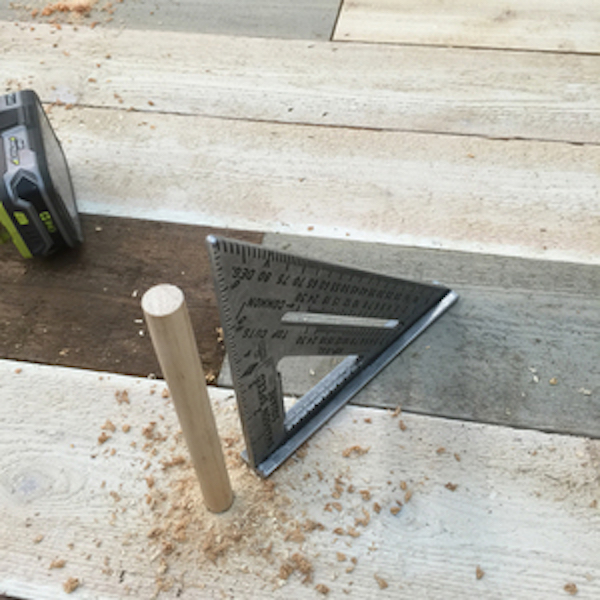
STEP 11
Place a board underneath the project to protect the drill bit and the floor when the hole is drilled all the way through. Drill the holes. Check to make sure pegs sit plumb in holes.
Tools
STEP 12
Continue drilling holes until all holes for pegs are drilled. Cut pegs 7” long for the cedar fence picket shelves.
Tools
STEP 13
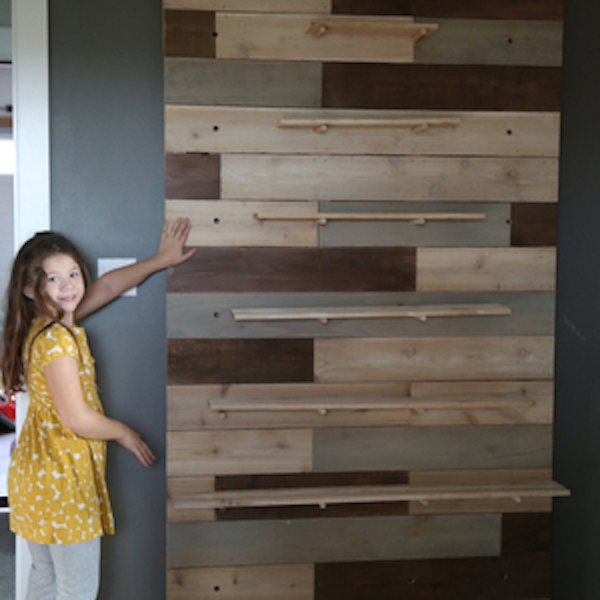
Position project in desired location in room. Locate studs in wall, and secure project to studs in wall to prevent forward tipping. Use screw type and length depending on wall construction materials. Add pegs and shelves and enjoy!
Tools