Steps
STEP 1
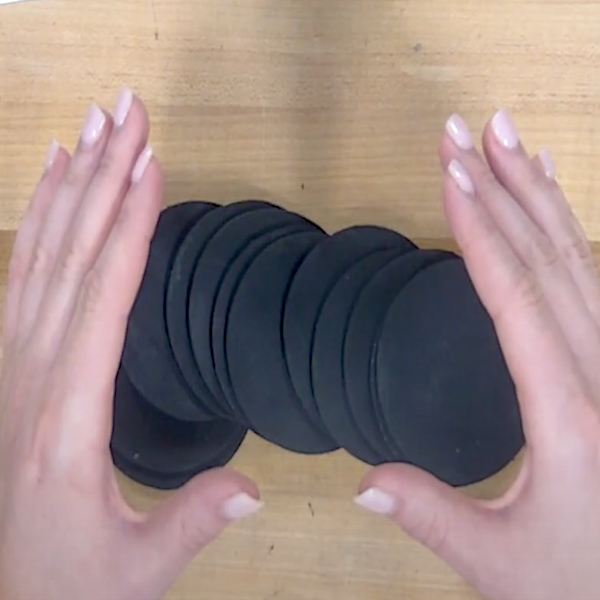
Paint all of the wooden circles with choice of paint.
Materials
STEP 2
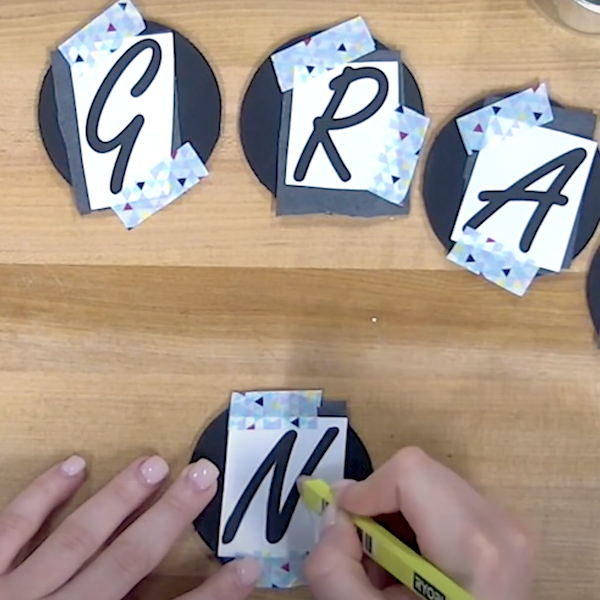
Layout the wooden circles, then use tracing paper and letter stencils to trace out the letters onto the wood
Materials
STEP 3
Insert the Ball Engraving Burr into the USB Lithium Rotary Tool. Engrave all the traced letters.
Tools
Materials
STEP 4
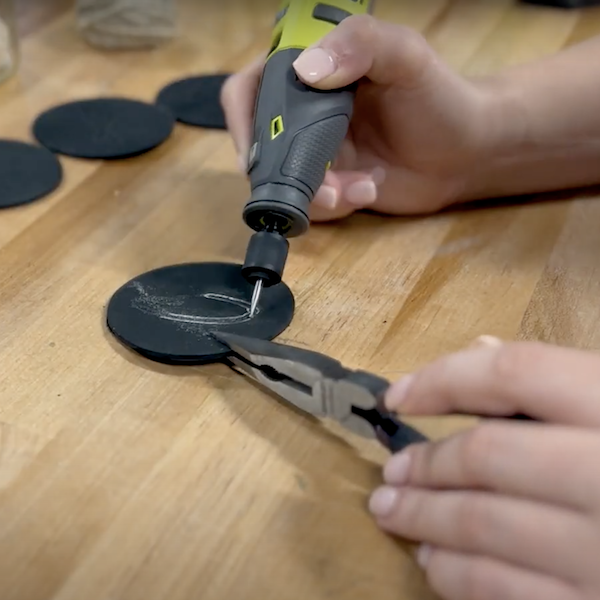
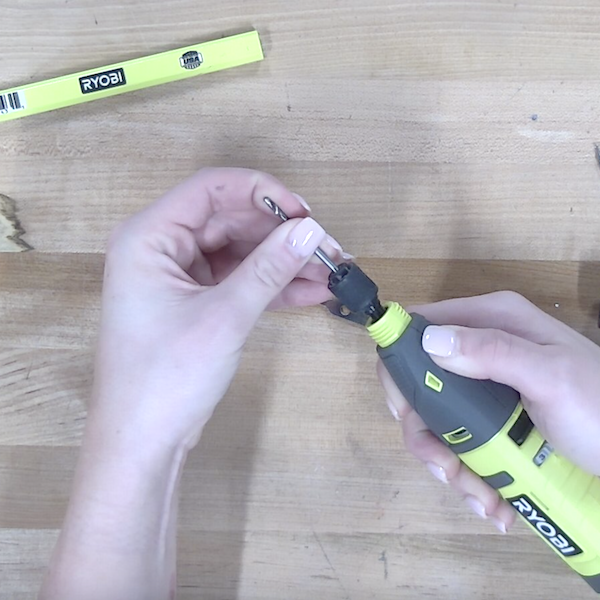
Remove the collet using the wrench. Twist off the upper piece of the USB Lithium Rotary Tool. Attach the collet back onto the USB Lithium Rotary Rool, then insert the 1/8" drill bit.
Tools
STEP 5
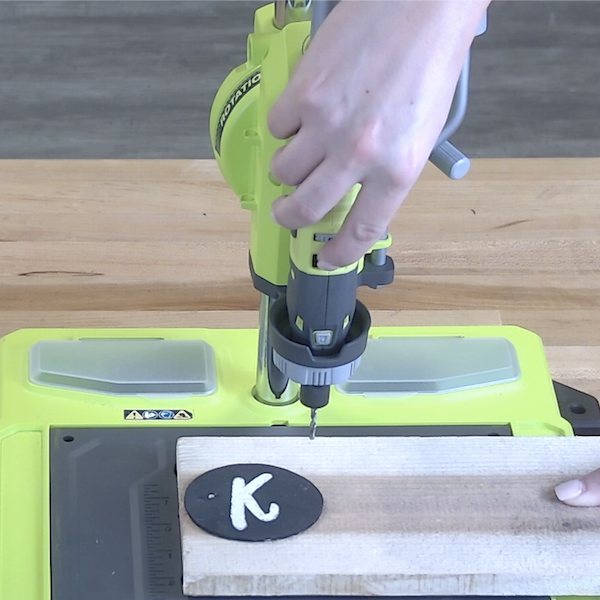
Screw the USB Lithium Rotary Tool into the Hobby Station. Adjust the depth as needed, using the dials on the side of the Hobby Station.
Tools
Materials
STEP 6
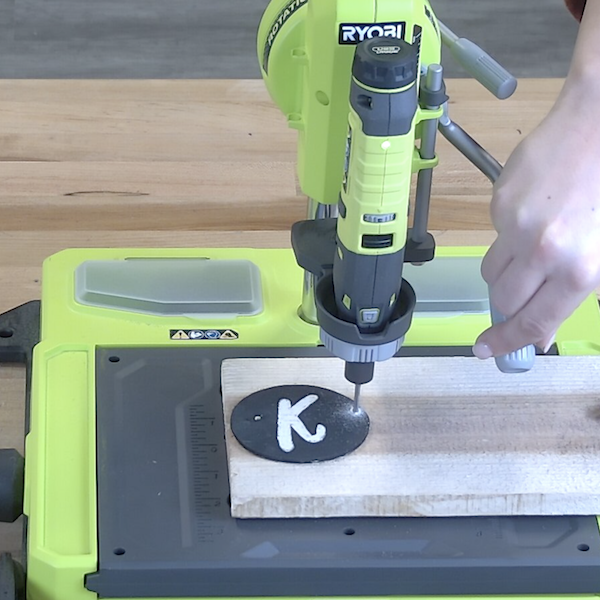
Use the drill press function of the Hobby Station to drill two holes into the circles, one on each horizontal side of the engraved letters. Be careful to ensure the holes line up evenly.
Tools
Materials
STEP 7
Measure twine to desired length. Use the Quick Change Hobby Knife to cut the twine to size
Tools
Materials
STEP 8
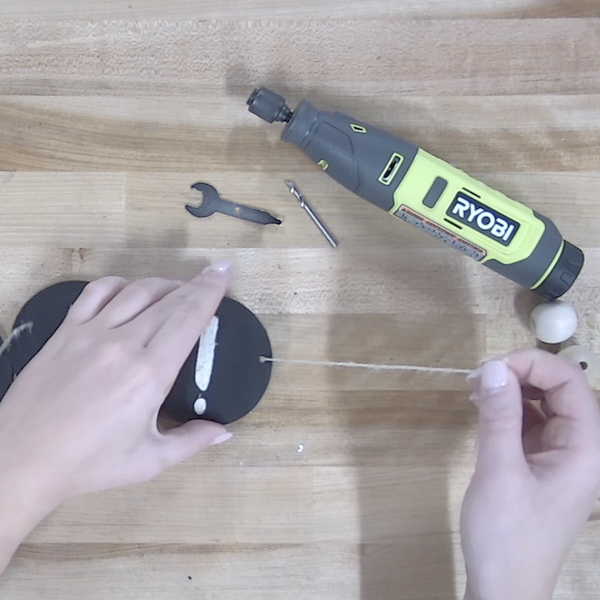
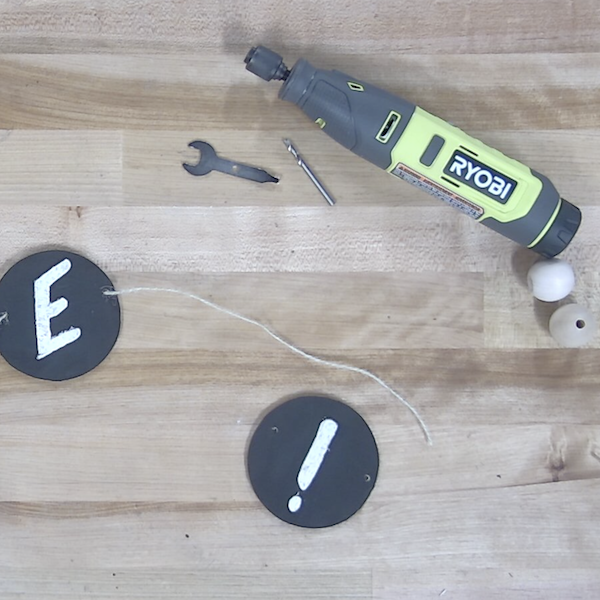
Thread each of the letters onto the twine, using a bead to separate each letter. Use multiple beads to separate the words.
Materials
