Steps
STEP 1
Gather a bundle of birch branches and trunks. Line up the branches and twigs from thick to thin. Stagger the branches and twigs to mimic the outline of a Christmas Tree.

STEP 2
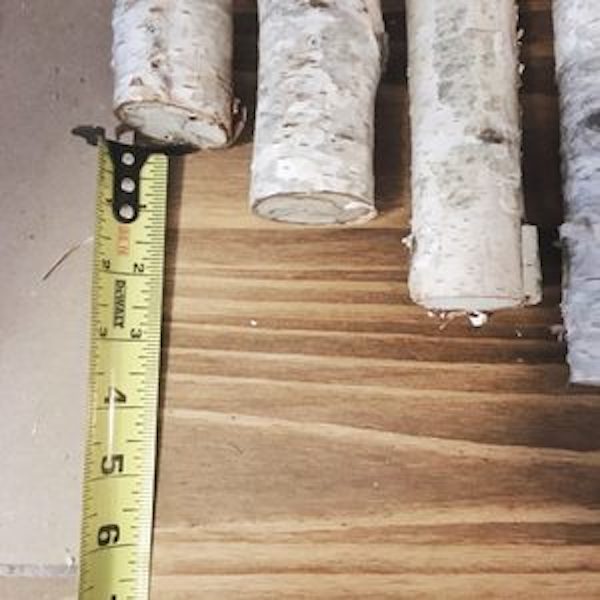
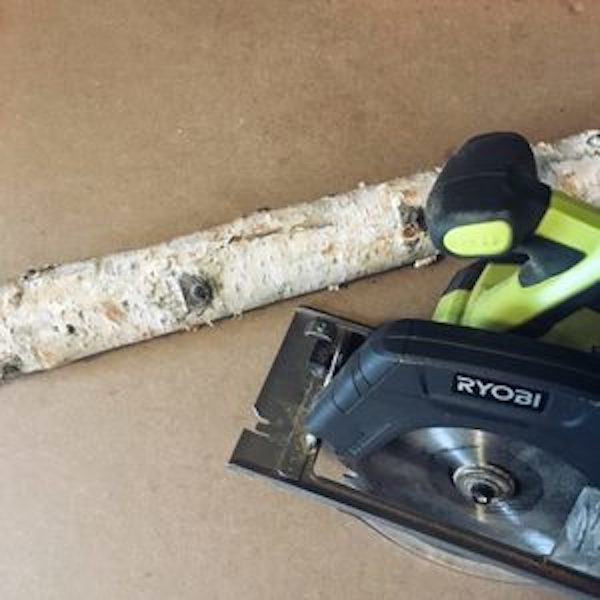
Starting the the bottom. Leaving a 1/4 inch over-hang on each side of the back board, cut the longest board. As you move your way up the tree, cut the following branches roughly 2 inches shorter than the previous branch, until you get to the top.
Tools

STEP 3
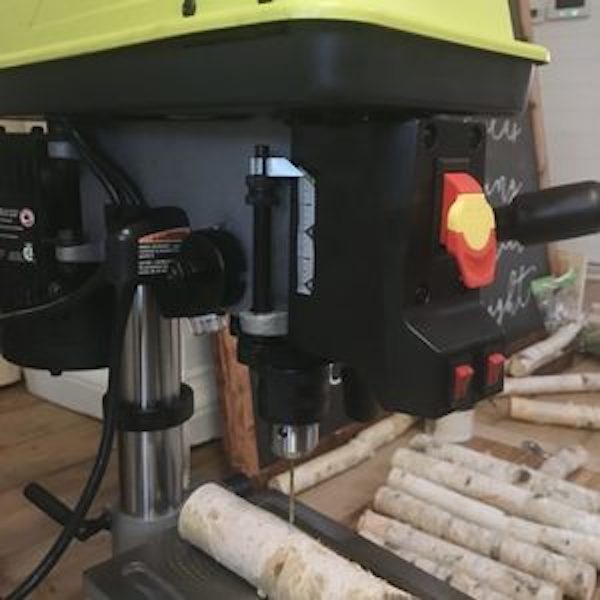
Take the birch over to the drill press to drill pilot holes for the screws. This worked very well, given the shape of the birch being round, the drill press makes sure the pilot hole is straight up and down.
Tools

STEP 4
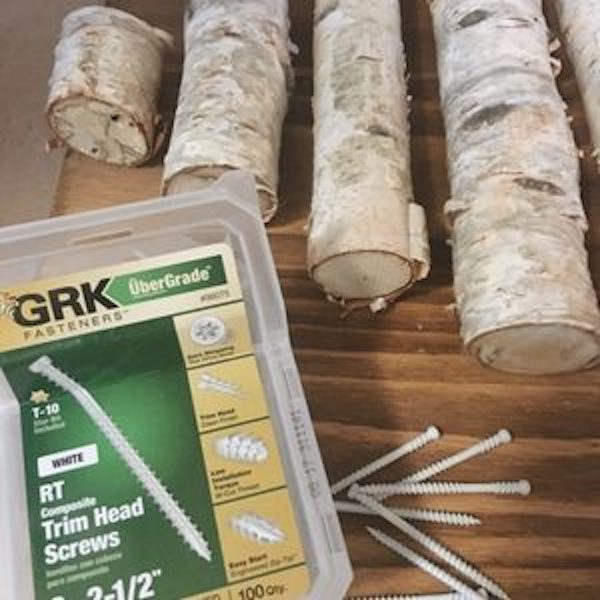
Evenly space the birch on the back board and drill into place.
Tools
