Steps
Step 1
Cut a 12' long 2x12 in half. You will need two pieces of 2x12 that are at least 6’-10’ long for this project. I recommend buying a single 12’ long 2x12 and having it cut at the store for you.
Step 2
Use the template to mark cuts. Download and print the template and glue it to one of the 2x12s. You will use this template as a cutting guide so try to make sure that the edges are glued down and won’t flap when you are cutting.
Tools
Step 3
Cut the curves. Use a jigsaw to make the curved cuts. Make sure that your blade is both sharp and designed for wood.
Tools
Materials
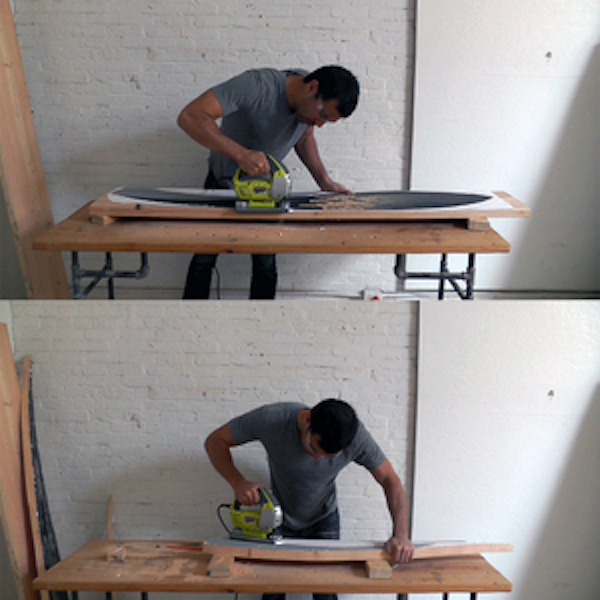
Step 4
Transfer the curve. Use the piece as a stencil for the second piece of wood. Simply put it on top of the uncut piece and trace around it with a pencil.
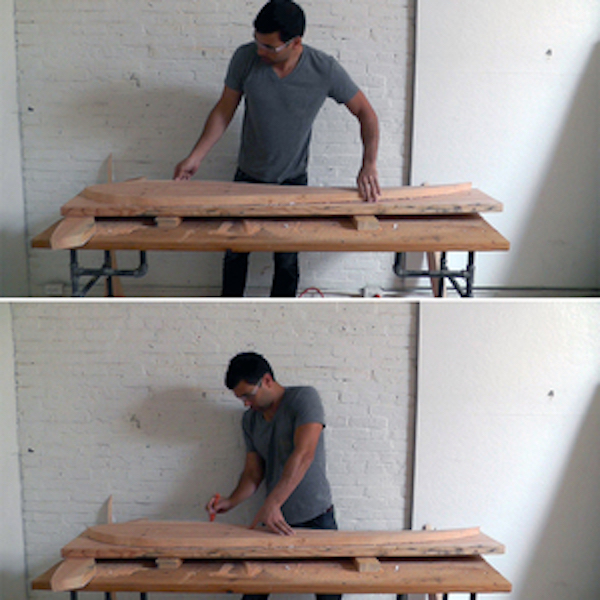
Step 5
Cut the second piece. The more accurate you are with the cut the less time you will have to spend sanding later.
Tools
Materials
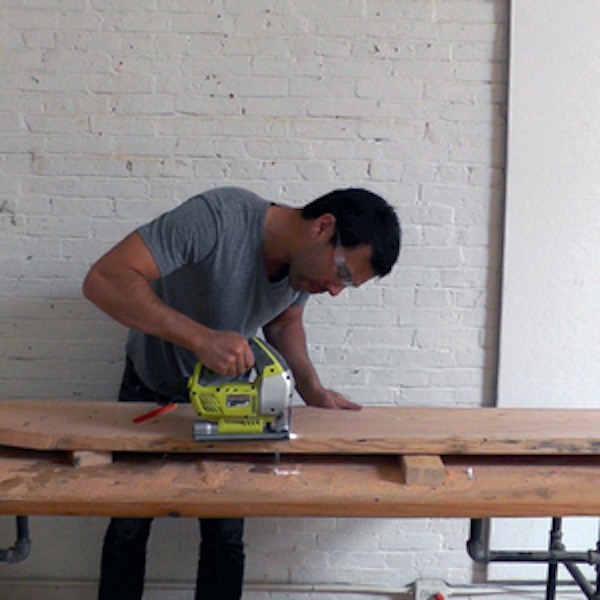
Step 6
Screw the pieces together. Using five or so 2 1/2” deck screws, screw the pieces together so that you can sand the edges of both at the same time.
Tools
Materials
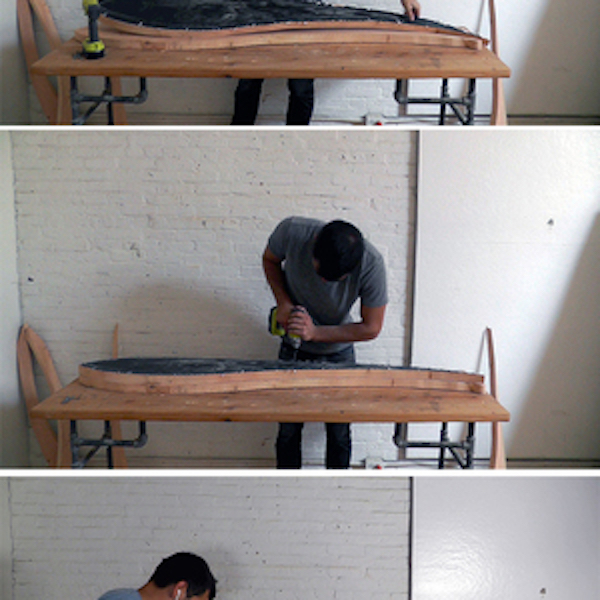
Step 7
Sand and shape the runners. I used a belt sander with 50 grit belts. It is helpful to use a couple of L brackets to secure the pieces to a work surface. Once the runners have identical profiles, repeat with the two back pieces.
Tools
Materials
Step 8
Screw on the back. Use five 2 ½” deck screws to attach the back pieces to the runners. Cut some of the scrap pieces into braces that are 24” long and use L brackets to connect the two runners.
Tools
Materials
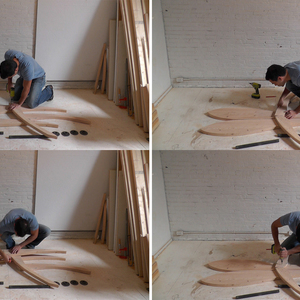
Step 9
Cut cross pieces. Cut the trim boars into 24” long pieces for the seat and 21” long pieces for the back.
Tools
Materials
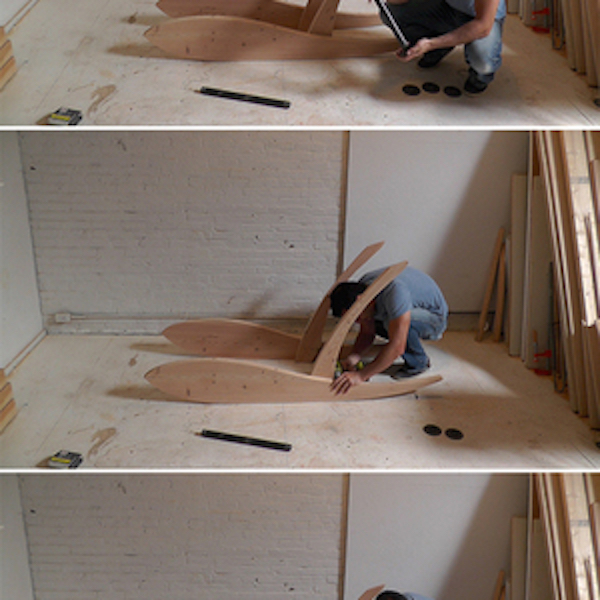
Step 10
Screw on the cross pieces. Drive one 1” screw on each end of the trim pieces and into the runners. If the trim boards split you will need to pre-drill the holes through them.
Tools
Materials
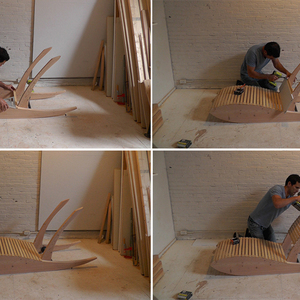
Step 11
Stain and seal. Finish with a light sanding before applying Danish oil. If you want to use the piece outside, also apply a water sealant.
Tools
Materials
