Steps
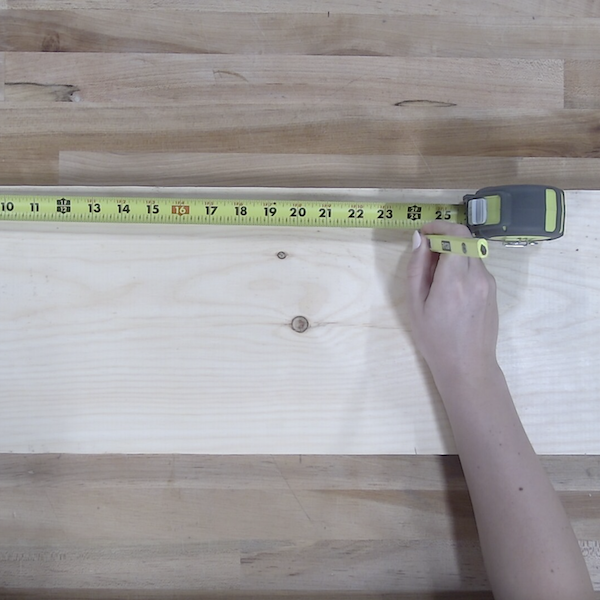
STEP 1
Measure and mark on the wood where cuts will be made at 9-1/4"x 24", 4-1/4" x 21", and 1-1/4" x 21".
Tools
Tape measure, marker
Materials
1"x10"x6' Wood
STEP 2
Cut along the marked lines on the wood.
Tools
Circular Saw
Materials
1"x10"x6' Wood

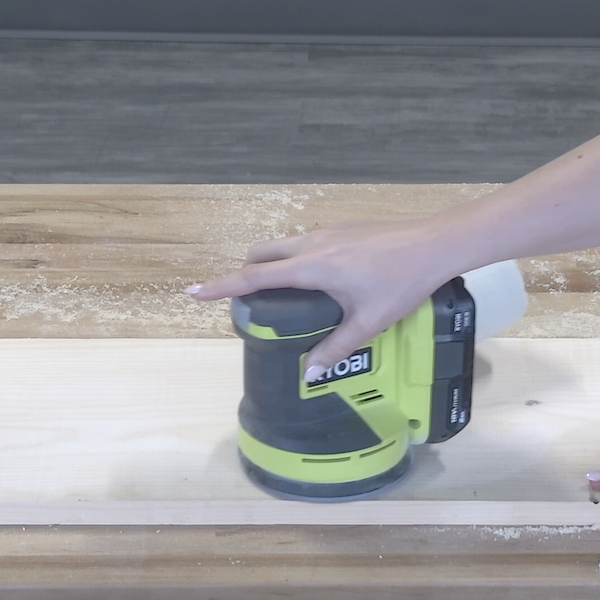
STEP 3
Sand all of the pieces of wood in preparation for staining.
Tools
Sander
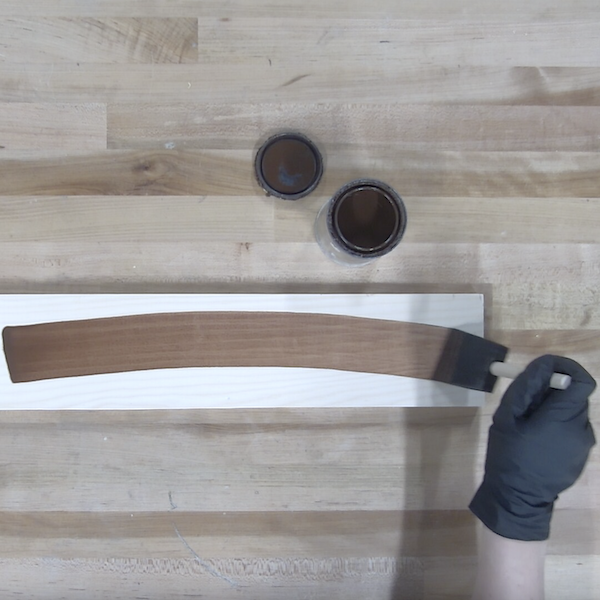
STEP 4
Apply stain to all of the pieces of wood and allow time to dry.
Materials
Wood stain
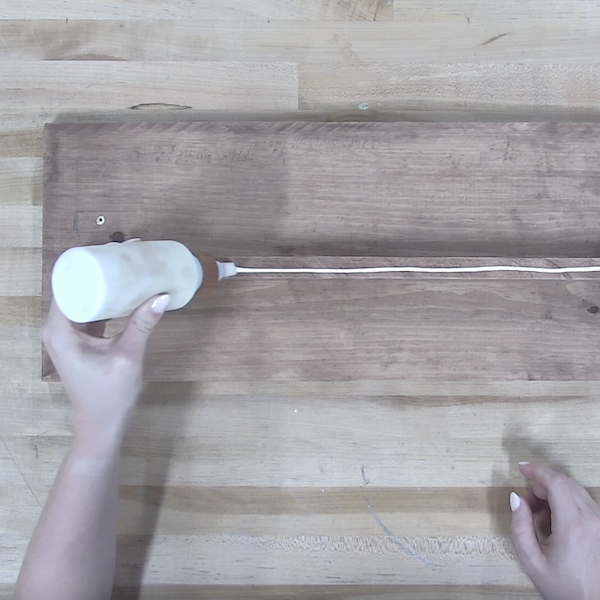
STEP 5
Apply wood glue onto the support piece (1-1/4" x 21"), then press onto the backboard piece (9-1/4" x 24".)
Materials
Wood glue
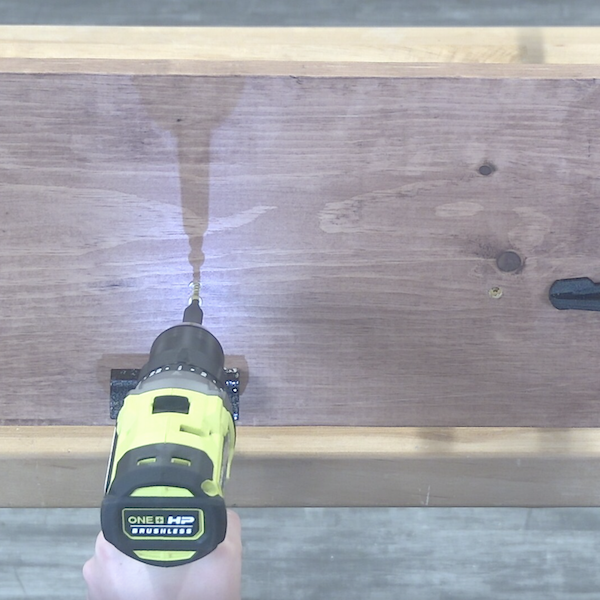
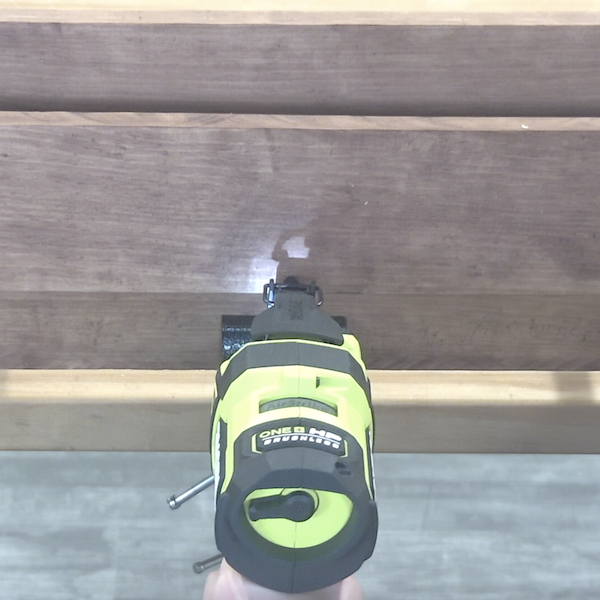
STEP 6
Use the 1-1/4" wood screws to fully attach the support piece to the backboard piece.
Materials
1-1/4" Wood screws
STEP 7
Attach the front piece (4-1/4" x 21") to the support using 1-1/4" brad nails.
Tools
Brad Nailer
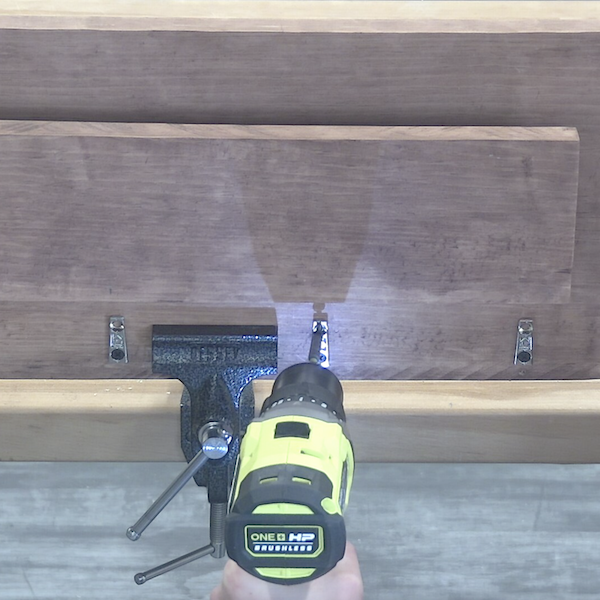
STEP 8
Screw on each of the pieces of metal hook hardware evenly underneath the support/front piece.
Materials
Metal hook hardware
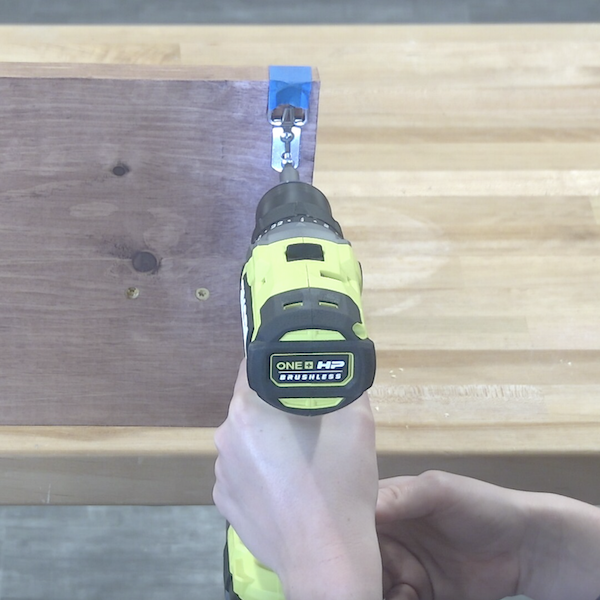
STEP 9
Screw on a d-ring hangers onto each side of the back side of the backboard.
Materials
D-ring hardware