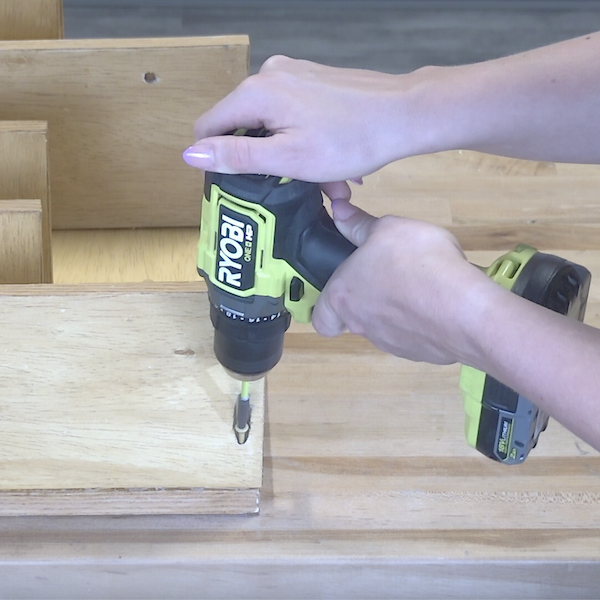
Steps
STEP 1
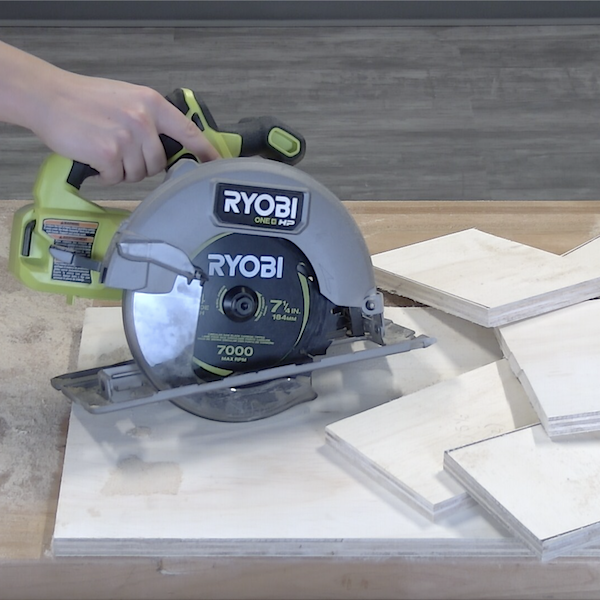
Mark and draw lines on the 2x4 at 14.5" x 28" for the back piece. Then, mark 5.5" x 9" four times for the shelf pieces. Lastly, mark 5.5" x 14.5" for two larger shelves. Make cuts.
Tools
Materials
STEP 2
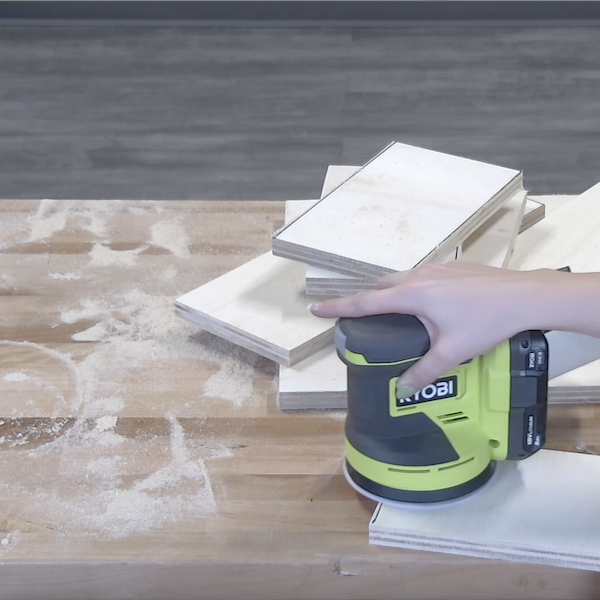
Use 220 grit sandpaper to thoroughly sand all of the pieces of wood to prepare for staining.
Tools
STEP 3
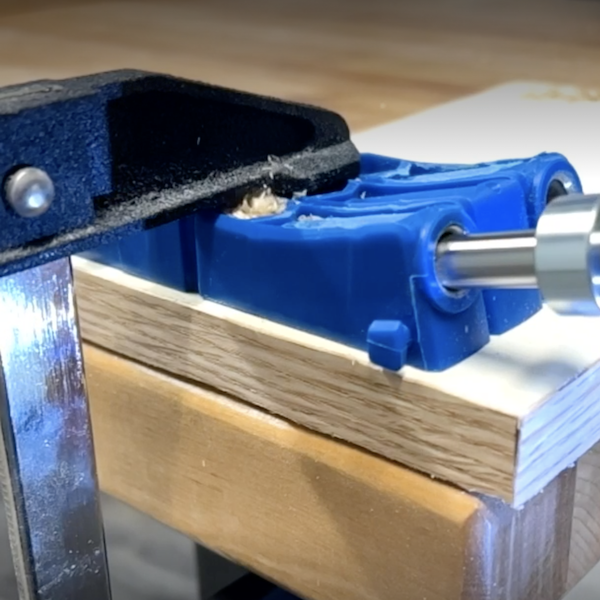
Drill pocket holes on each of the shelves using a pocket hole guide.
Tools
STEP 4
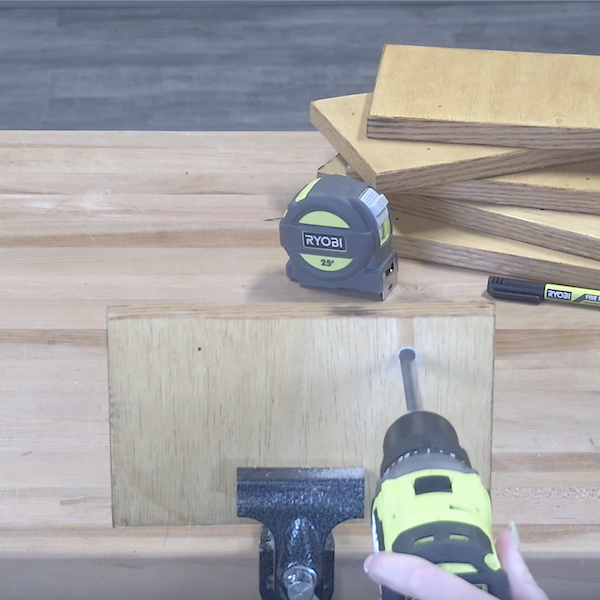
Drill even holes on each of the shelves according to the wine bottle sizes.
Tools
STEP 5
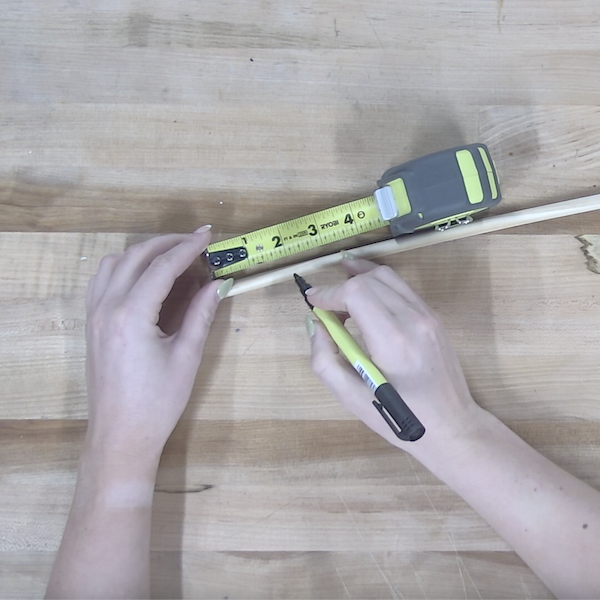
Mark the dowel sixteen times each at 2." Cut the dowel along all of the marked lines.
Materials
STEP 6
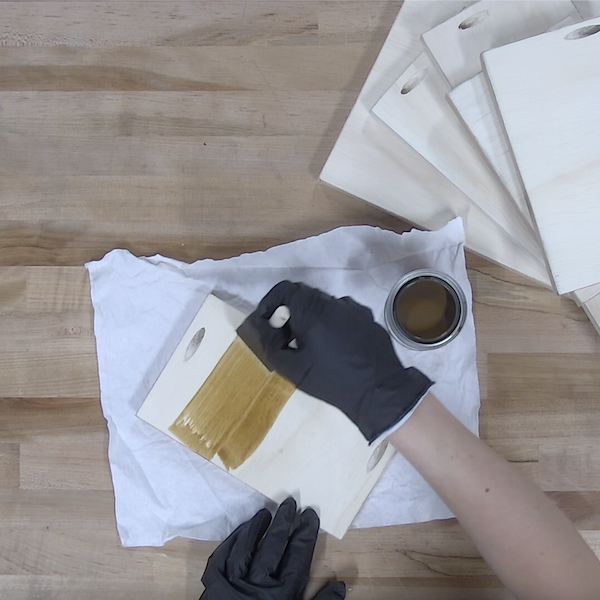
Apply stain to all of the wood pieces, including the dowel pieces.
Materials
STEP 7
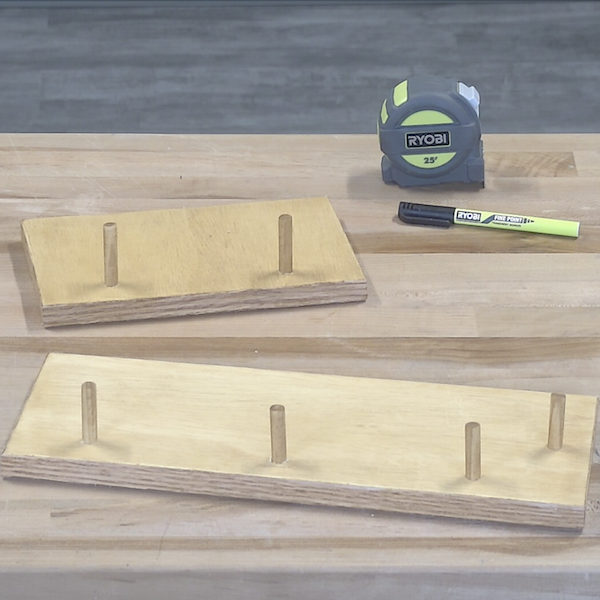
Insert the dowel pieces into the holes drilled in step 4.
Materials
STEP 8
Apply wood glue to each of the shelves and press onto the back board. Drive screws into the pocket holes on the shelves to attach them to the board. Allow 24-48 hours for the glue to dry fully
Tools
Materials
