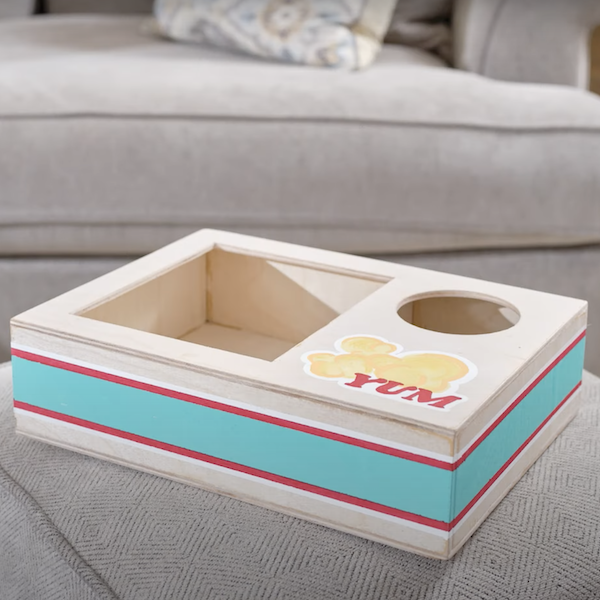
Steps
STEP 1
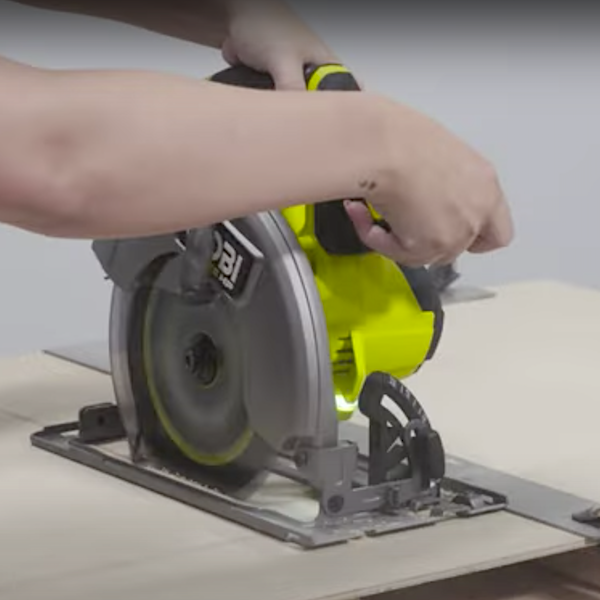
Cut out all material using the Lumber & Sheet Cut Layout Guide. Some initial sanding can be done after cutting the boards and panels. Sanding pieces prior to building can make the process easier before final assembly.
Tools
Materials
STEP 2
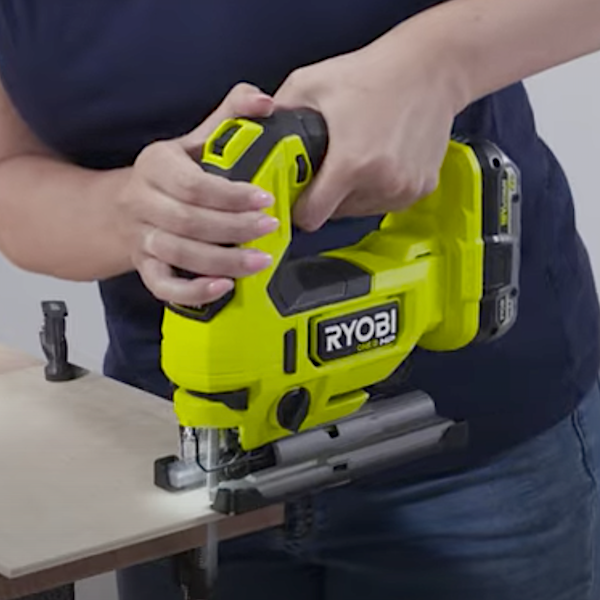
Use the diagram on Page 5 to mark the drink holder and popcorn holder. Use the Jig Saw to cut them out.
Tools
Materials
STEP 3
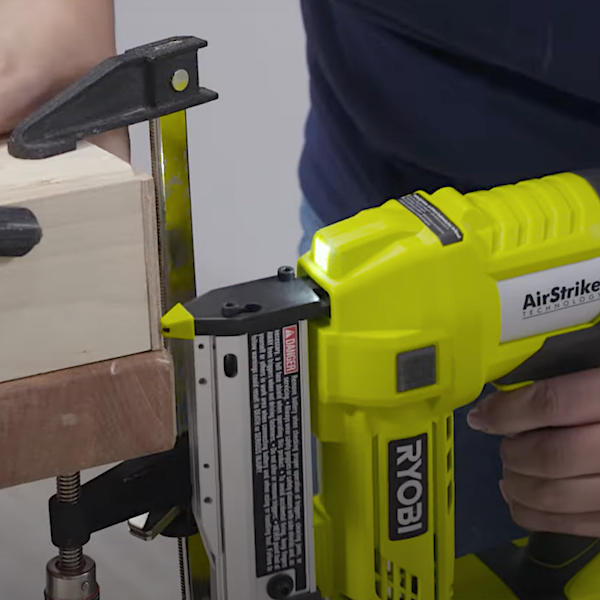
Align the (2) long side panels to the bottom of the box. Glue and attach them with 5/8” pin nails.
Tools
Materials
STEP 4
Align (2) short side panels on each end. Glue and attach them with 5/8” pin nails.
Tools
Materials
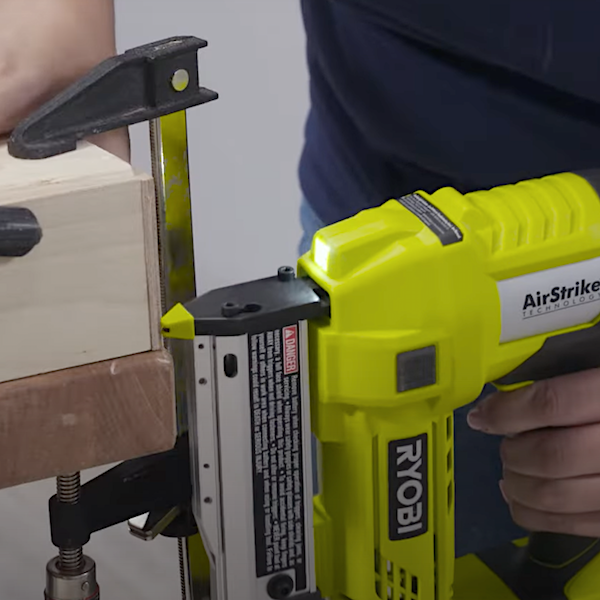
STEP 5
Measure 6-5/8” from the inside edge of the left panel. Attach the remaining short panel with glue and pin nails.
Tools
Materials
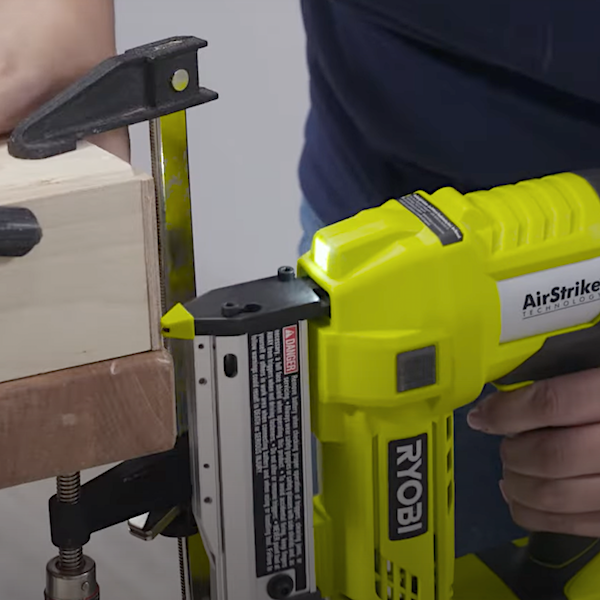
STEP 6
Align the top piece to the side panels. Glue and nail together.
Tools
Materials
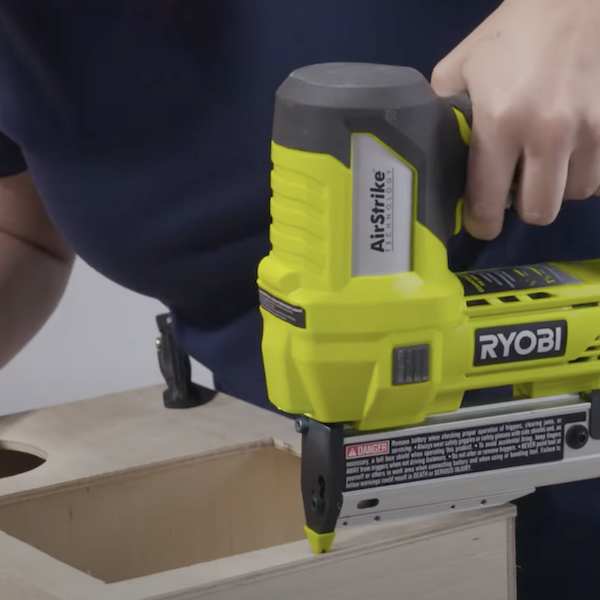
STEP 7
Sand the box. Sanding instructions are on Page 8.
Tools
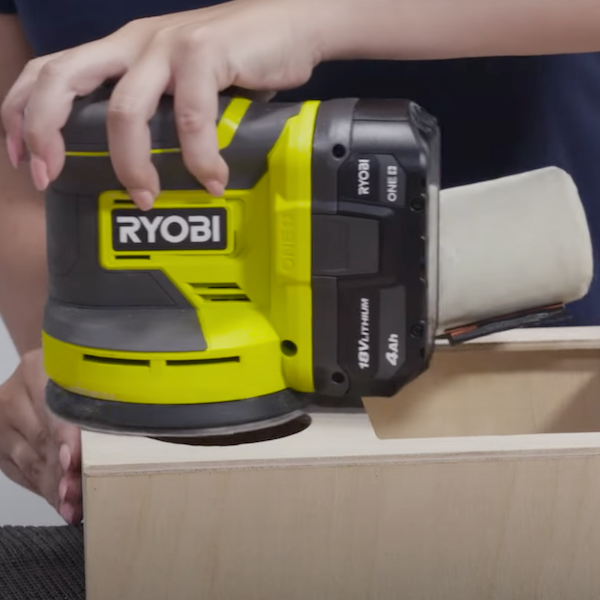
STEP 8
Paint and decorate as desired.
Materials
