Neighborhood Free Library Station

By RYOBI NATION FEATURED CREATORS

SKILL
intermediate

Build memories and foster a neighborhood community with a Free Library to share some of your favorite books! Created by @delancey.diy! 👷‍♀️🏠

Tools

  • 18V ONE+ HP Brushless 7-1/4" Circular saw
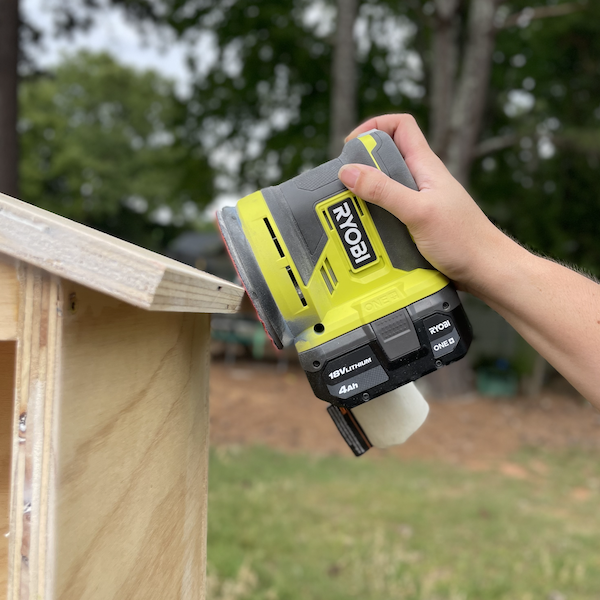
  • 18V ONE+ 5" Random Orbit Sander
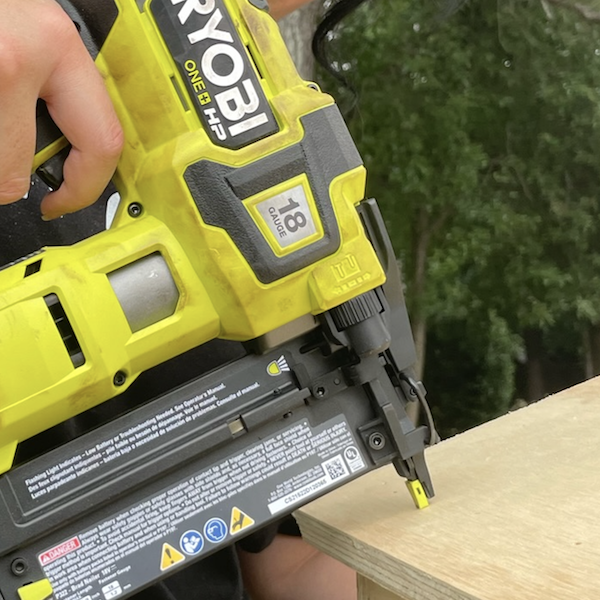
  • 18V ONE+ HP Brushless Air Strike 18 GA Brad Nailer
  • 18V ONE+ HP Brushless 1/2" Drill/Driver

Accessories

  • 65 PC. DRILL AND IMPACT DRIVE SET
  • 7 PC. 5" RANDOM ORBIT SANDER SAND PAPER

Materials

  • 1" Pocket Screws
  • 1'x3' Select Pine Wood
  • 18 Gauge Collated Nails
  • 3/4" Plywood
  • 4"x4" Wood Post
  • Cabinet Hinges
  • Cabinet Knobs
  • Hammer
  • Paint
  • Plexiglass
  • Pocket Hole Tool
  • Quick Setting Cement
  • Shingles
  • Wood Glue

Steps

STEP 1

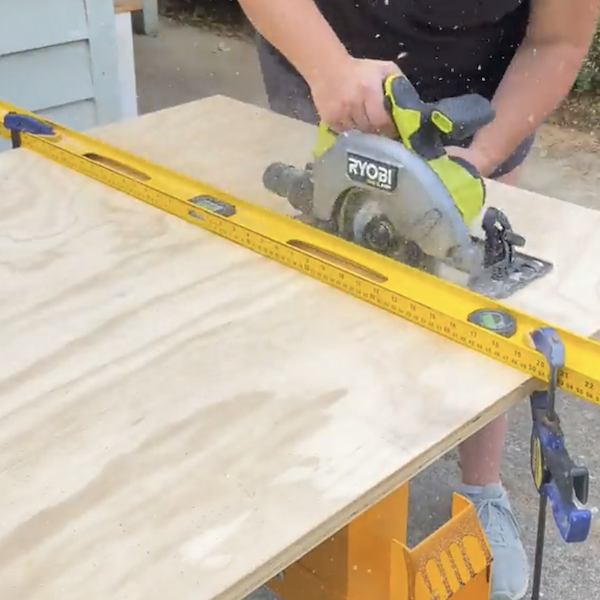
Cut ¾” plywood to size.

Tools

Circular Saw

Materials

3/4" Plywood
Cutting wood to size

STEP 2

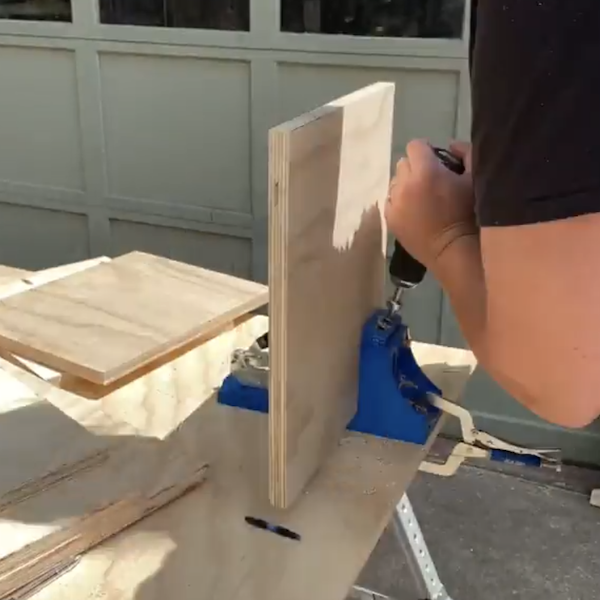
Use a pocket hole tool to drill holes into the plywood pieces.

Tools

Drill

Materials

Pocket Hole Tool
Drilling holes

STEP 3

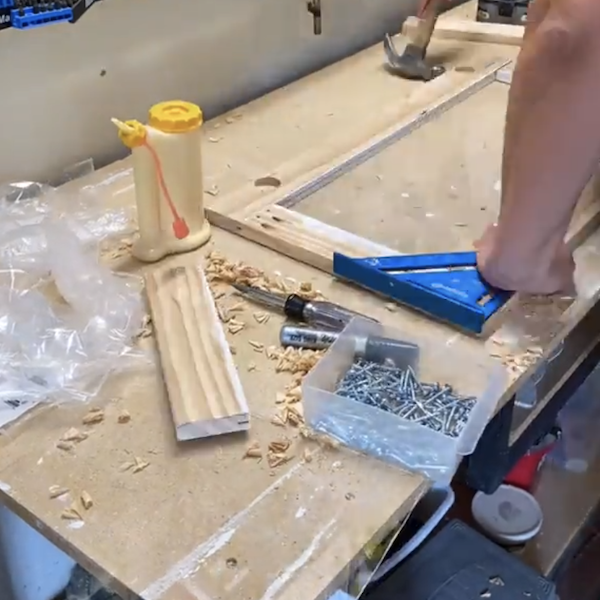
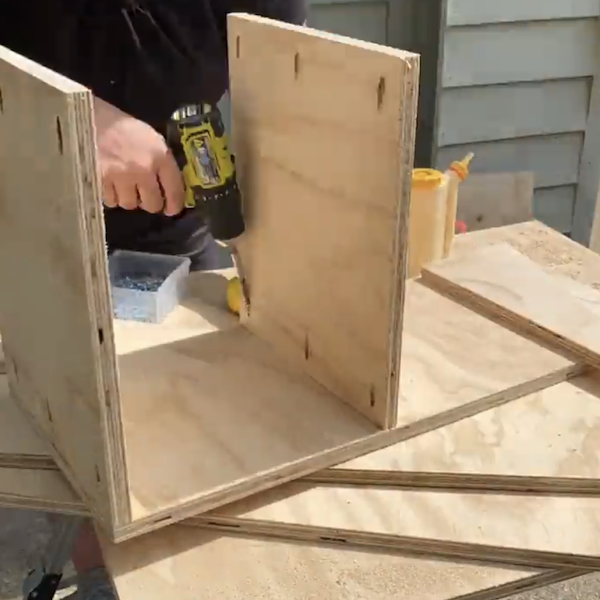
Utilize the pocket holes to attach the pieces together to create a cabinet.

Tools
Drill
Attaching wood together

STEP 4

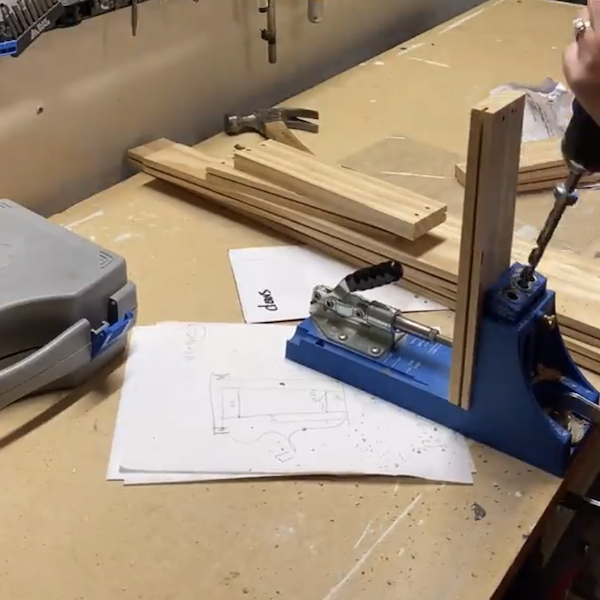
Cut 1x3's to fit the size of the cabinet to create a cabinet door frame, drill pocket holes into the 1x3's.

Tools

Drill

Materials

Pocket Hole Tool
Drill pocket holes

STEP 5

Place plexiglass in between the cabinet door frame pieces to create the door and use cabinet door hinges to attach the doors to the cabinet.

Tools

Drill

Materials

Plexiglass
Creating doors

STEP 6

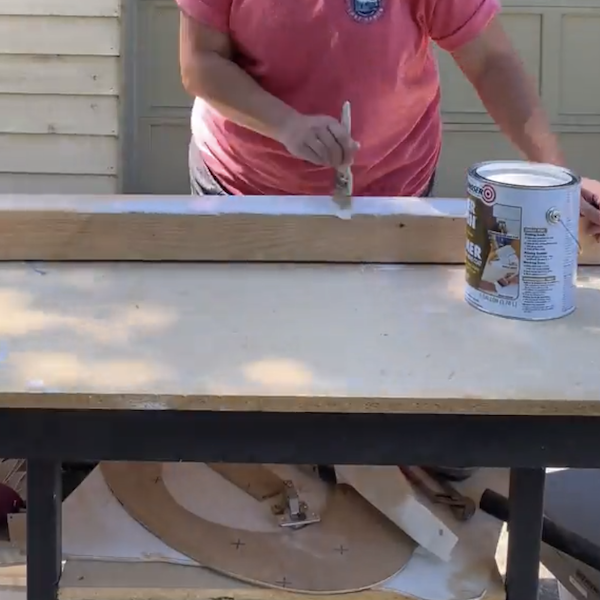
Paint the 4x4 post that the book cabinets will rest on, then place in the ground using quick set cement to hold into place.

Materials
Paint
Painting wood

STEP 7

Cut two 1x3’ pieces to serve as ledges for the cabinets to sit on, then attach them to the 4x4. Place the cabinets on the ledges and use the brad nailer to secure them into place.
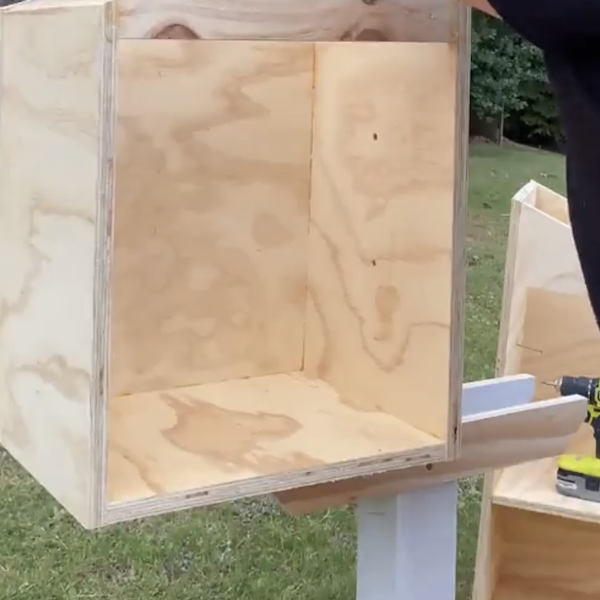
Library attached to post

STEP 8

Cut plywood pieces to size to create a roof for each cabinet and attach using a nailer.

Tools

Brad Nailer

Materials

3/4" Plywood
Attaching roof

STEP 9

Sand the cabinet to prep for painting. Apply paint to the cabinets as desired.

Tools

Sander

Materials

Paint
Painting cabinets

STEP 10

Cut shingles for the roof and attach using a hammer and nails.

Materials
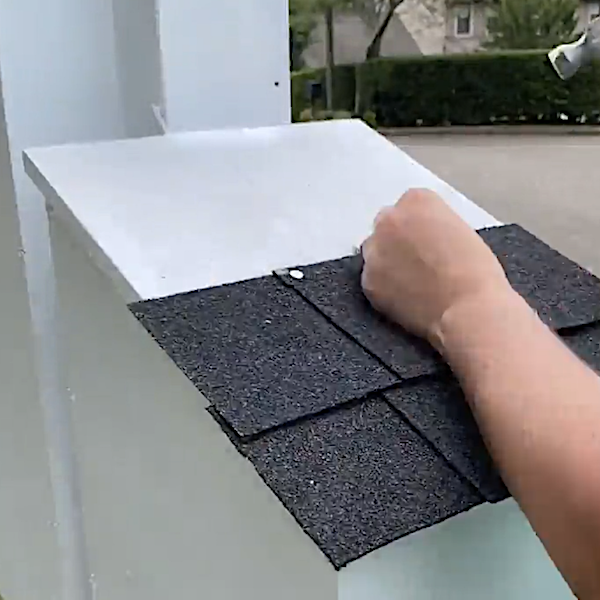
Hammer, Shingles, Nails
Attaching shingles