Steps
STEP 1
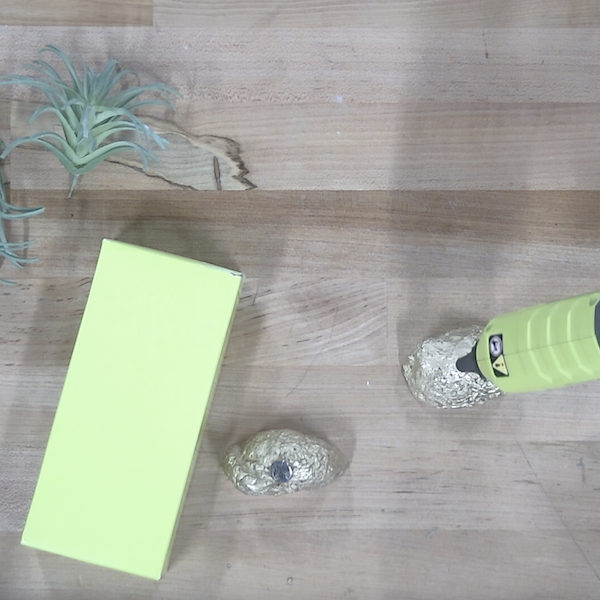
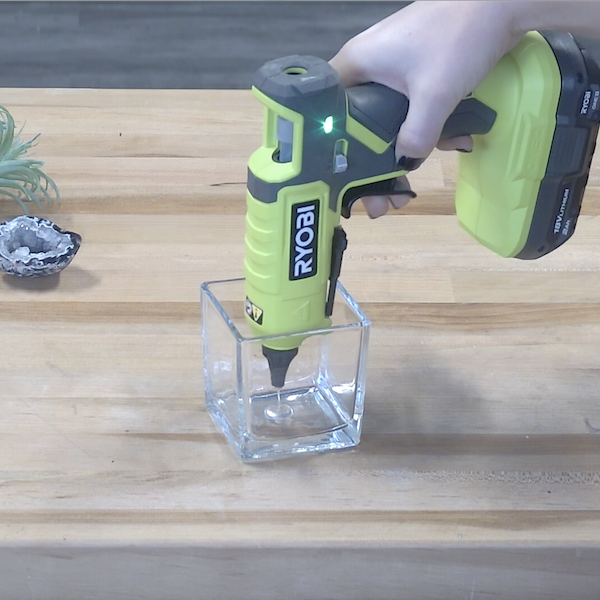
Mark on each geode where the hole will be drilled for each of the air plants. Use the glue gun to place glue at the bottom of a cup, then press the geode into place. Fill the cup with enough water to cover the geodes.
Tools
Materials
STEP 2
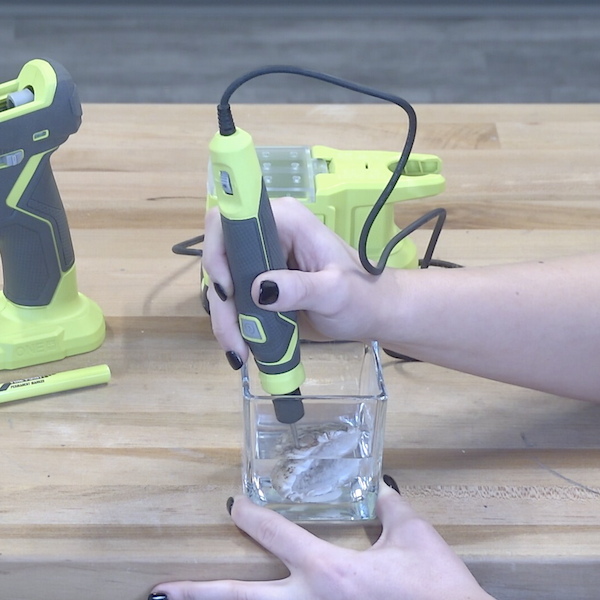
Insert the Diamond Tip Engraving Burr into the 18V ONE+ Precision Craft Rotary Tool. Drill into the geodes where marked until the hole is big enough to fit the air plant.
Tools
Materials
STEP 3
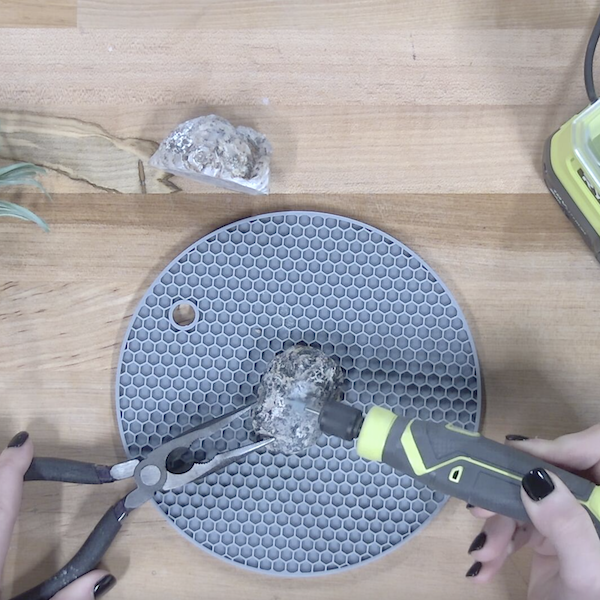
Insert the Cone Silicon Carbide Grinding Stone into the 18V ONE+ Precision Craft Rotary Tool. Grind along the back side of the geode to remove any bumps that stick out. Paint the exterior of the geode with the gold paint pen.
Tools
Materials
STEP 4
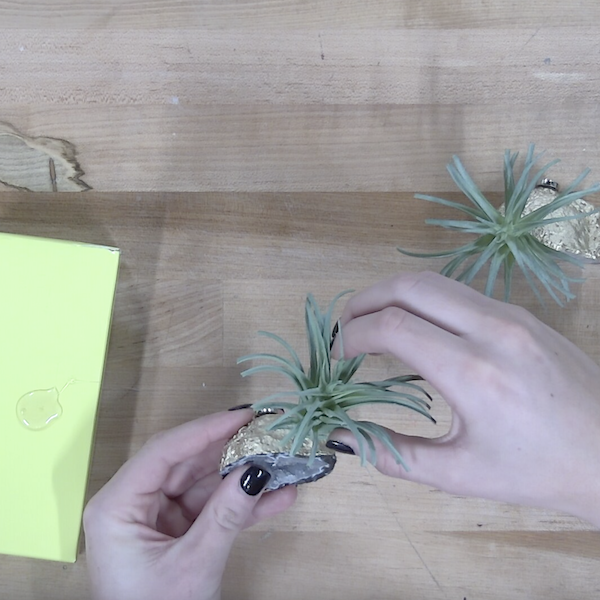
Apply a big dot of glue onto a thick surface. Dip both of the stems from each air plant into the glue. Place into the drilled holes on the geodes.
Tools
Materials
STEP 5
Apply a big dot of glue onto the back of each geode. Press the magnets into the glue and hold for a few seconds. Allow 5 - 10 minutes for the glue to set before utilizing the magnets.
Tools
Materials
