Steps
STEP 1
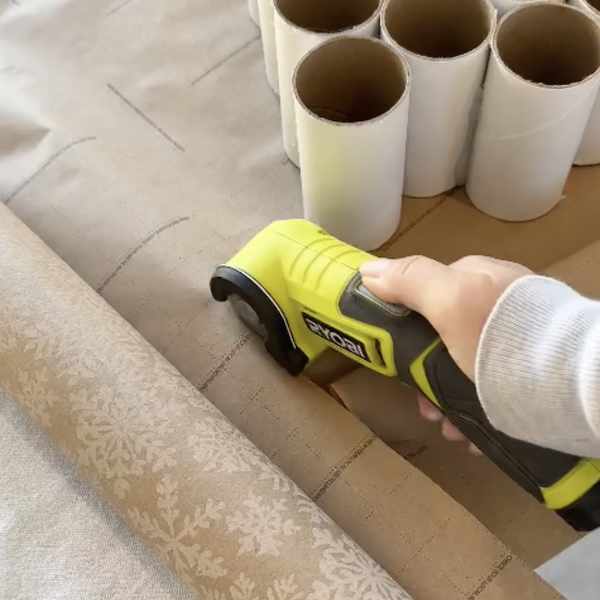
Cut a pipe 24 times to equal length pieces.
Tools
STEP 2
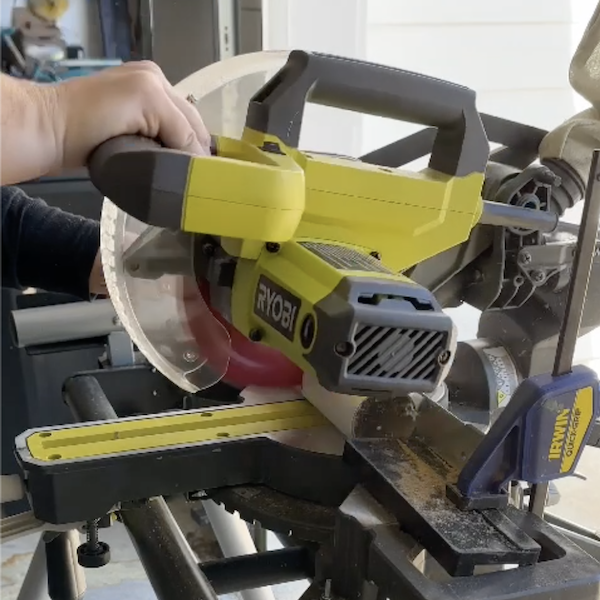
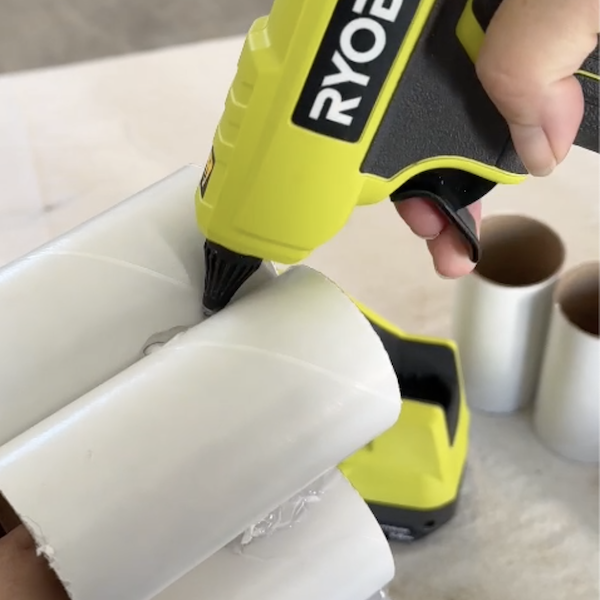
Arrange the pipes into a shape of a Christmas tree, then secure them together using hot glue. This will serve as the inside piece to the calendar to hold the treats.
Tools
STEP 3
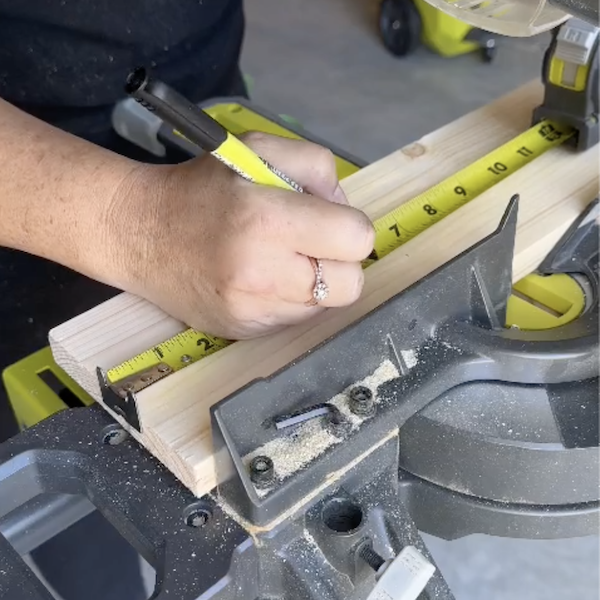
Measure the dimensions of the pipe Christmas tree. Cut pieces of wood to create the frame for the outside of the Christmas tree. Use bevel cuts to ensure that pieces fit together.
Tools
STEP 4
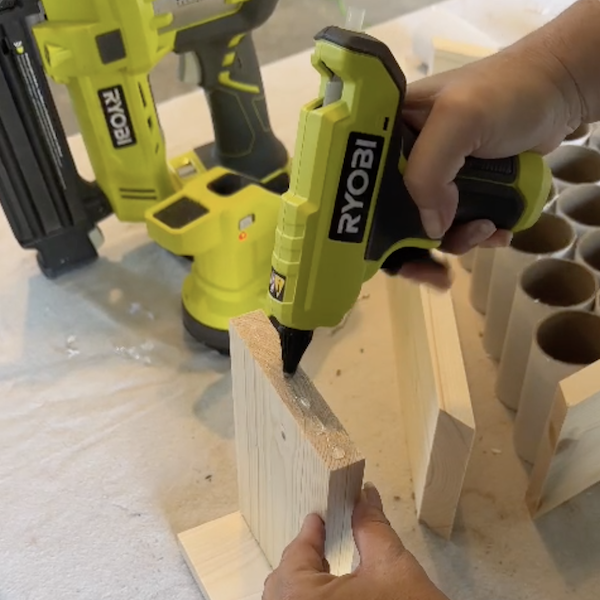
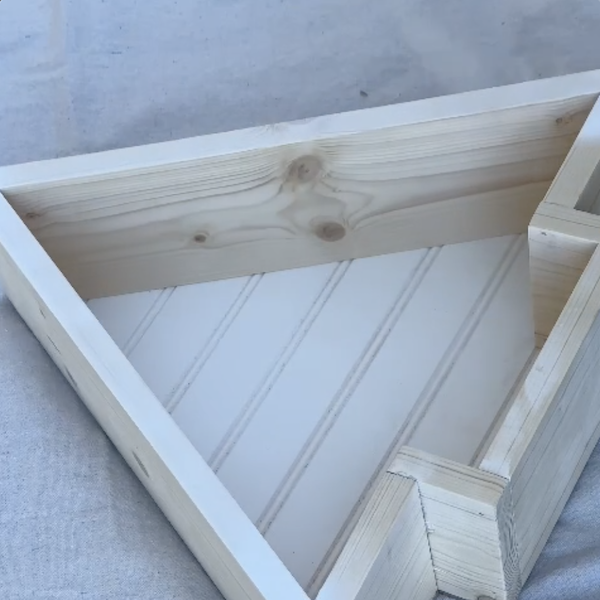
Use hot glue to create the bottom frame and trunk of the tree.
STEP 5
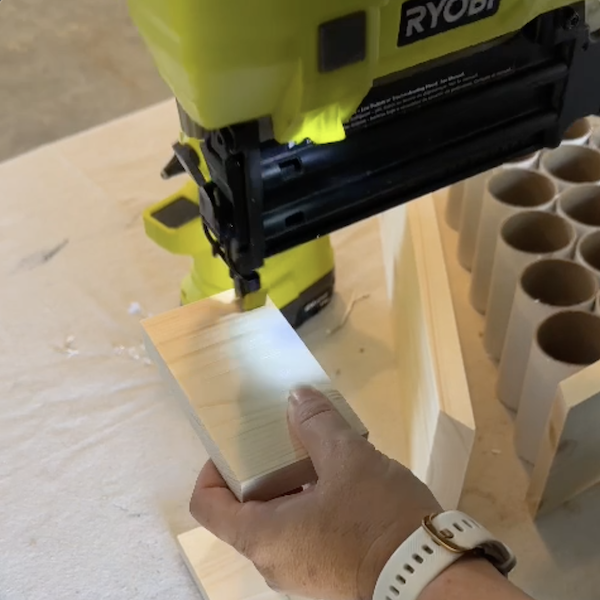
Nail the pieces together to secure.
Tools
STEP 6
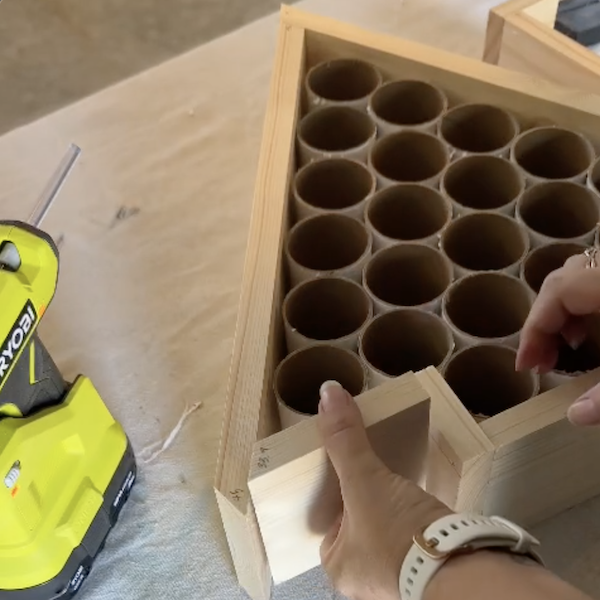
Place the outside tree frame over the tree made of pipe pieces to ensure that it fits.
STEP 7
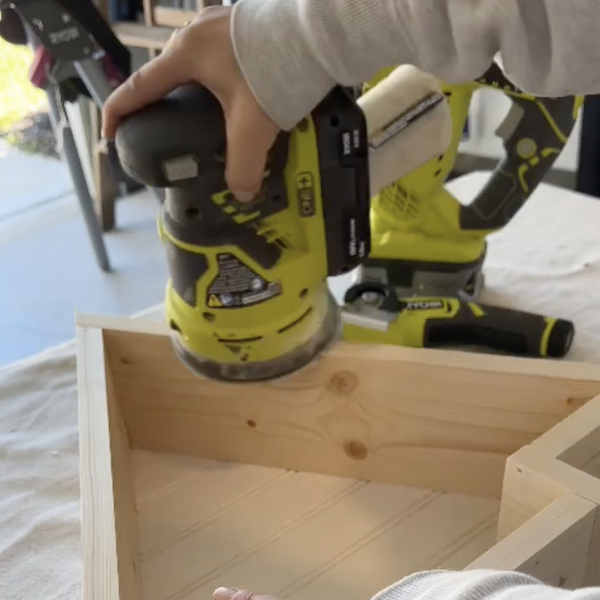
Sand the tree frame in preparation for painting.
Tools
STEP 8
Spray paint the frame desired color.
STEP 9
Cut out paper to the size of the inner piece that will hold the treats/gifts. Attach to the inner piece, then write a number over each space where a treat will be placed. Place inside the tree frame, then attach a bow to the top of the tree.
Tools
