Steps
STEP 1
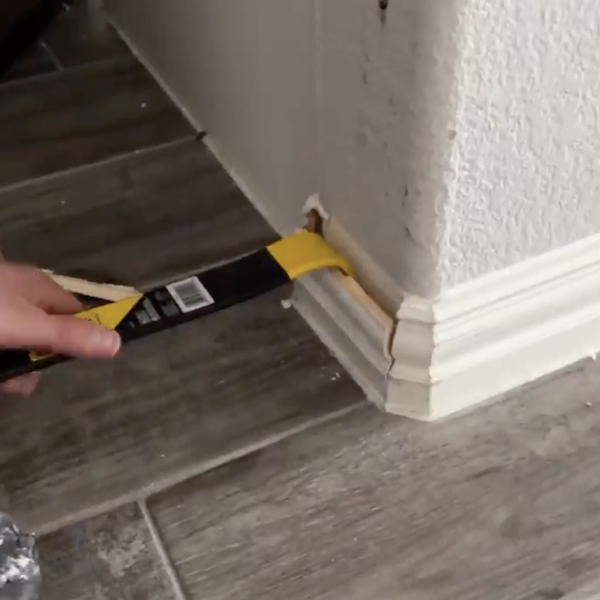
Use a prybar and mallet to remove crown molding from underneath the countertop and the floor around the island. Clean up any debris created from removal.
Materials
STEP 2
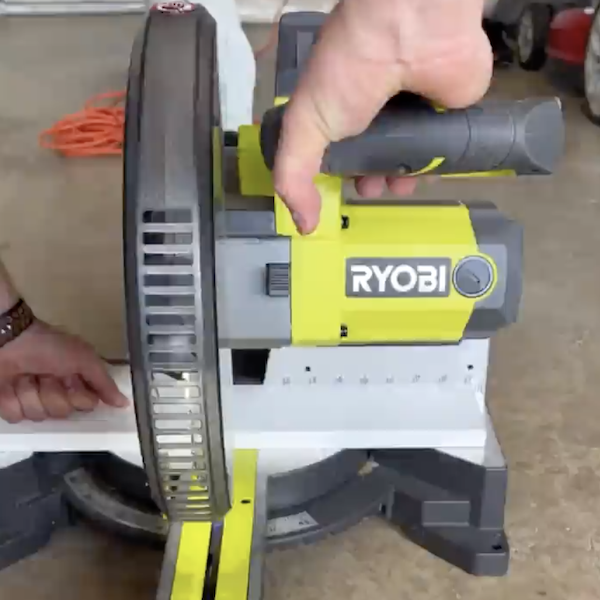
Cut the wood to size according to kitchen island measurements.
Tools
STEP 3
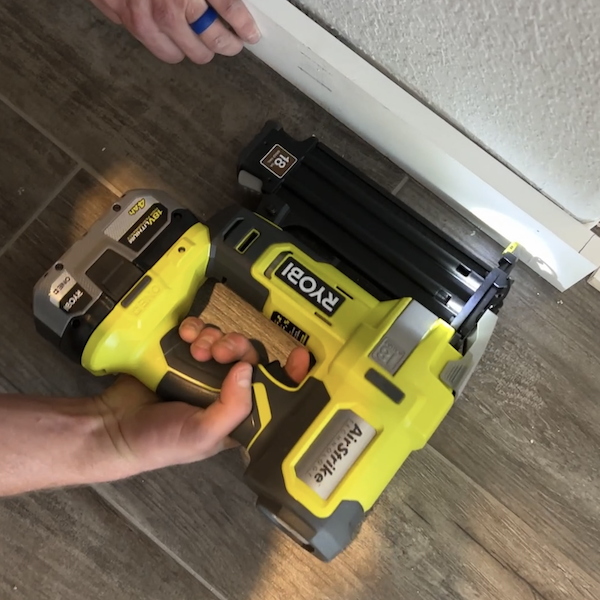
Nail the wood pieces into place along the bottom perimeter of the kitchen island, then nail the wood pieces along the underside of the island.
Tools
STEP 4
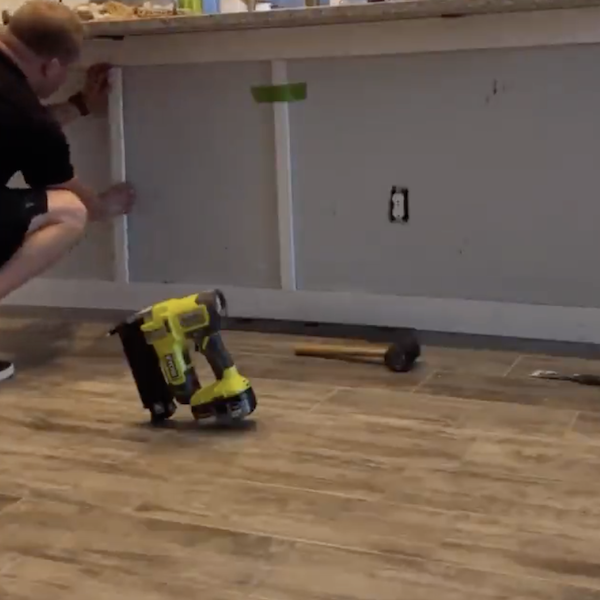
Measure the distance between the floorboard and countertop board. Cut (4) 1x2’s to size. Nail 1x2’s in between the floorboard and the counter board.
STEP 5
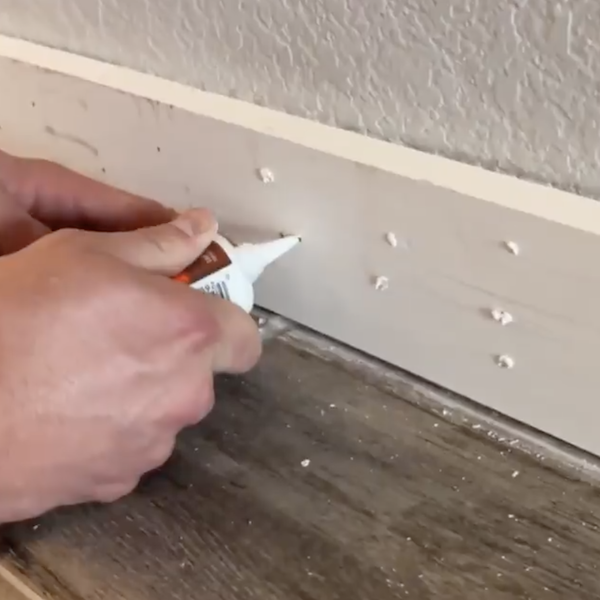
Use wood filler to fill in the holes made by the nailer and allow the putty to dry.
Materials
STEP 6
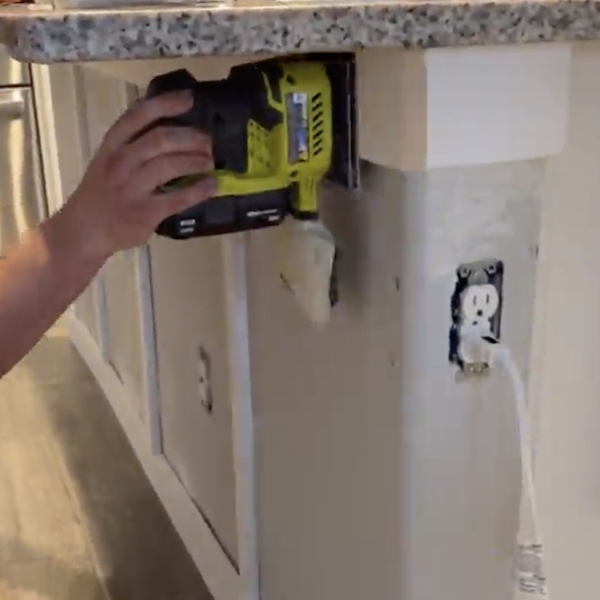
Use a sander to smooth out the filler and wood once the filler is dry.
Tools
STEP 7
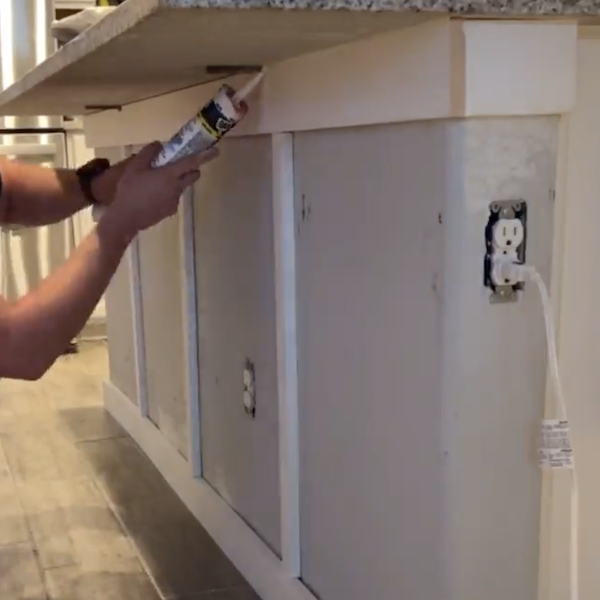
Apply caulk around both the bottom perimeter of the island and the underside of the countertop where the wood and countertop meet.
Materials
STEP 8
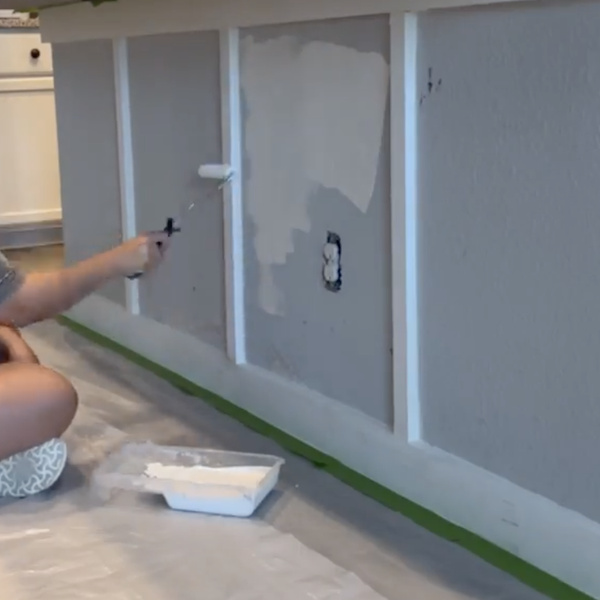
Paint the island the desired color in between the wood pieces.
Materials
