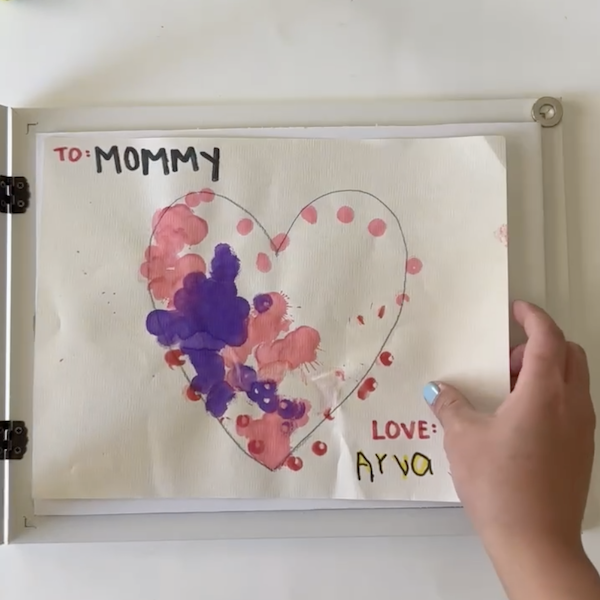
Magnetic Picture Frame

By RYOBI NATION FEATURED CREATORS

SKILL
easy

Give mom the gift of sentimentality with a picture frame that you can swap out photos or drawing with ease using magnetic enclosures! Created by @thecraftysol

Tools

  • 18V ONE+ Dual Temperature Glue Gun
  • 18V ONE+ HP Brushless 1/2" Drill/Driver

Accessories

  • 12 PC. ALL PURPOSE FULL SIZE GLUE STICKS
  • 6-Piece Precision Screwdriver Set with Cushion Grip Handles
  • 7 PC. SMALL DRILL BIT SET

Materials

  • (2) Picture Frames
  • (2) Small Hinges
  • Cardboard
  • Magnets
  • Multi-Size Photos
  • Super Glue

Steps

STEP 1

Remove the existing backing out of the pre-made frames.
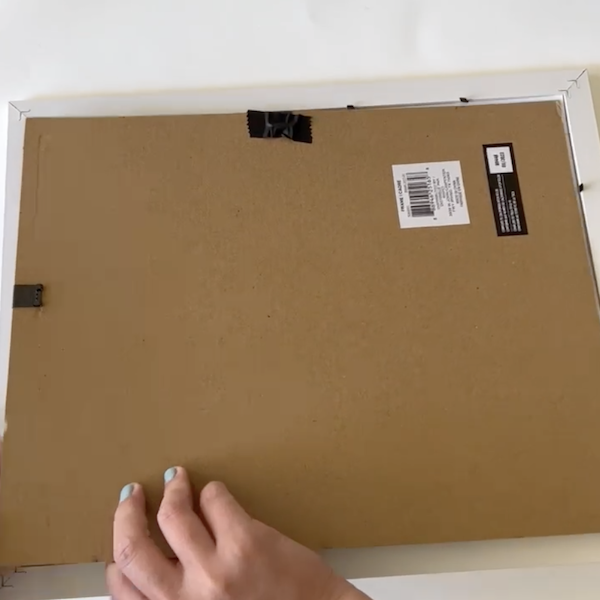
removing backing

STEP 2

Apply glue around the border of the frame.

Tools
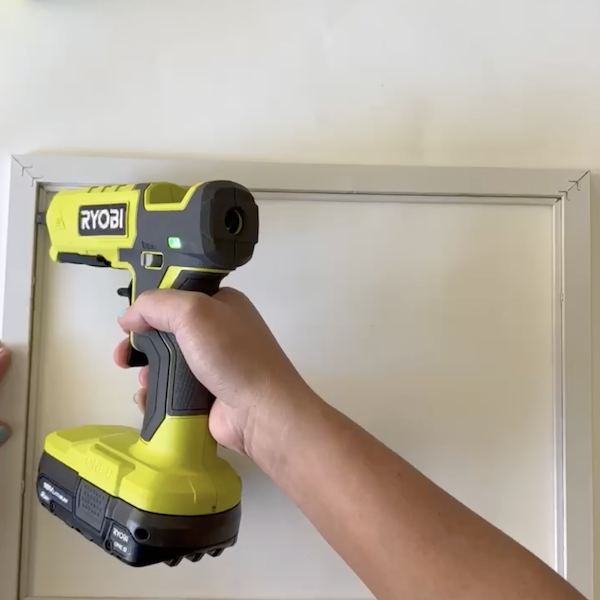
Glue Gun

STEP 3

Glue two pieces of white cardboard together.

Tools
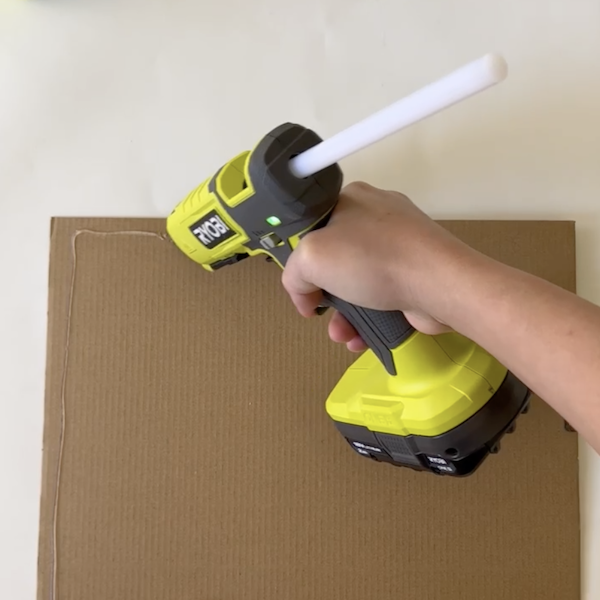
Glue Gun

STEP 4

Glue the piece of white cardboard inside the frame.

Tools
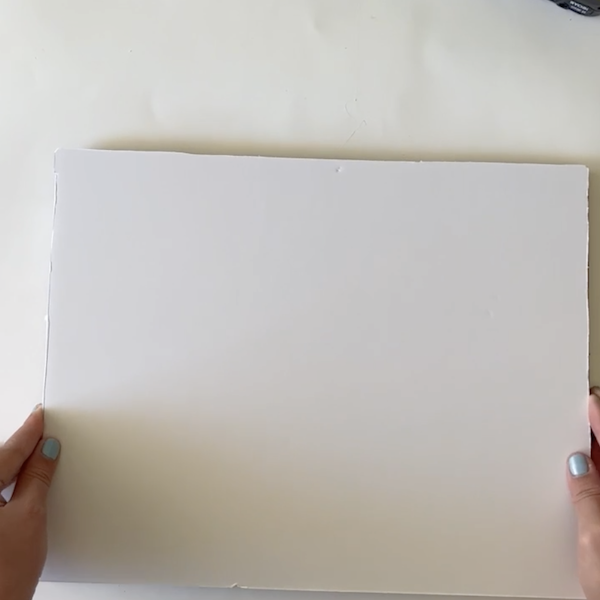
Glue Gun
Gluing the cardboard inside the frame

STEP 5

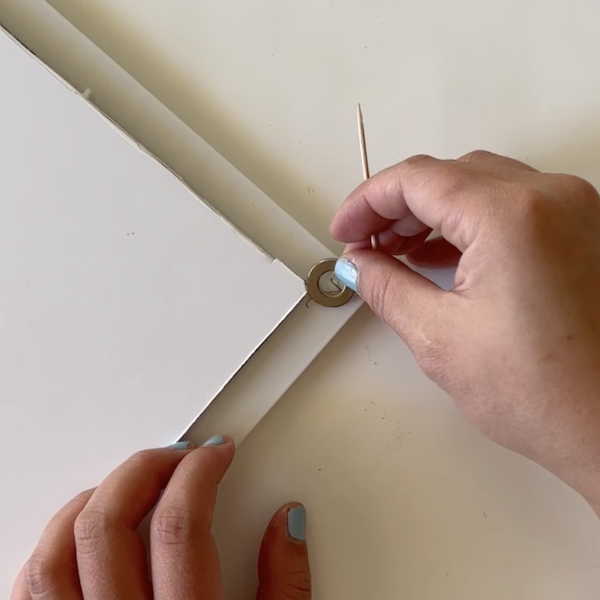
Use a permanent marker to mark where holes should be drilled for each of the hinges to attach the two frames together.

Tools
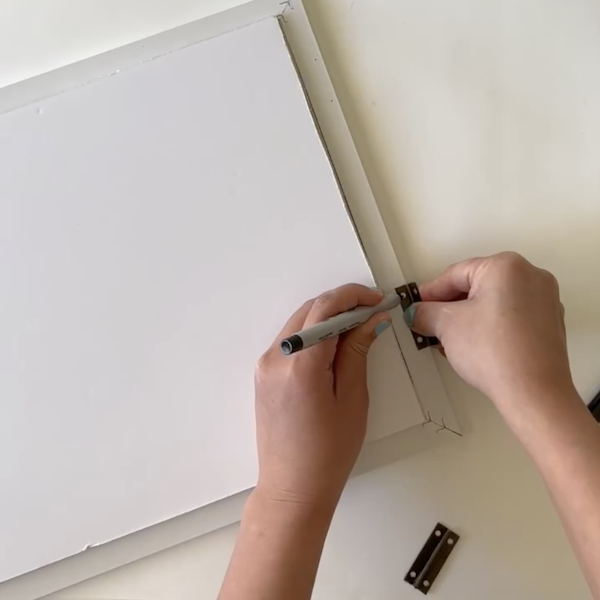
Drill/Driver
Marking drill holes

STEP 6

Use a small drill bit to drill through the marked holes.

Tools
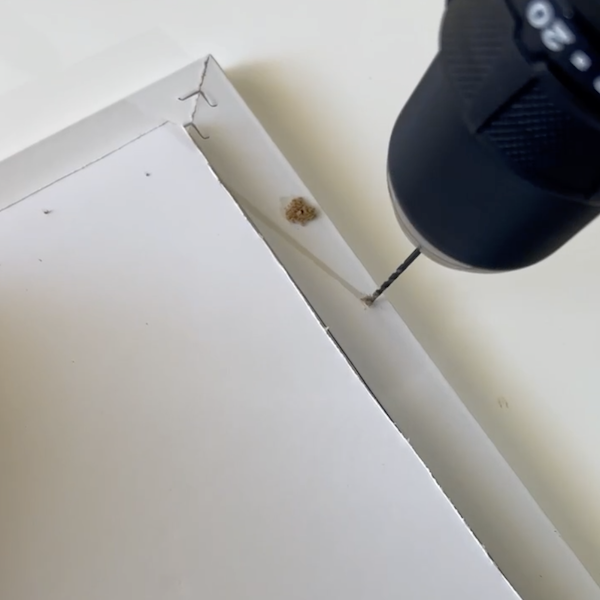
Drill/Driver

STEP 7

Use a precision Screwdriver to attach hinges to each of the frames using screws.
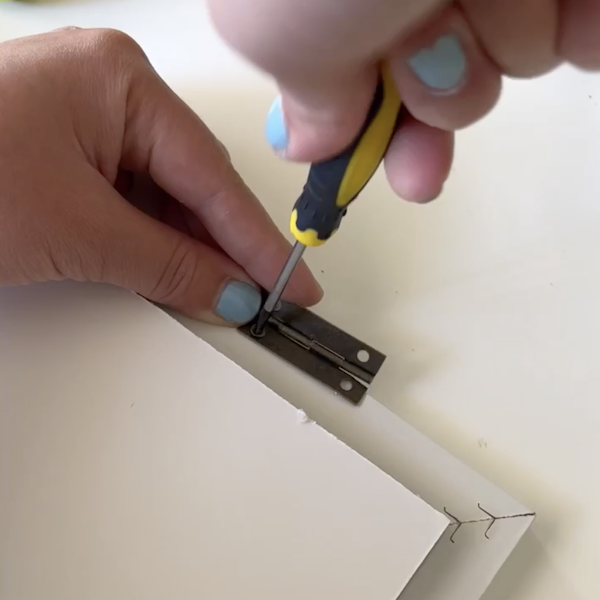
Screwing on hinges

STEP 8

Apply glue to the opposite corners of the picture frames from the hinges. Attach magnets to the corresponding corners.
STEP 9

Place a photo or drawing inside to complete!