Steps
STEP 1
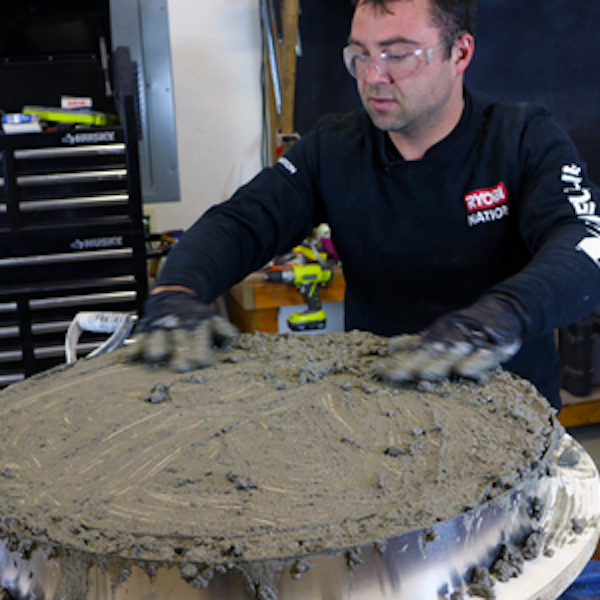
Mix your Quikrete 5000 and water to a smooth consistency. Pour it into the mold and start filling it up all of the way. You’ll use three bags of concrete. Let the concrete cure before de-molding it.
STEP 2
Start making the form with the aluminum flashing and the melamine. Measure and mark a 22” diameter circle. Cut the melamine. Save the circular offcut from the larger circle. Measure and mark a 19 ½” diameter circle. Cut four of these pieces.
Tools

STEP 3
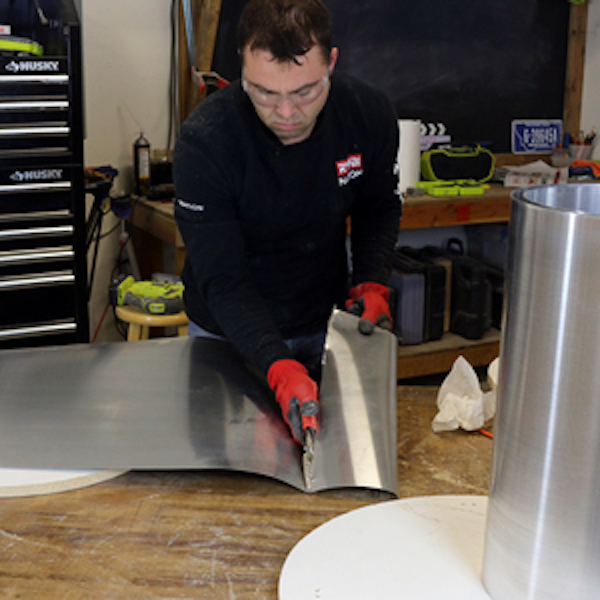
Cut the aluminum flashing to size. We’ll need one piece at 16” tall and ONE 16 ¾” tall. Wrap them around the melamine circles and cut them with aviator snips. You can use a cutoff wheel to get a cleaner cut and then grind all of the sharp edges smooth.
Tools
STEP 4
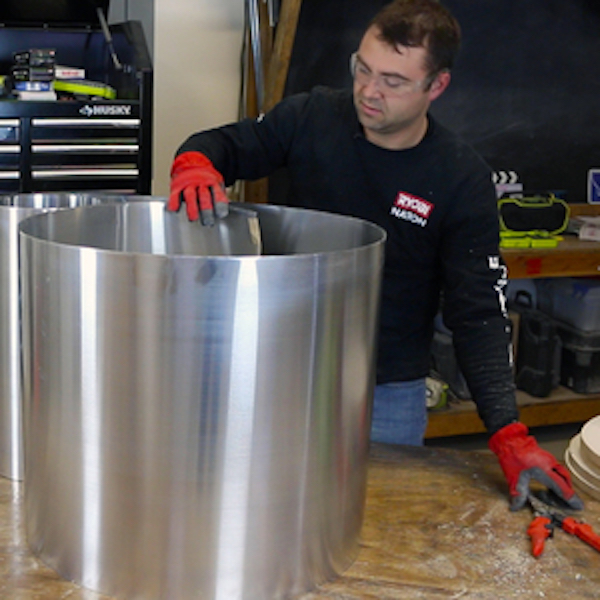
Build the outer portion of the aluminum flashing and melamine form. It consists of one 22” diameter melamine bottom, and aluminum flashing cut to 16 ¾” long. Refer to the photos for a visual representation of this. Let’s build the inner portion next.
Tools
STEP 5
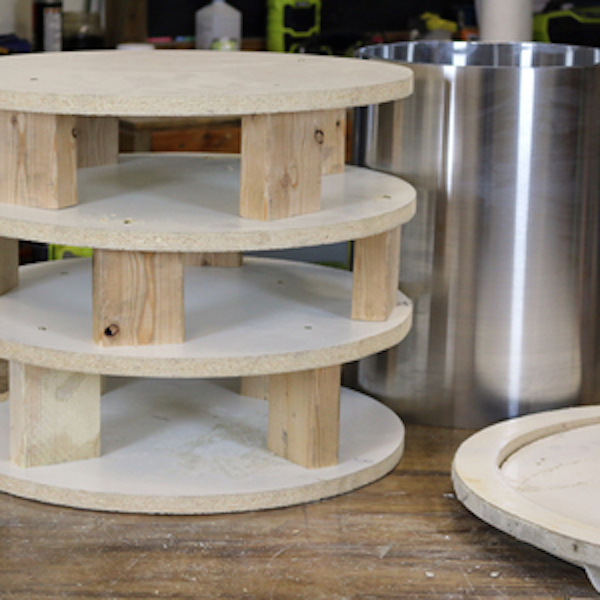
The inner form needs to be strong, as the weight of the curing concrete will be pushing in on the inner portion. We cut four circular pieces of melamine for this, stack them together with 2x4 pieces, and attach the top and bottom pieces to the aluminum.
Tools

STEP 5.1
Space the four melamine pieces apart with 2x4s cut to 4 ¼” and screw them into the melamine pieces with 1 ½” wood screws.
Tools
STEP 6
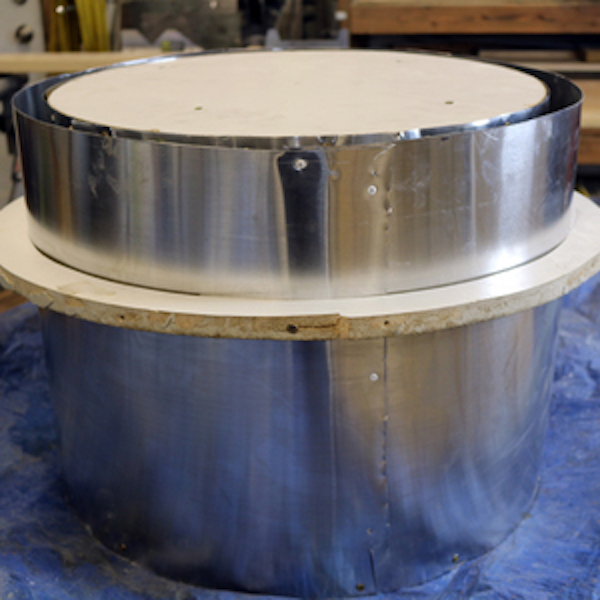
Center the inner portion of the form inside the larger, outer portion and screw them together. You can seal the edges of the aluminum flashing with tape. This is where you can add the outer portion melamine offcut on the outside for support.
Tools
STEP 7
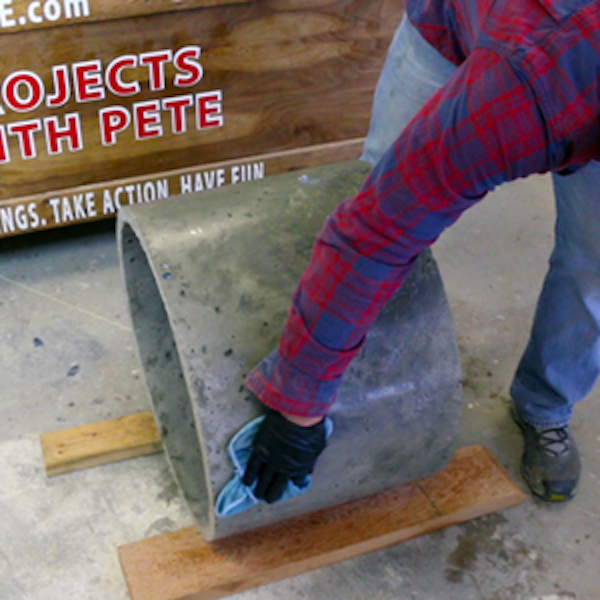
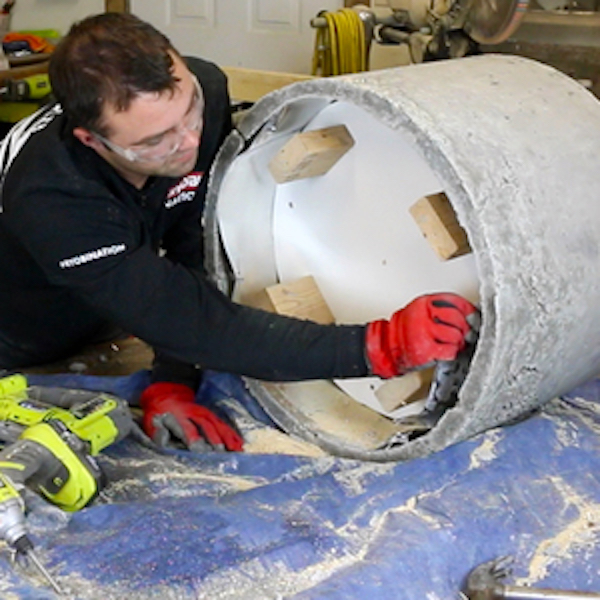
De-mold your melamine and aluminum flashing form once the concrete has cured! The inner portion of the form is a bit trickier to deconstruct and take out. You might have to drill into it, cut with snips or a saw, or work it out slowly.
Tools
STEP 8
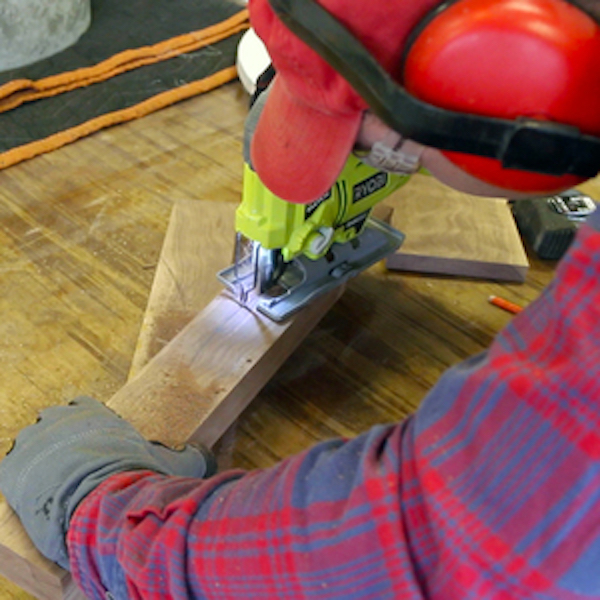
Let the concrete continue to cure and then build your wood base. I used walnut hardwood cut to 3” wide by 2” thick. Trace the outline of the outside of the concrete circle onto the wood and then use your Jigsaw to cut out the shape.
Tools
STEP 9
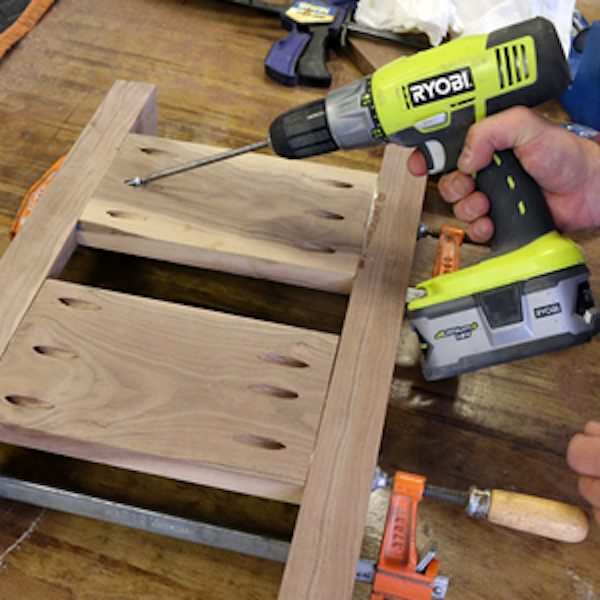
Construct the base using two boards in between the stands as support structures. Create pocket holes and glue and screw them into the curved stands. Sand, finish, and coat your wood base with a danish oil, let soak in, then wipe away excess.
Tools
STEP 10
Sand, finish, and fill in any voids on the concrete circle. Use a water based sealer and add three to four coats to the concrete, letting it cure before use.
Tools