Steps
STEP 1
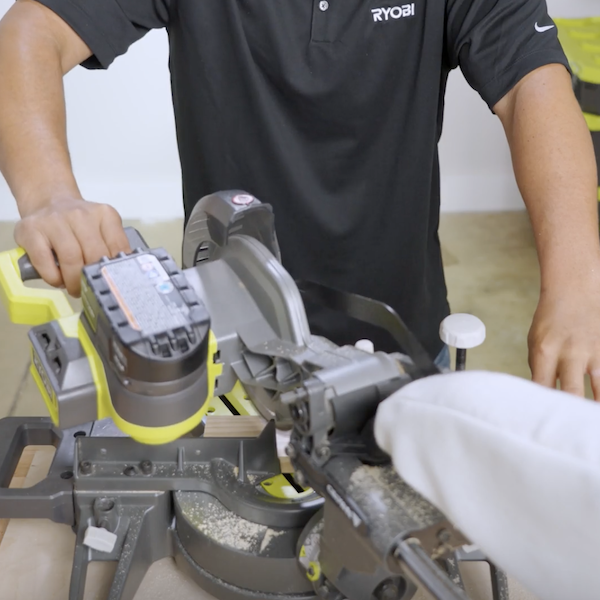
Cut out all material using the Lumber & Sheet Cut Layout Guide. Some initial sanding can be done after cutting the boards and panels. Sanding pieces prior to building can make the process easier before final assembly.
Tools
STEP 2
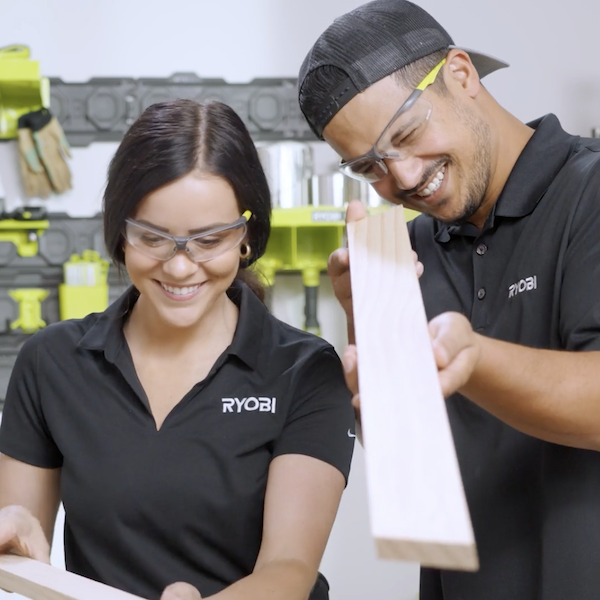
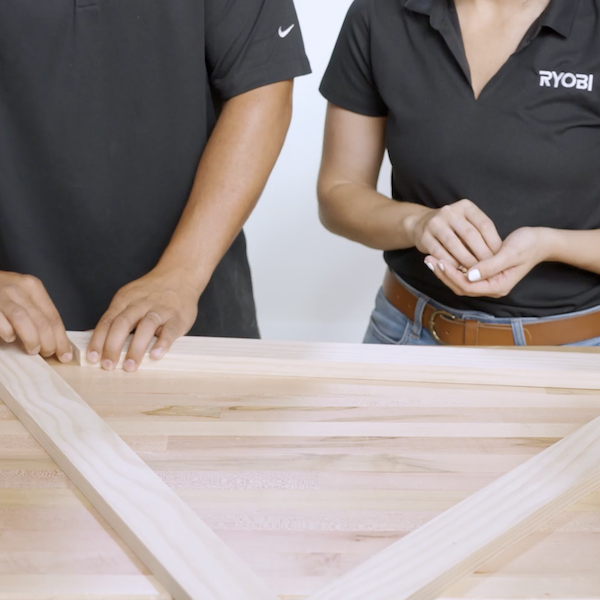
Align one of each frame boards into triangle as seen in diagram. Find mid-point on both sides of bottom board as well as top end of left side frame. Mark a line perpendicular to mid-point. Then extend line across to connecting board as in diagram.
STEP 3
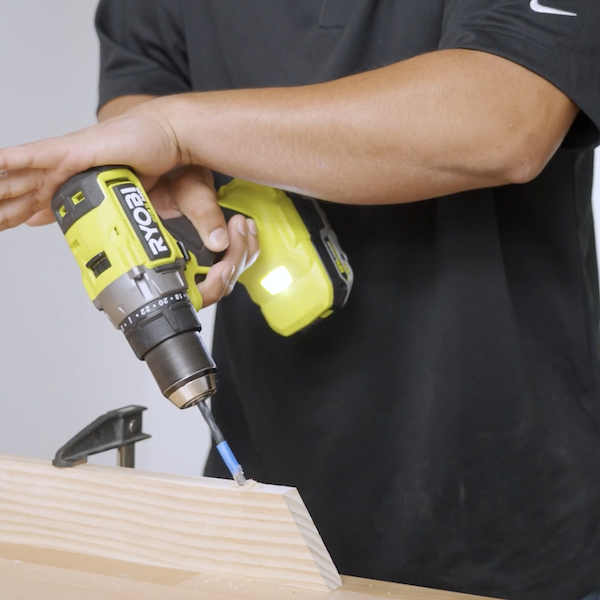
Drill a 1/4" hole, 5/8" deep in center of each board at location of each mark intersection.
Tools
STEP 4
Place a small amount of glue into hole located on lower pat of left side frame board. Push dowel peg half way into hole.
STEP 5
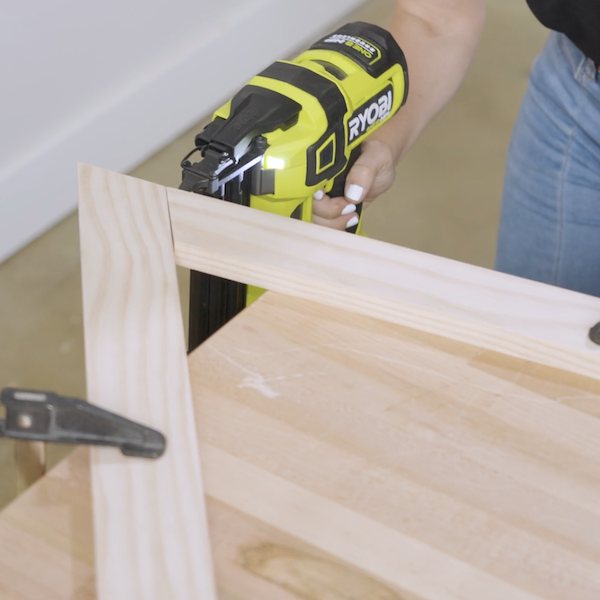
Place small amount of glue into left end hole in bottom frame board. Connect both boards together. Add a 1-1/2" brad nail into both boards from the long end of bottom board.
Tools
STEP 6
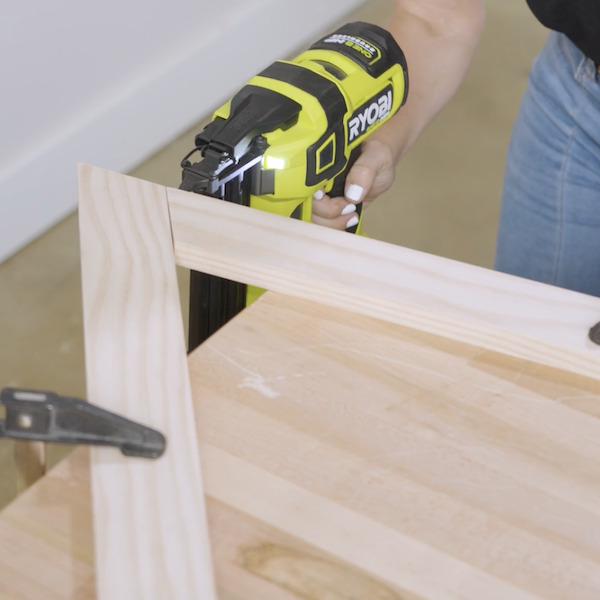
Follow same process by adding glue and dowel pegs to top end of left frame board and fight end of bottom board. Add glue to holes in right side board. Join right side board to triangle frame. Add a brad nail to long end of a jointing boards.
Tools
STEP 7
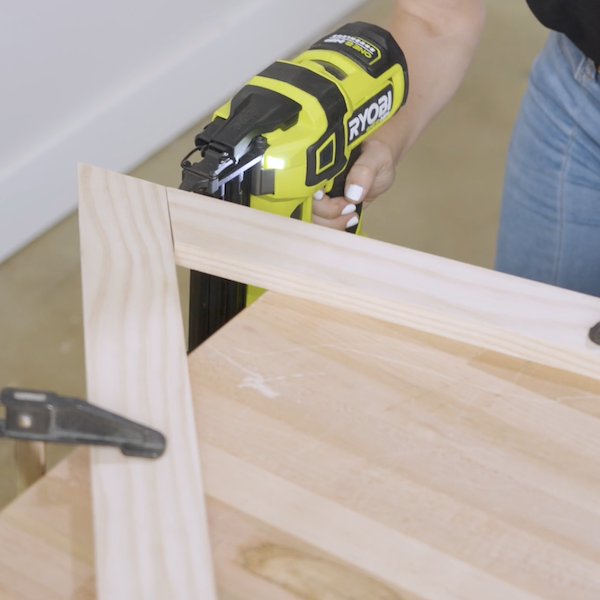
Repeat Steps 4 through 6 to create a second frame.
Tools
STEP 8
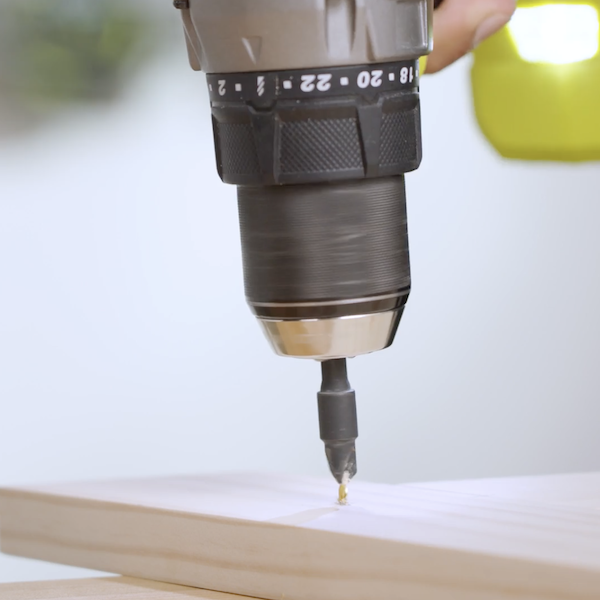
From same mid-point mark. Draw a line parallel across bottom of left and right side frames. Find center of that line and mark. Drill a countersink hole at mark to fit a #10 screw
STEP 9
Draw a line from top point of triangle frame to bottom intersection. Find center of line and mark. Drill a countersink hole at mark to fit a #10 screw
STEP 10
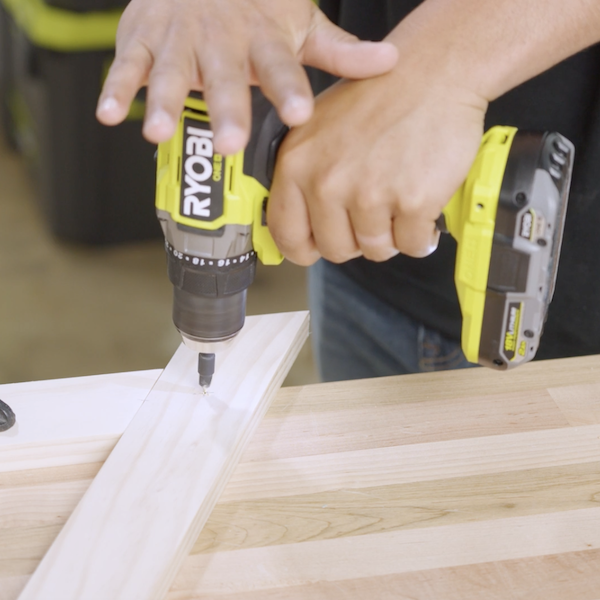
Find center of 1 1/2" dowel and drill a 1/8" hole, 1/2" deep. At each end of 30" dowels. Attach with glue and 1-1/2" screws through countersink holes.
Tools
STEP 11
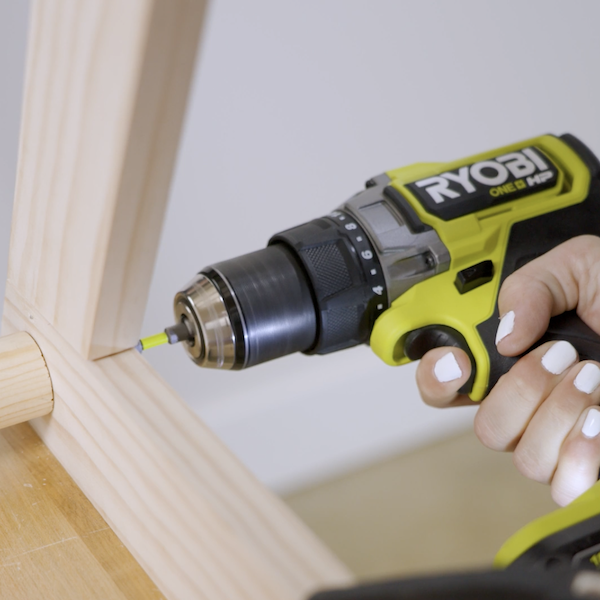
Repeat step 10 and attach back triangle frame to 1-1/2" dowels.
Tools
STEP 12
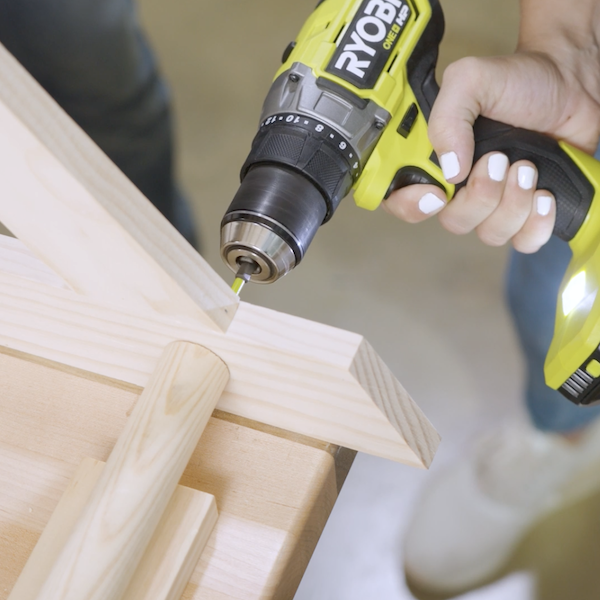
Add plugs to countersink hole to cover screws. Sand and finish to your desire.
