Steps
STEP 1
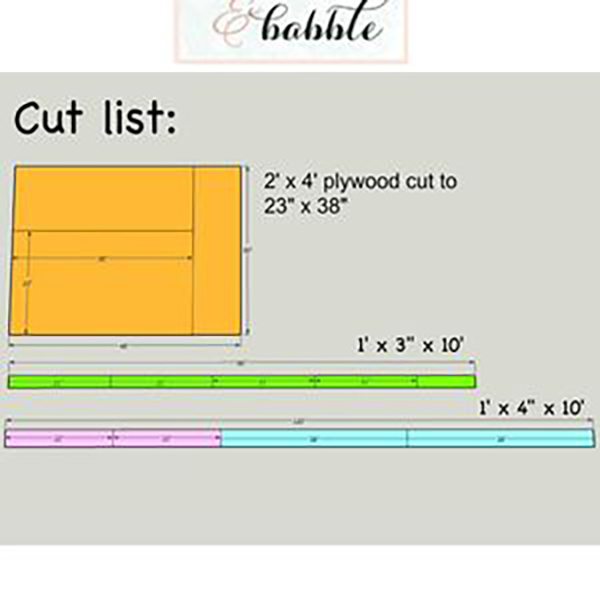
Cut wood to specs shown in image or to a size that best suits your paint storage needs.
Tools
Materials
STEP 2
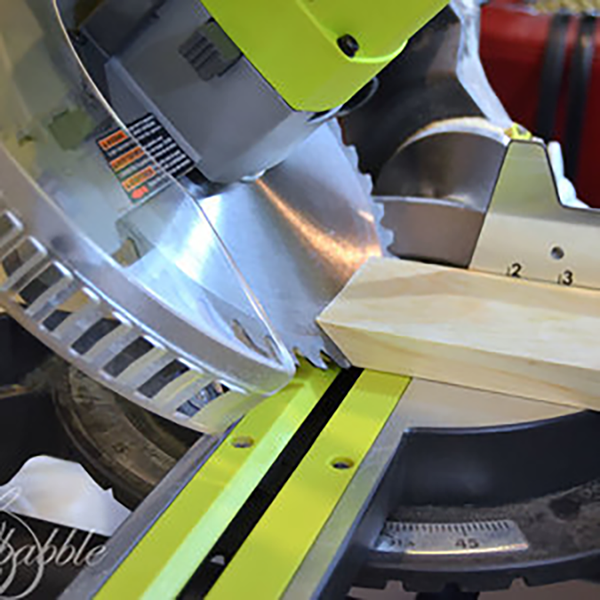
I cut the ends of each frame piece on my Ryobi miter saw at a 45 degree bevel.
Tools
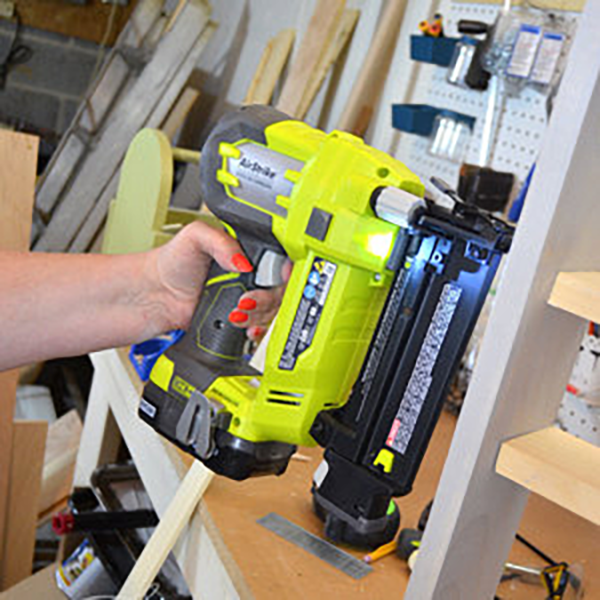
STEP 3
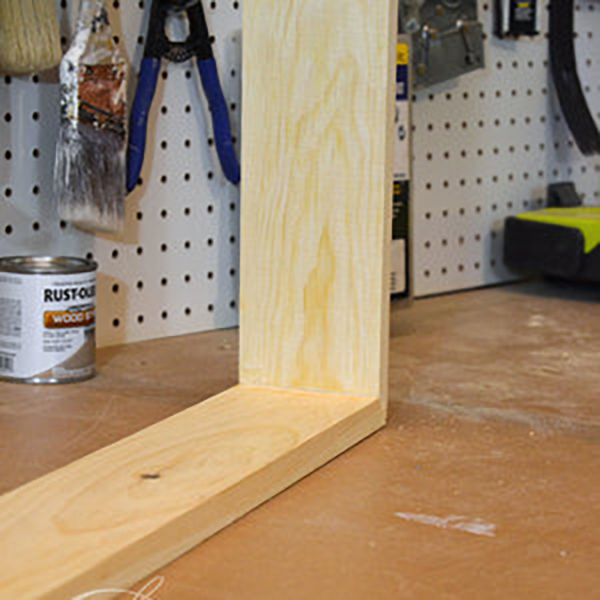
Attach the frame at each corner using wood glue and brad nails.
Tools
Materials
STEP 4
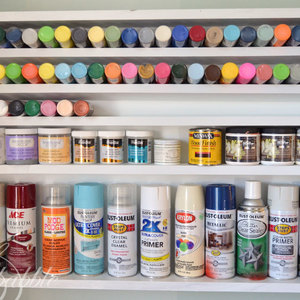
Determine the height and placement of each shelf by measuring your paint products. Make this paint storage shelf to fit your paint storage needs. I tilted the shelves that holding the small, craft paint bottles to keep them from falling off the shelf.

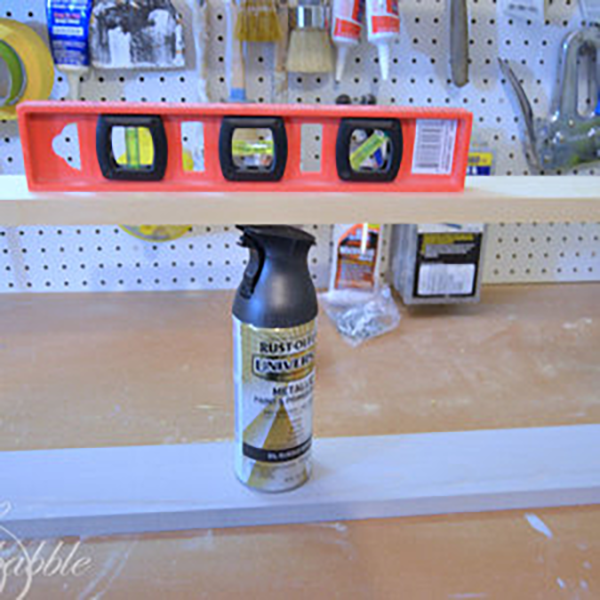
STEP 5
Use a level to make sure your shelves are straight!
Tools
STEP 6
Attach shelves to desired location in frame with glue and pocket screws or brad nails. Attach the plywood to the back of the frame with brad nails
Tools
Materials
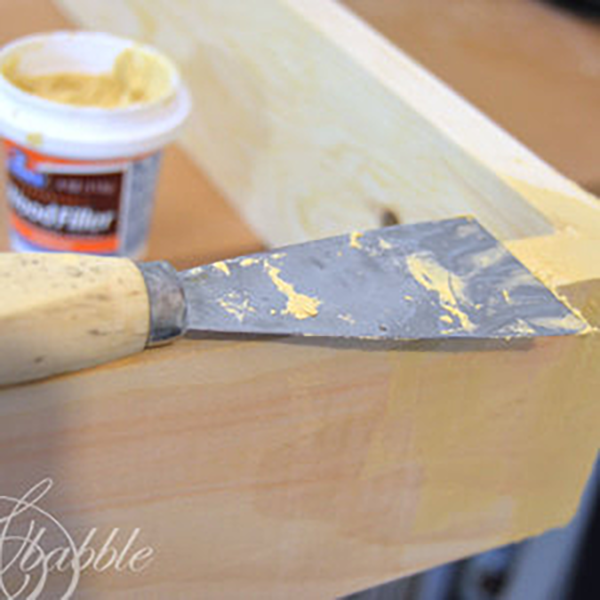
STEP 7
Fill nails holes and gaps in the mitered corners with wood putty, then sand, paint or stain. I painted my shelf with two coats of leftover latex paint.
Materials
STEP 8
Since this shelf can become quite heavy once it's load up with all your paints, you'll want to be sure to attach it to the wall with long screws that are going into studs behind the walls!