Steps
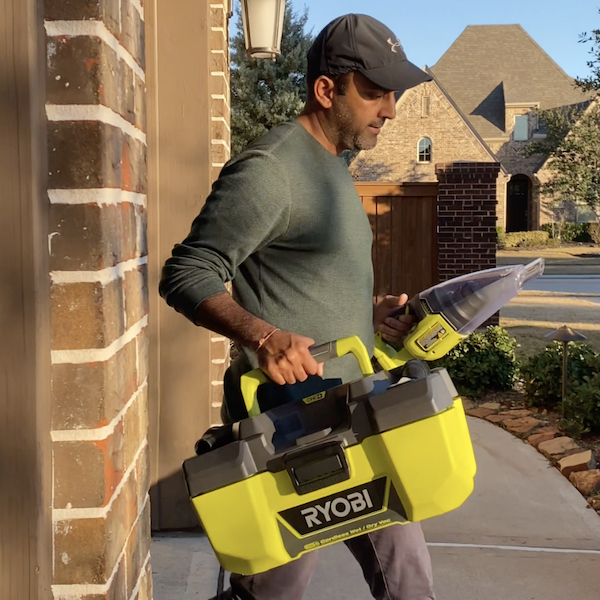
STEP 1
Break out both a wet/dry vacuum and a hand vacuum in preparation for clean up.
Tools
3 Gallon Wet/Dry Vacuum, Hand Vacuum
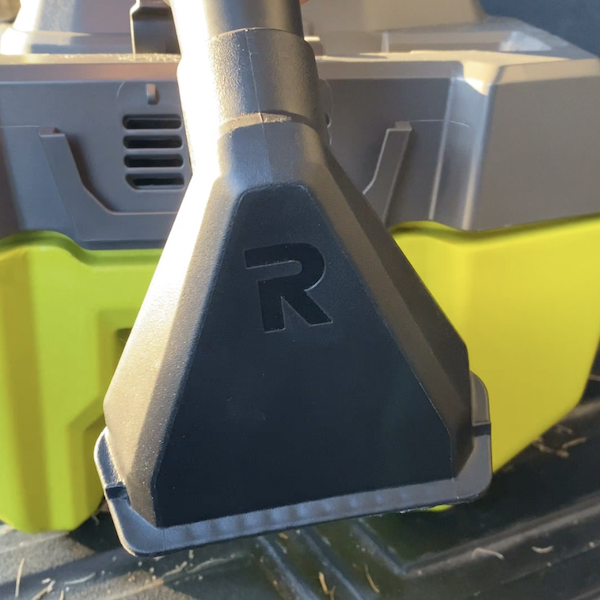
STEP 2
Attach the utility nozzle to the 3 Gal. Project Wet/Dry Vacuum.
Tools
Wet/Dry Vacuum
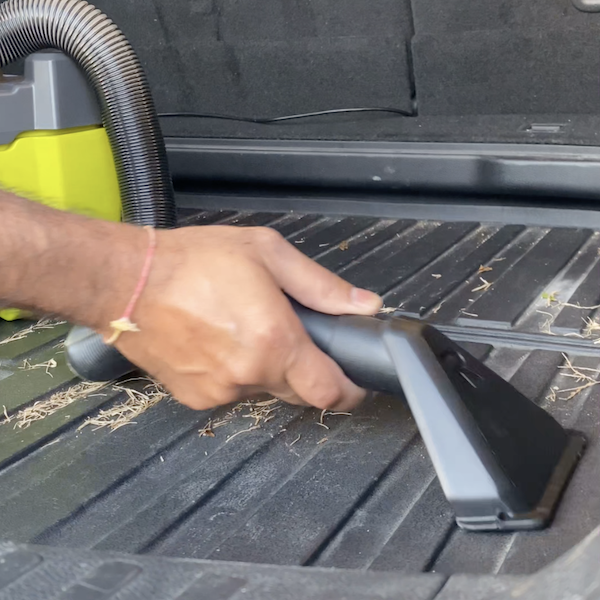
STEP 3
Use the utility nozzle to remove debris from rubber mats through out the car.
Tools
Wet/Dry Vacuum
STEP 4
The Wet/Dry Vacuum can be used to tackle multiple types of messes within your vehicle, including beverage spills!
Tools
Wet/Dry Vacuum

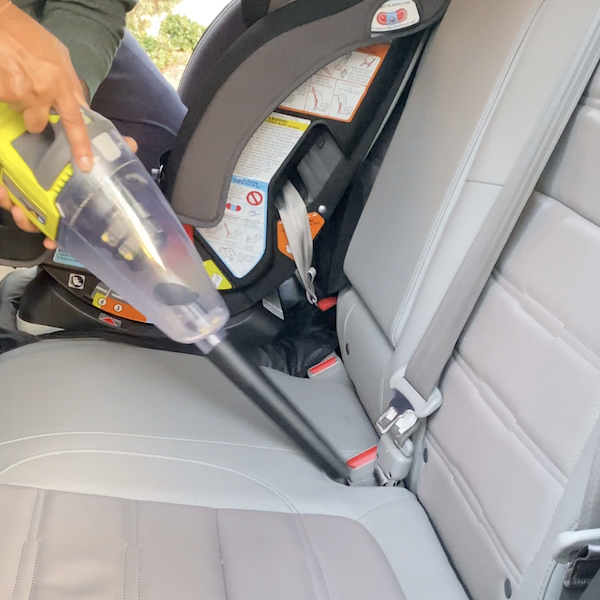
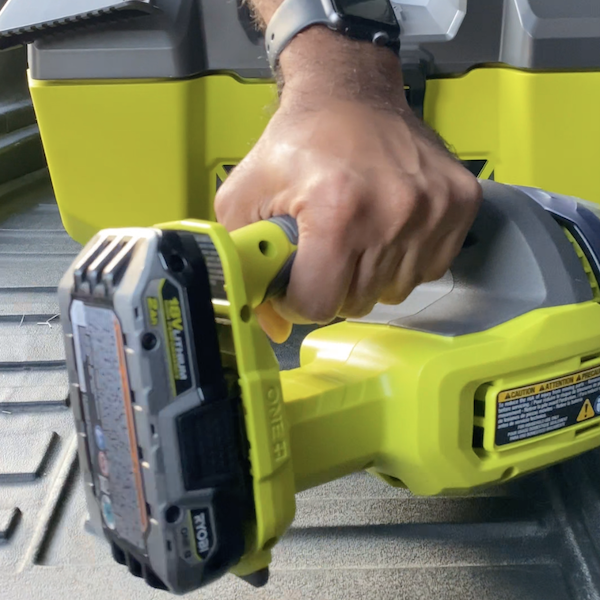
STEP 5
Swap out the 18V battery from the 3 Gal. Project Wet/Dry Vacuum to the Hand Vacuum for portability and to easily clean up dry debris. Attach the utility nozzle.
Tools
Hand Vacuum
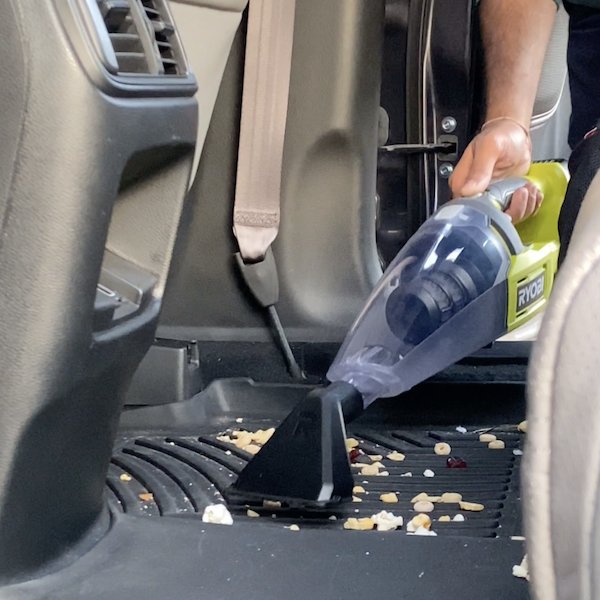
STEP 6
Clean up any dry debris leftover from snacks in the backseat.
Tools
Hand Vacuum
STEP 7
Attach a crevice nozzle to the Hand Vacuum to get into harder to reach places.
Tools
Hand Vacuum