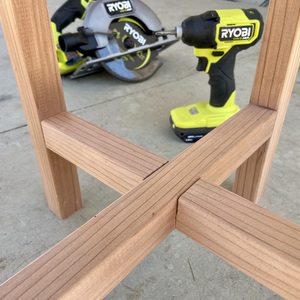
Steps
STEP 1
Begin by cutting your 2x2” material into 2 pieces approx. 13 1/8” in length. These will make the center part of the stand. And 4 leg pieces approx. 14” in length. The 4 leg pieces can be longer or shorter depending on your preference.
Tools
Materials
STEP 2
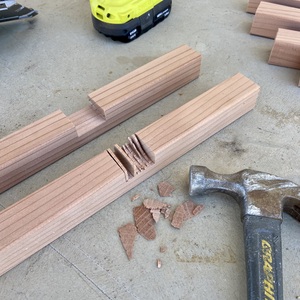
Align your two 13 1/8” pieces and mark out a section of approx 1.5” in the center to be cut. From center this will be approx. .75” in each direction.
STEP 3
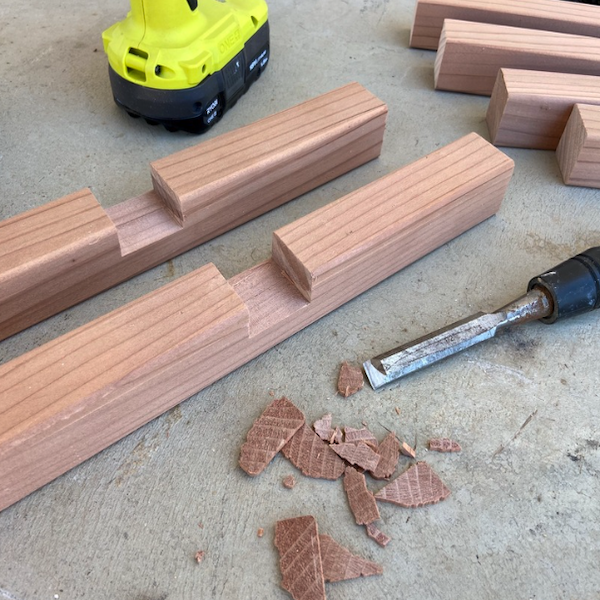
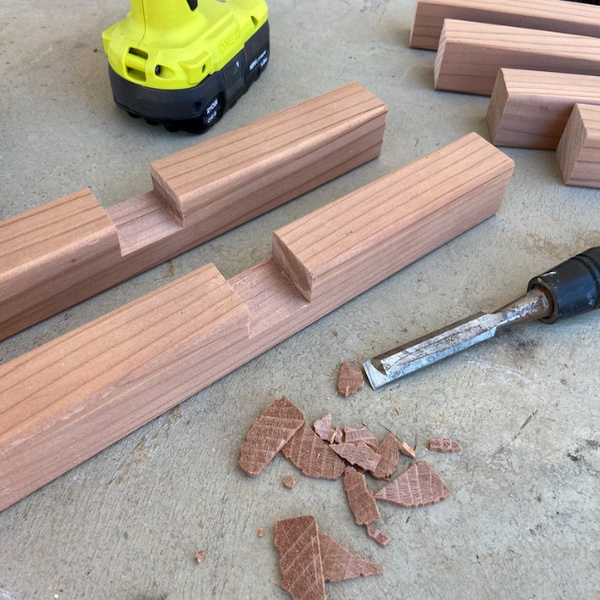
Now set the depth of your circular saw at just .75”.... or 3/4”. Using the saw make several cuts in parallel on the ‘marked’ sections on your 13 1/8” pieces. (This is from step 1)
Tools
STEP 4
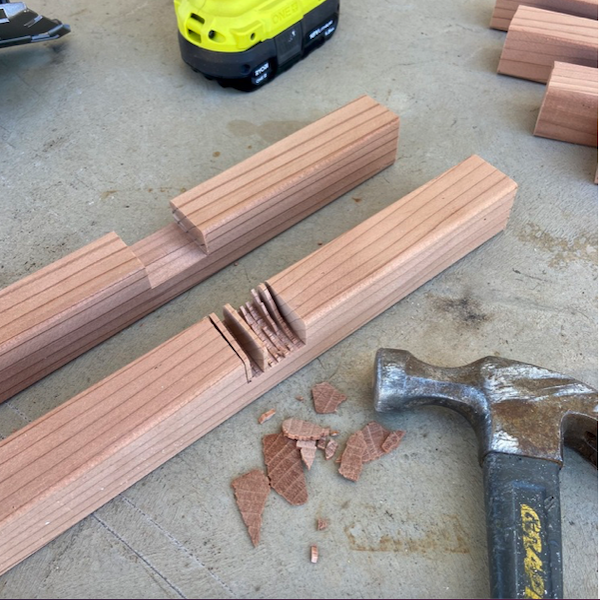
Knock out the thin material in between these cuts to create a half lap joint. This notched area should not be deeper than 1/2 the material thickness.
STEP 5
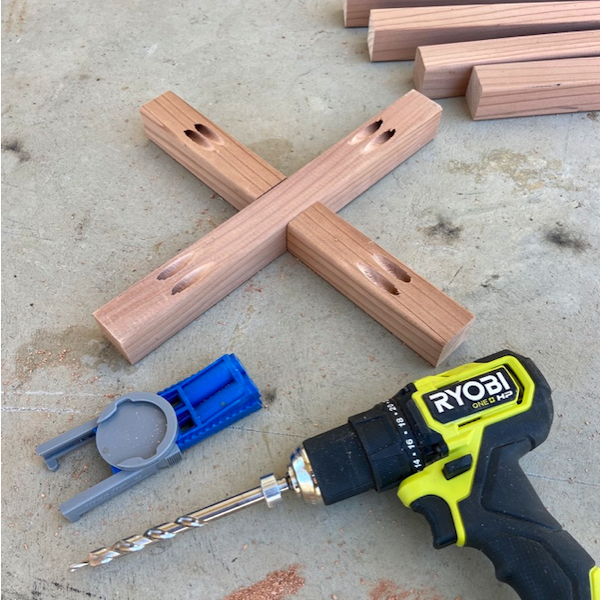
Identify the underside of the 13 1/8” pieces after ‘dry fitting’ them together. Drill 2 pocket holes on these under sides and insert your 2.5” pocket hole screws.
Tools
Materials
STEP 6
Secure the 13 1/8” pieces to the 14” ‘leg’ pieces at approx. 4.5” from the bottom of each leg. Then align the notches on the 13 1/8” pieces and secure with glue and screws from the underside (using the pocket holes). Finish with urethane.
Tools
Materials
