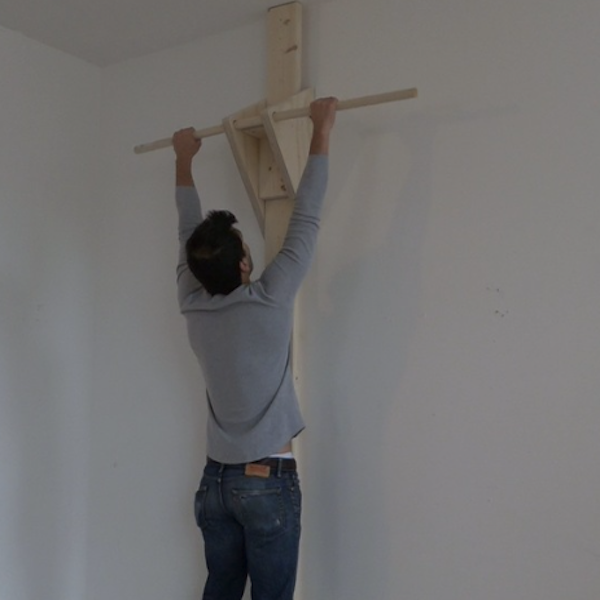
Steps
STEP 1
Cut the 2x6 and 2x4s I measured the wall and then used my circular saw to cut a 2x6 to that same length. My walls are about 9 feet tall so I used a 10-foot 2x6. I then cut some pieces of 2x4 so that combined they are the same length as the 2x6.
Tools
Materials
STEP 2
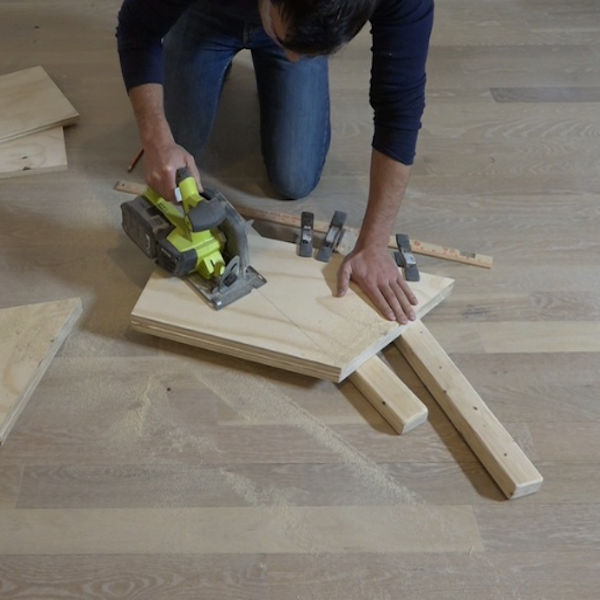
Cut the plywood. I used my circular saw to cut four triangular pieces of ¾” plywood.
Tools
Materials
STEP 3
Glue the plywood together I glued the plywood triangles together to create two triangles that are about 1.5” thick.
STEP 4
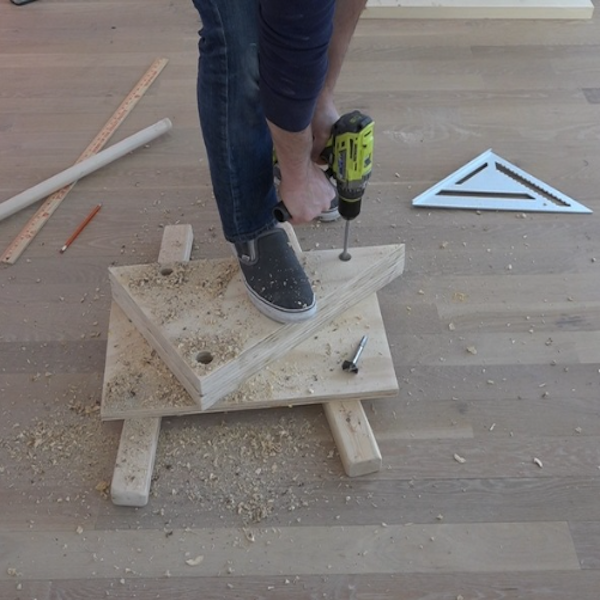
Drill holes in the triangles. ¾” diameter steel pipe works well with but I prefer wood. I drilled 1” diameter holes to accommodate ½” iron pipes 9” long on the longest side of the triangle.
Tools
STEP 5
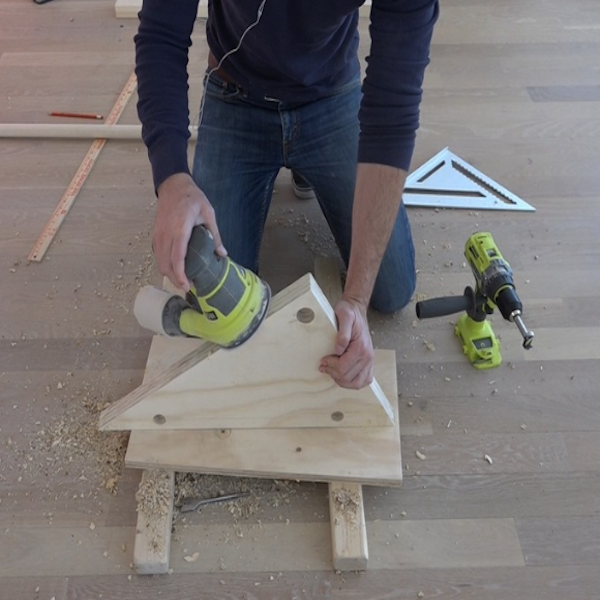
Sand the triangles I used my orbital sander to sand down the edges for the triangles.
Tools
STEP 6
Drill matching holes in the 2x4s. I used the triangles to mark hole locations on the sides of the 2x4s. I then drilled 1” diameter holes in the 2x4s. The holes should be right along the edge, leaving ½” of wood on the other side.
Tools
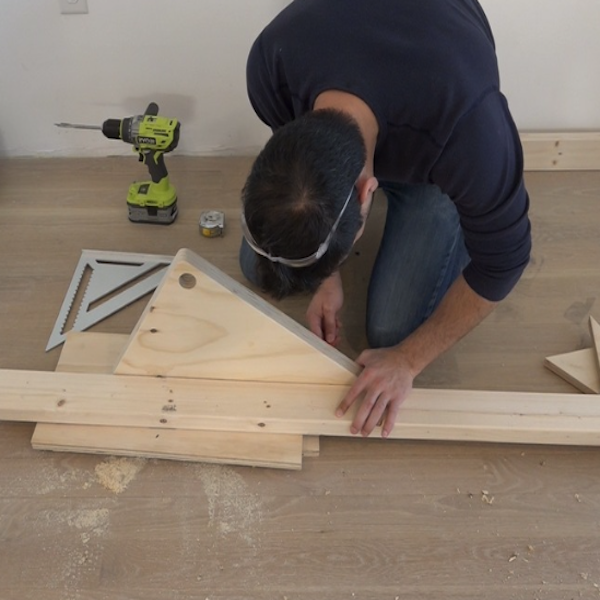
STEP 7
Secure the 2x4s and 2x6s to the wall using 3.5" and 5.5" screws respectively. I used a stud finder to identify the center of the studs in my wall. You can use a horizontal 2x6 at the top of the wall to tie the vertical 2x6 is tied into at least 3 studs.
Tools
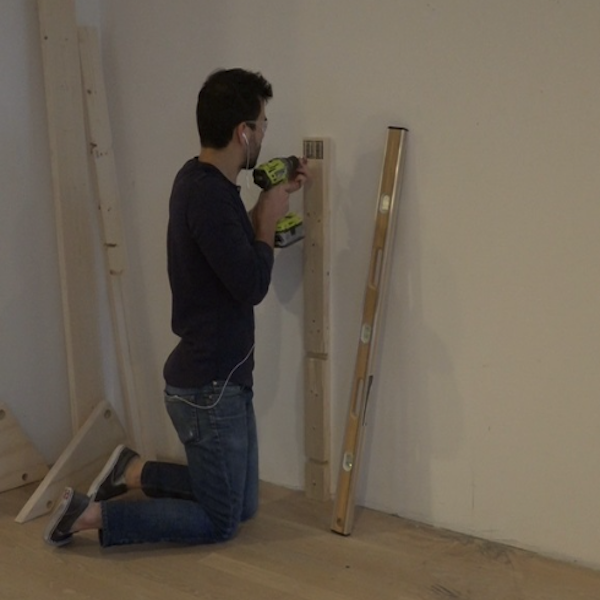
STEP 8
Assemble the brackets I used construction adhesive and 3.5” long screws to assemble the brackets around a scrap piece of 2x6. I cut short pieces of 2x6 to use as spacers.
Tools
STEP 9
Install and test. I used 9” long ½” diameter steel pipe with caps to secure the bracket to the vertical structure. Choose a wooden dowel that is strong enough to support your weight.
Tools
