Steps
STEP 1
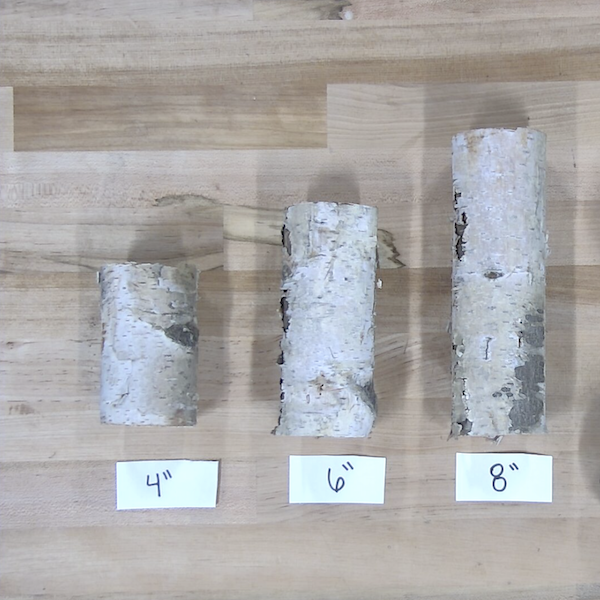
Measure out 4", 6", and 8" out on the birch log using the 25 FT. tape measure. Mark with a pencil and place the log into a bench vise.
Tools
Materials
STEP 2
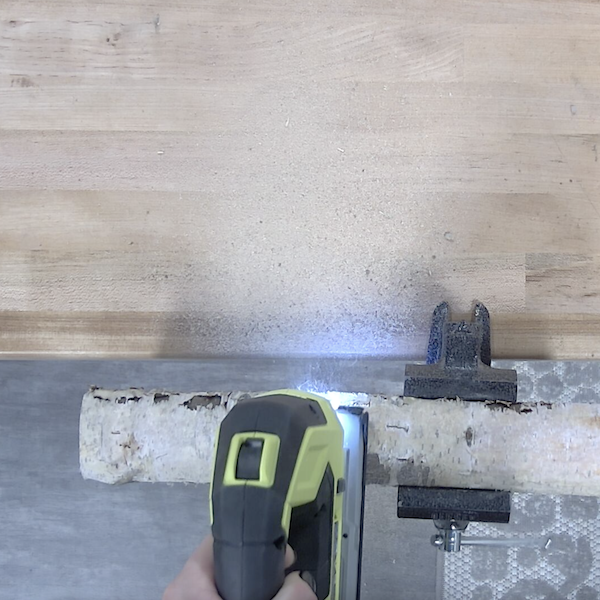
Insert the 10 TPI wood smooth cut jigsaw blade into the 18V ONE+ orbital jigsaw. Cut along the measurement lines made in the previous step.
Tools
Materials
STEP 3
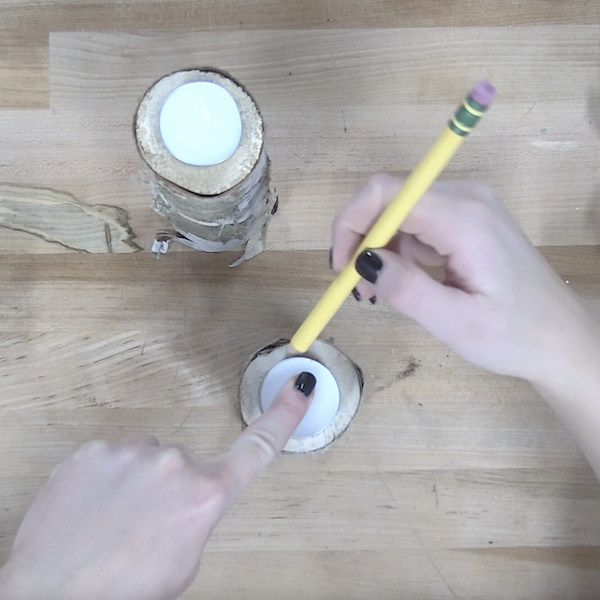
Outline the tealight candles on the top of each birch piece using a pencil.
Materials
STEP 4
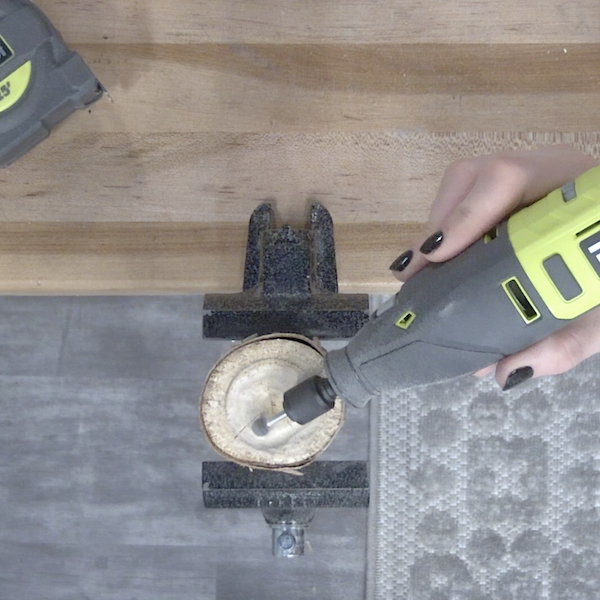
Insert the coarse sphere material removal burr into the 12V cordless rotary tool. Remove material inside the traced area until the tealight sits flush in the cutout circle.
Tools
Materials
STEP 5
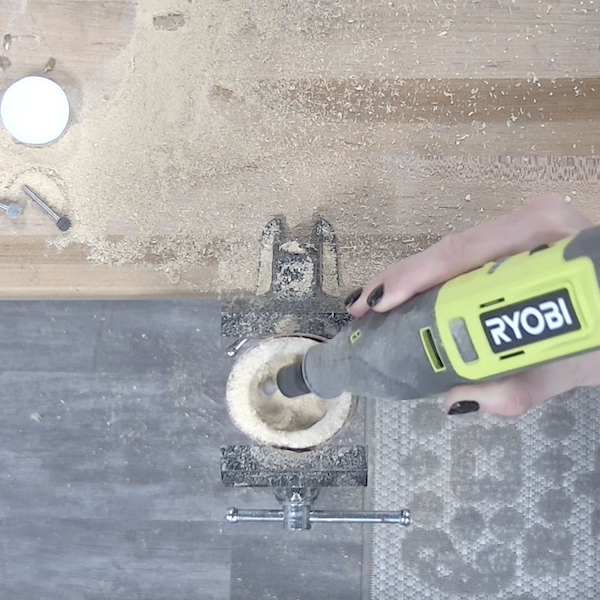
Switch the accessory from the coarse sphere material removal burr to the smooth material removal burr. Smooth out any rough edges or grooves created in the previous step.
Tools
Materials
STEP 6
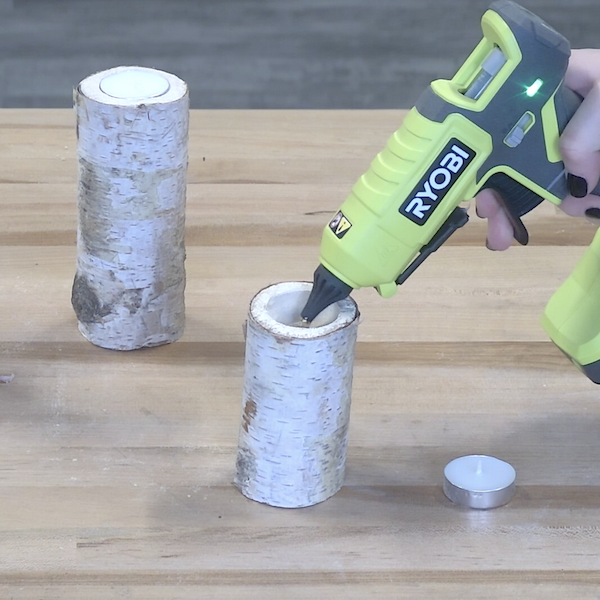
Apply glue using the 18V ONE+ dual temperature glue gun in the middle of each birch tealight holder where the tealights will go. Press each tealight into place until the glue dries.
Tools
Materials
