Steps
STEP 1
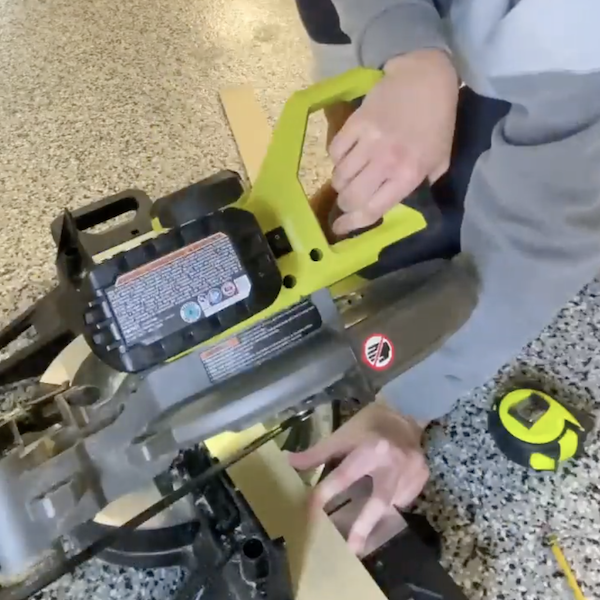
Cut wood to size to the dimensions of the inside of the drawer to create a rectangle using a 45• angle.
Tools
Miter Saw
STEP 2
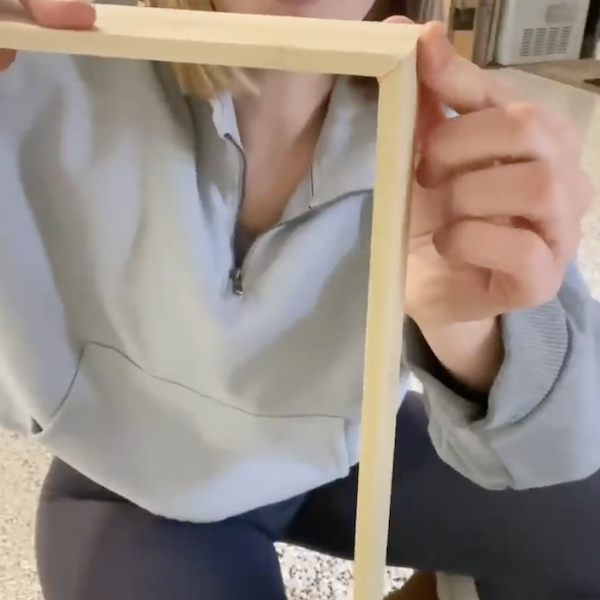
Line up pieces using the created 45• angles on the end.
STEP 3
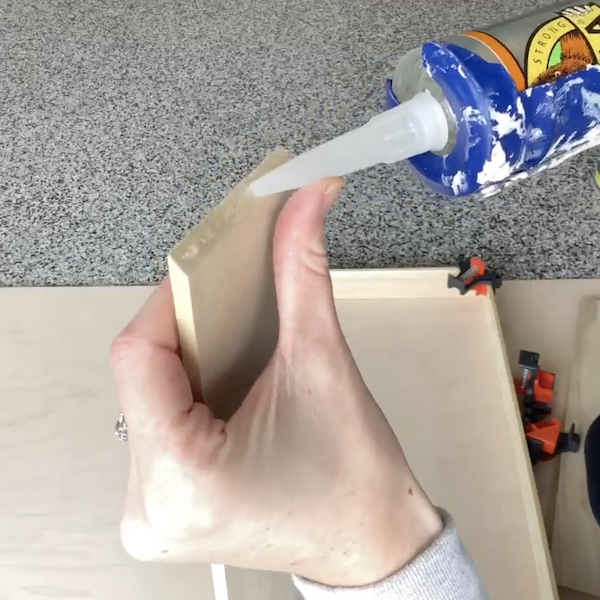
Use liquid nails glue to attach the outside frame of the organizer together.
STEP 4
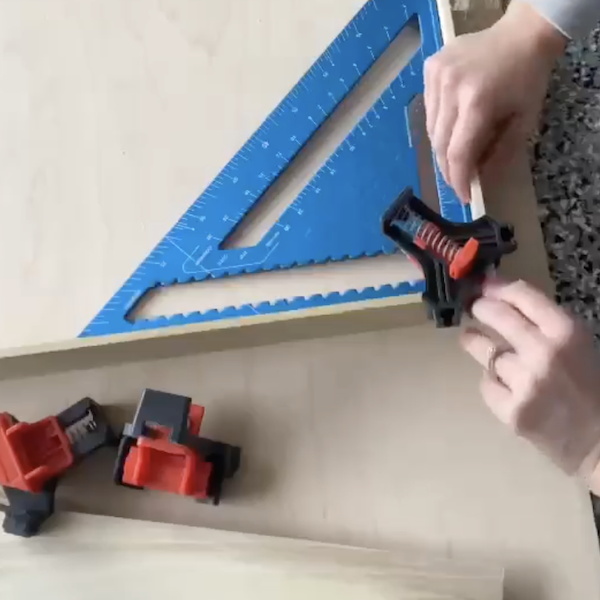
Use clamps and a rafting square to secure the frame of the organizer into place.
STEP 5
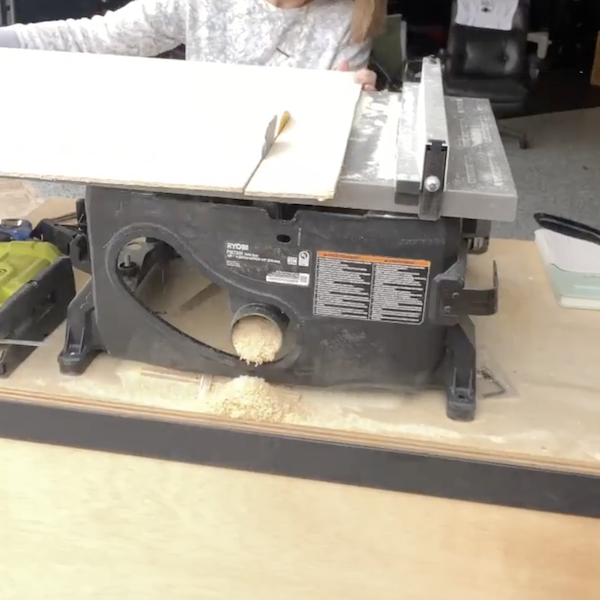
Cut strips of wood to size based upon utensil sizes. Cut to size a back piece for the organizer based on the outside frame's dimensions.
Tools
Table Saw
STEP 6
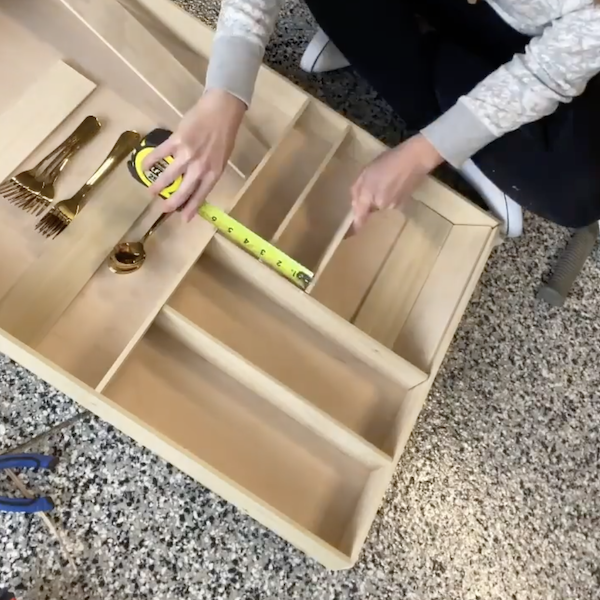
Use wood glue to attach the back of the organizer and the wood divider pieces.
STEP 7
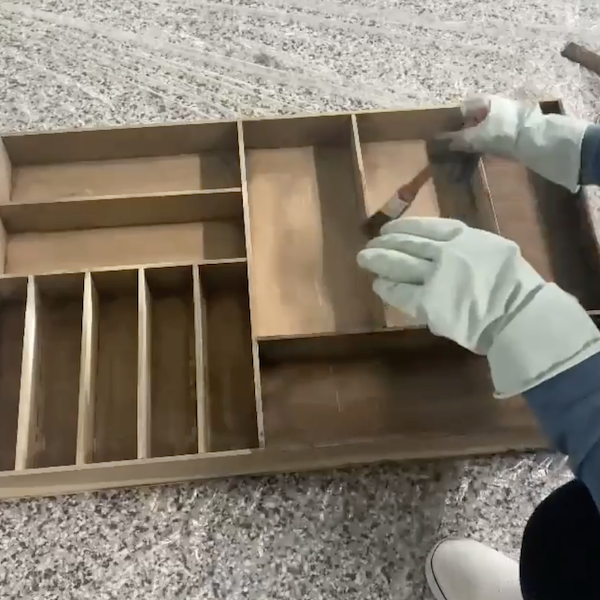
Apply stain to the finished divider as desired.
