Steps
STEP 1
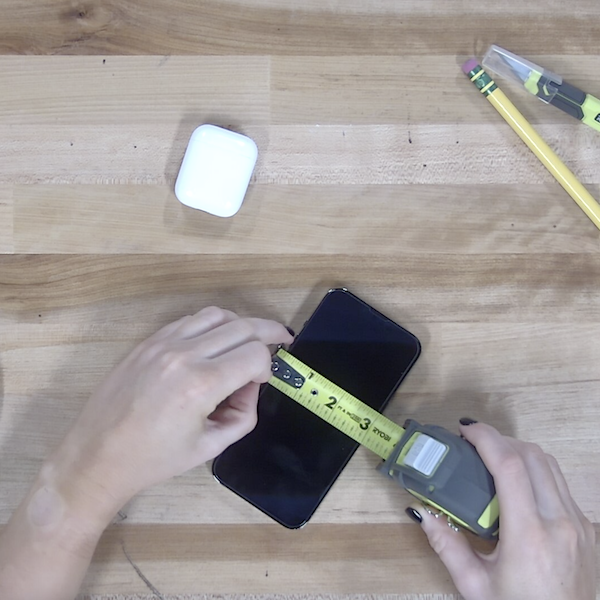
Measure the width and depth of both the phone and headphone charging case. Mark where both the phone and headphones will be placed, then outline each item according to the measurements.
Tools
Materials
STEP 2
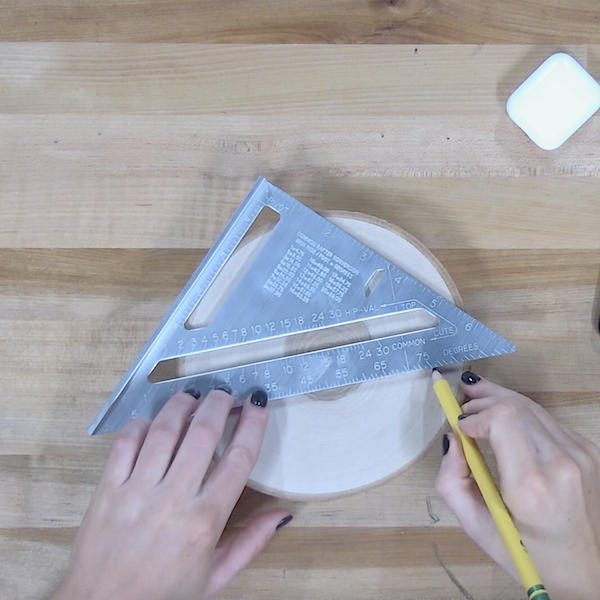
Use the Coarse Sphere Material Removal Burr to carefully remove wood inside the outlines created in the previous step. Use the Smooth Material Removal Burr to finish each of the ports up.
Tools
Materials
STEP 3
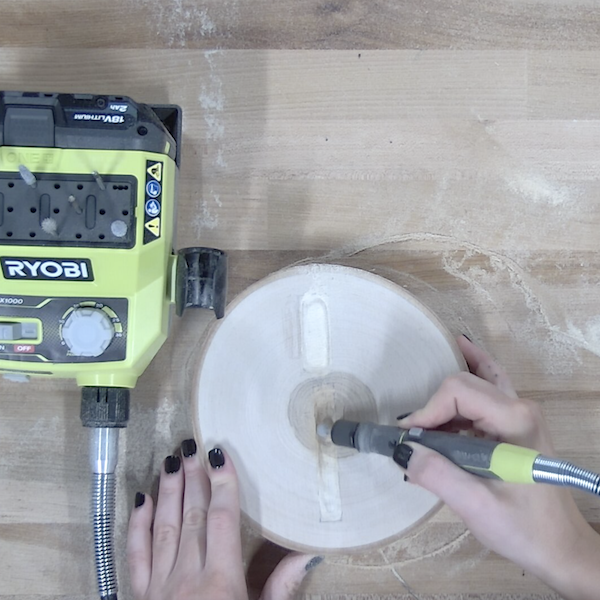
Test the phone and headphones to ensure they sit properly in their spots. Mark the middle of each these spots with a pencil or marker.
Tools
Materials
STEP 4
Drill a hole using the 1/4" drill bit in the middle of each port. Test the phone cords to make sure the charging plugs fit through the holes.
Tools
Materials
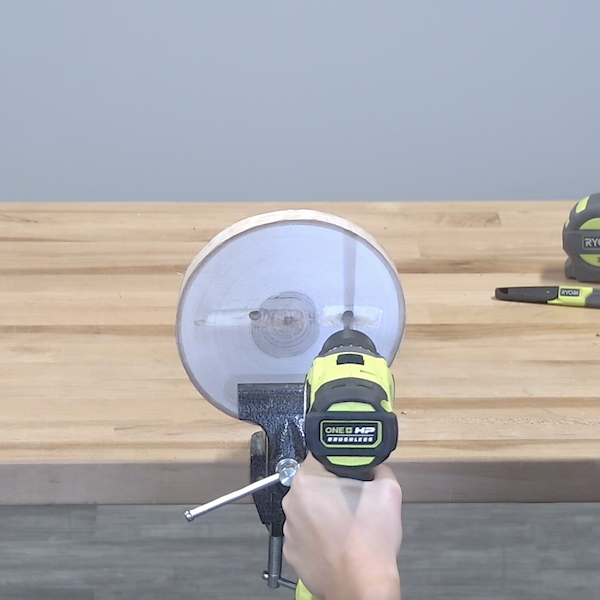
STEP 5
Flip the piece of wood over. Put the cords through the holes, then trace where the cords will lay. Using the Coarse Material Removal Burr, carve out a line for each cord. Next, smooth out the lines with the Smooth Material Removal Burr.
Tools
Materials
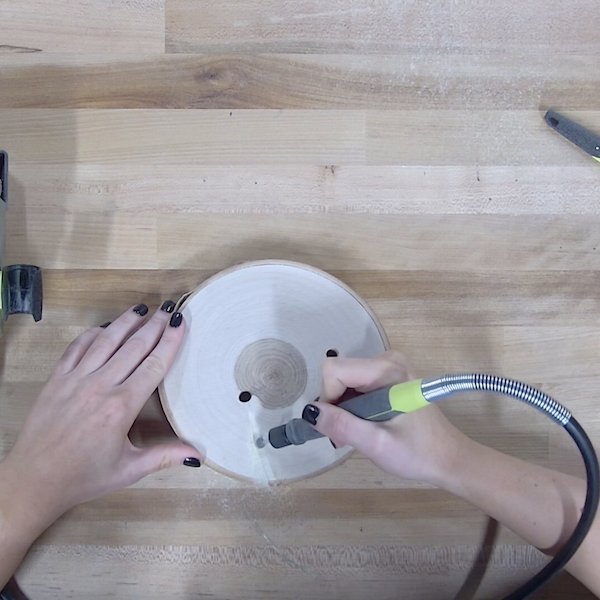
STEP 6
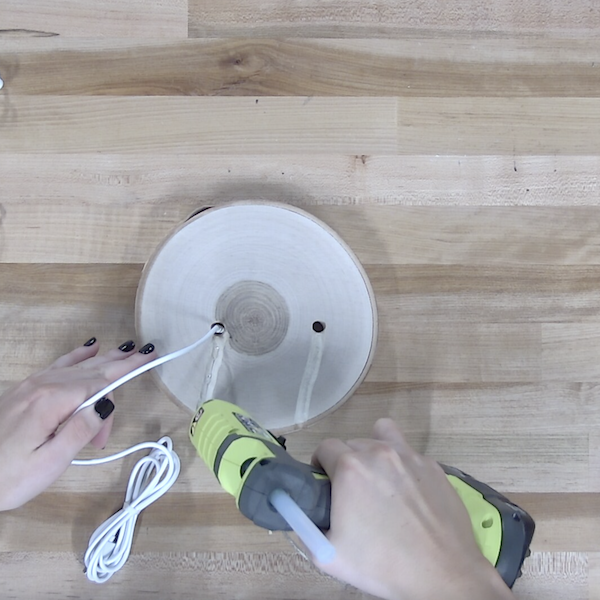
Place glue in the carved out lines. Push the cord through the drilled holes and press down the cords onto the glue to ensure the base sits flat.
Tools
Materials
