Wooden Tree Ornaments

By RYOBI Nation

SKILL
easy

All year long I keep my odd-angled scraps specifically for this season. The holidays seem to inspire creativity in many sizes, but small ornaments for the tree are my favorite. The only problem I've had in the past, was the amount of time I'd spend building these little things. I couldn't justify it. But this year is different. I was so excited when I received my cordless Airstrike Finish Nailer (I'd never owned a nail gun... I know! What was I thinking?..) Of course now I can make all the ornaments I want, because time isn't an issue now that I joined nail gun user club. Created by My Altered State.

Tools

  • 18V ONE+ 7-1/4" Sliding Compound Miter Saw
  • 18V ONE+ Airstrike16 GA Finish Nailer
  • 18V ONE+ HP Brushless 1/2" Drill/Driver

Accessories

  • 65 PC. DRILL AND IMPACT DRIVE SET

Materials

  • 1x1 Wood Strips
  • Screw Eye Hooks
  • Wood Glue

Steps

STEP 1

Cut three sections at 30°, each one slightly longer than the previous one. Alternate flipping the wood over after each cut to get the correct angle direction.

Tools
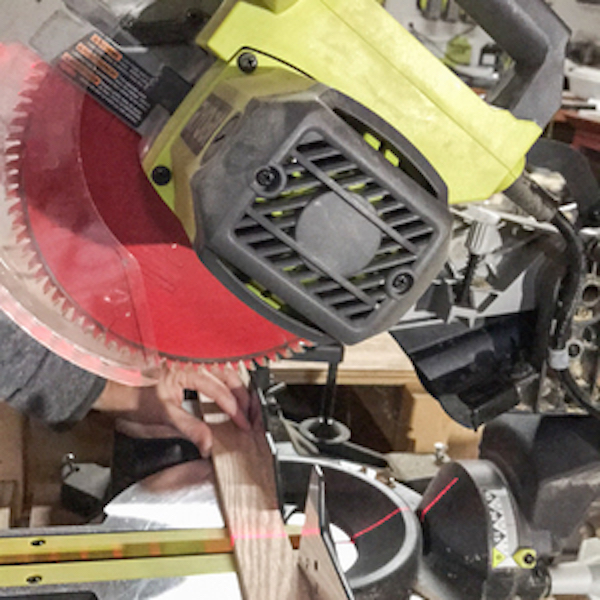
Miter Saw
Cutting wood pieces to size

STEP 2

Glue and nail the middle section, to the top section of the tree. (The nail needs to go in an upward direction, towards the top of the tree. This will leave the very top of the tree nail-free, so an eye screw can be added later.)

Tools
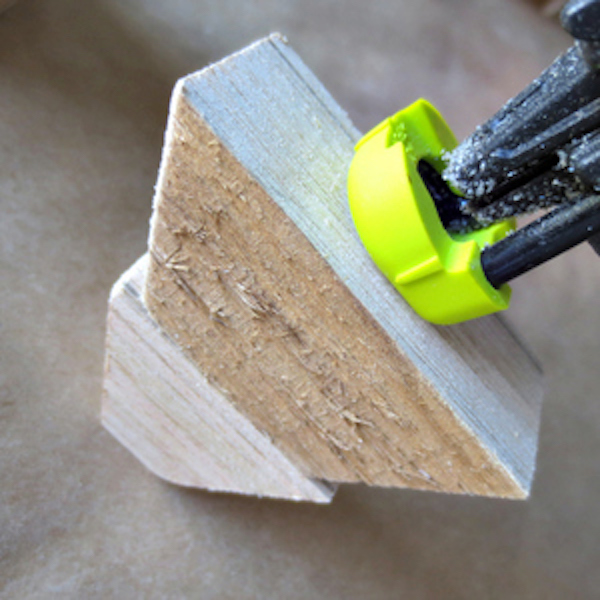
Finish Nailer
gluing and nailing wood

STEP 3

Glue and nail bottom section to the middle, in the same direction as the previous one. (Nail aiming towards the top section.)

Tools
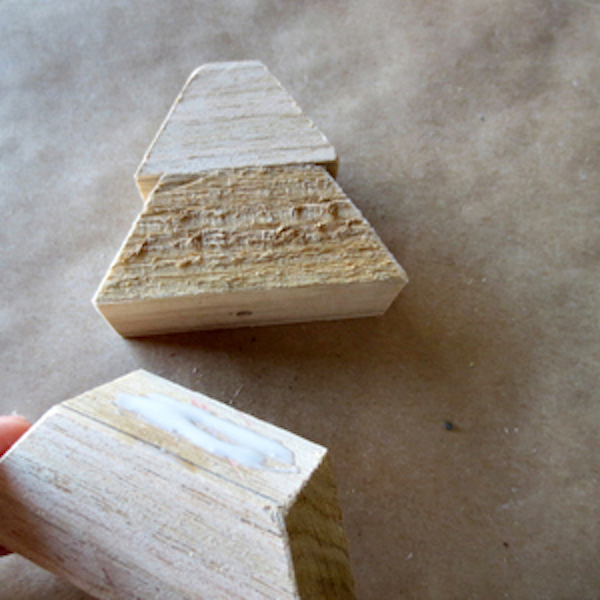
Finish Nailer
assembling pieces together

STEP 4

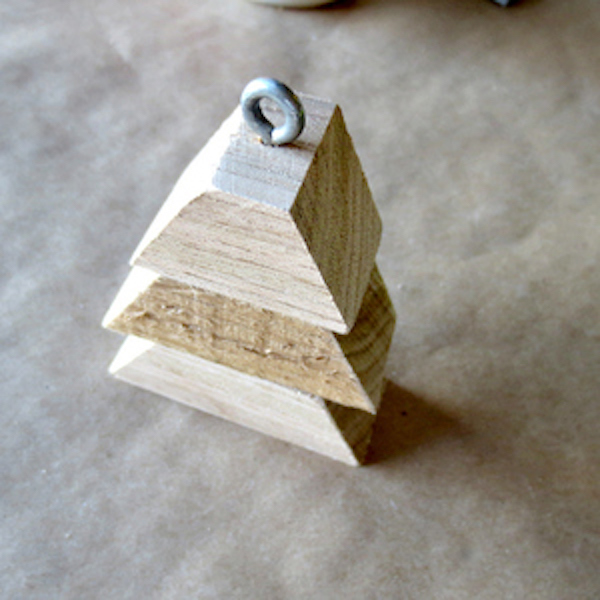
Now the piece is ready for the eye screw.

Tools
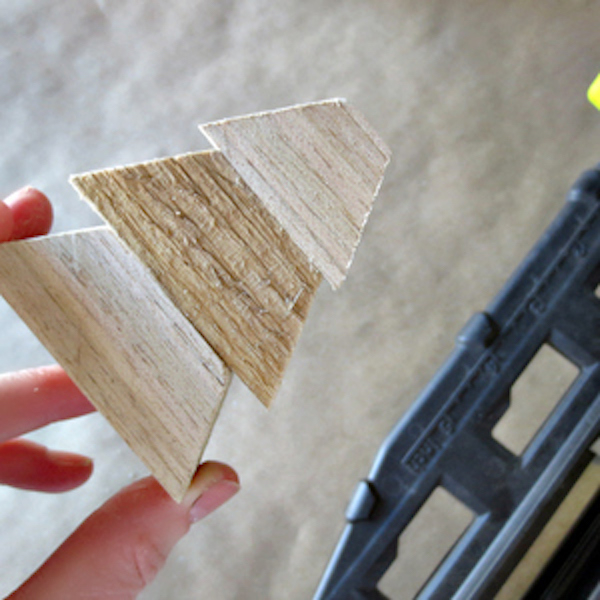
Drill/Driver
adding eye screw

STEP 5

Drill a pilot hole and install a tiny eye screw.

Tools
Drill/Driver
Drill pilot hole into wood

STEP 6

Use different types of wood, or make two-section trees. Add a hook or twine to the eye screw, and you're done. Now make some more, there's plenty of time!
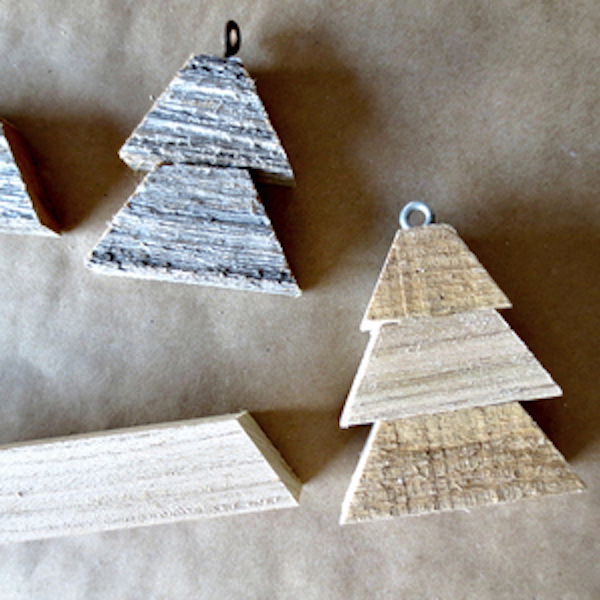
making multiple trees